60
c) Establishing the WLAN connection between the weather station and router
1.
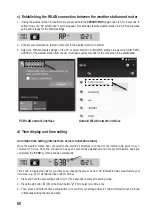
If using the weather station for the first time, press and hold the
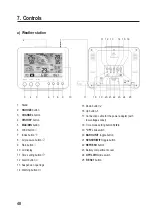
SENSOR/WIFI
toggle button (21) for 6 seconds. In
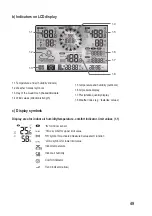
normal mode, the ‘AP’ symbol and symbol appear. This indicates that the weather station is in AP mode (access
point) and is ready for the WLAN settings.
2. Connect your smartphone, tablet or computer to the weather station via WLAN.
3.
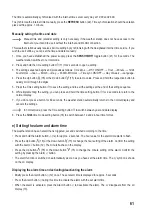
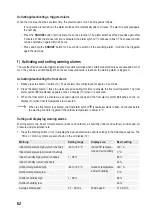
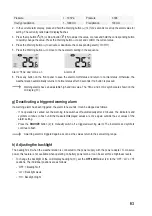
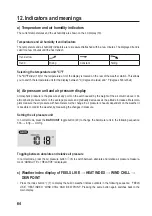
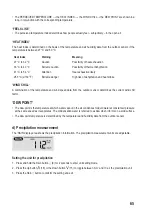
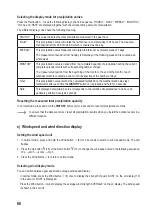
Select the WLAN network settings on the PC or select WLAN in Android/iOS settings to select the SSID: PWS-
XXXXXX of the weather station from the list. It will take several seconds for the connection to be established.
PWS-XXXXXX
PWS-XXXXXX
1
PC WLAN network interface
2
Android WLAN network interface
d) Time display and time setting
1
Automatic time setting (internet time server connection status)
Once the weather station has connected to the internet, it attempts to connect to the internet time server to syn
-
chronise UTC time. Once the connection has been successfully established and time synchronisation has been
completed, the
‘SYNC’
symbol is shown permanently.
Time zone: to display the time for your time zone, change the time zone from ‘00’ (default) in time setup mode to your
time zone (e.g. 01 for Central Europe or 08 for China).
1. Press and hold the time setting button (11) for 2 seconds to enter time setting mode.
2. Press the Up button (16) or the Down button (15) to select your time zone.
3. Then, press and hold the time setting button
to confirm your setting and exit. Further information can be found
in ‘Manually setting the time and date’.

