System Startup 1 - 7
Quick Start Guide
1
System Startup
1.
Remove all packing materials, CDs/DVDs and floppy disks etc.
2.
Securely attach any peripherals you want to use with the computer to their ports.
3.
Attach the AC/DC adapter to the DC-In jack at the rear of the computer, then plug the AC power cord into an
outlet, and connect the AC power cord to the AC/DC adapter.
4.
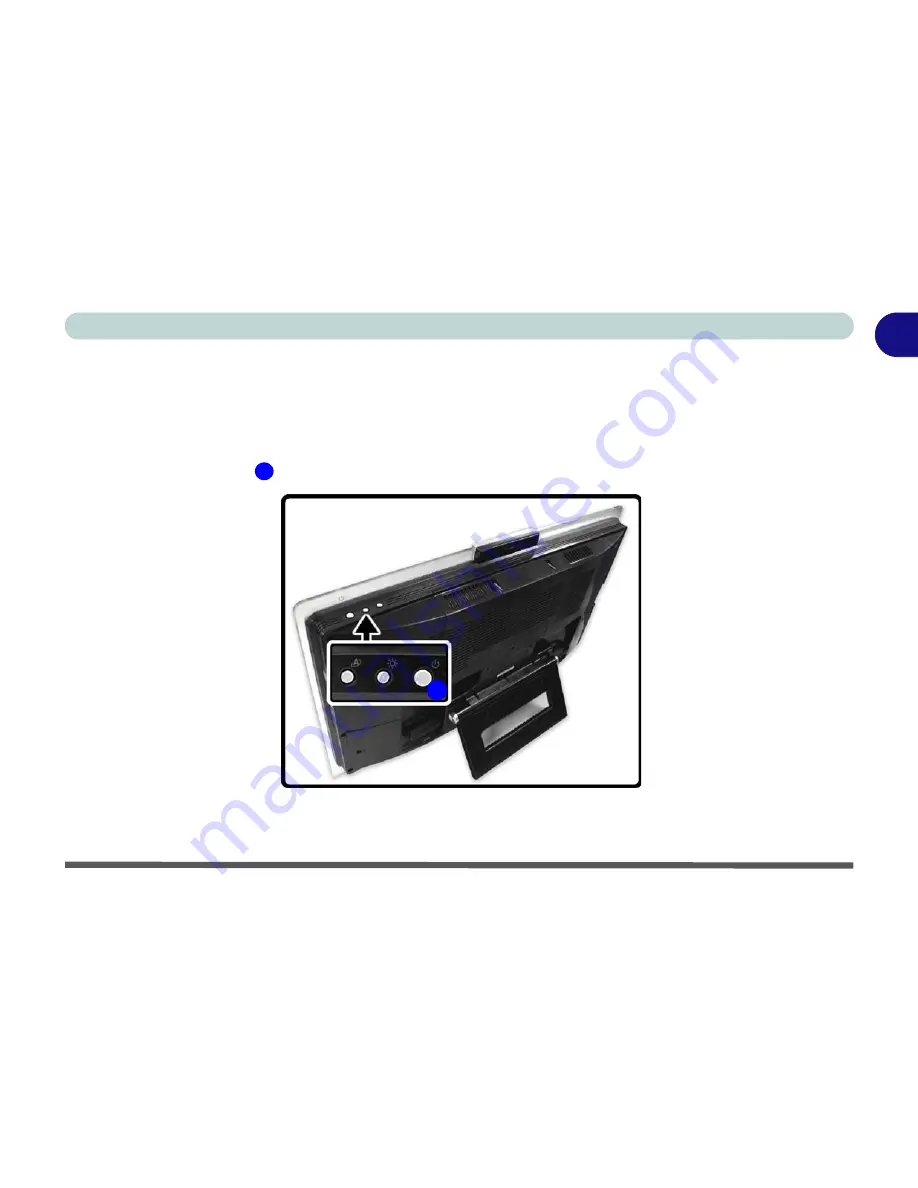
Push the power button
to turn the computer “on”.
Figure 1 - 1 - Power Button Location
1
1
Summary of Contents for LCD PC
Page 1: ......
Page 2: ......
Page 10: ...VIII Preface ...
Page 35: ...Video Features 1 19 Quick Start Guide 1 Figure 1 10 Display Settings 2 3 1 4 5 2 3 1 ...
Page 48: ...Features Components 2 12 2 ...
Page 56: ...Power Management 3 8 3 ...
Page 64: ...Drivers Utilities 4 8 4 ...
Page 78: ...BIOS Utilities 5 14 5 ...
Page 108: ...Modules 7 20 PC Camera Module 7 Figure 7 12 Audio Setup for PC Camera Right click ...
Page 128: ...Interface Ports Jacks A 6 A ...
Page 142: ...Specifications D 6 Specifications D ...
Page 182: ...Windows XP Information E 40 PC Camera Module E Figure E 24 Audio Setup Windows XP ...


