20
Brief instructions for use
These brief instructions contemplate only
the most important use instructions. For
safety reasons we recommend to read the
complete instructions (next page) where
all functions are fully described. Follow
the safety instruction on page 4.
1. Preparations
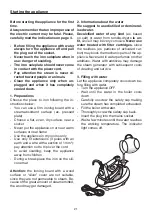
- place the iron on the silicone mat. Choose
a flat, even, dry surface, near a socket.
- use the appliance in dry rooms only
- use only fit extensions (3 poles with an
earth and a wire with a section of 1 mm
2
);
pay attention not to trip over the cord.
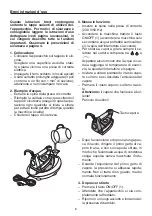
2. Filling the boiler with water
- Pull the plug out of the socket.
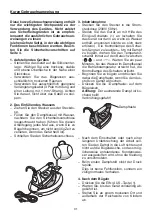
- Carefully unscrew the safety cap and fill
the boiler with water (repeat this operation
any time you start ironing to avoid wasting
time when the appliance is warm)
- Screw the safety cap back.
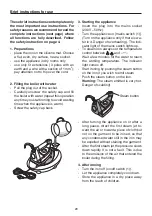
3. Starting the appliance
- Insert the plug into the mains socket
(230V – 50Hz).
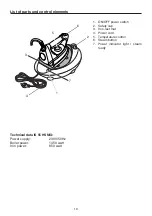
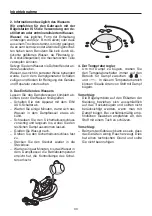
- Turn the appliance on [mains switch (1)].
(Turn on the appliance only if there is wa-
ter in it. Danger of overheating.). The indi-
cator light of the mains switch lights up.
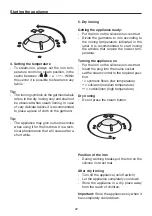
- To steam iron always set the temperature
control between and «•••».
Wait a few minutes for the water to reach
the working temperature. The indicator
light comes off.
- Start ironing by pushing the steam button
on the iron if you wish to emit steam
- Push the steam button on the iron.
Warning:
The steam emitted is very hot.
Danger of scalding!
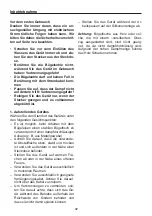
- After turning the appliance on or after a
long pause, direct the first steam jet to-
ward the air or toward a piece of cloth but
not on the garment to be ironed, so that
any condensed water still in the iron may
be expelled without staining the garment.
- After the first steam jet the pressure slows
down rapidly. It is not a fault. This is due
to the emission of the air that entered the
boiler during the filling.
4. After ironing
- Turn the iron off (on/off switch (1)).
- Let the appliance completely cool down.
- Store the appliance in a dry place away
from the reach of children.
Steam button

