129
2. CARE AND MAINTENANCE
AFTER SAWING – CLEANING
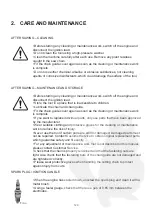
• Before starting any cleaning or maintenance work, switch off the engine and
disconnect the ignition lead.
• Do not clean the tool using a high-pressure washer.
• Clean the machine carefully after each use. Remove any plant residues
caught in the saw chain.
• Fit the chain guide cover again as soon as the cleaning or maintenance work
is complete.
• Do not use either chemical, alkaline or abrasive substances, nor cleaning
agents or corrosive disinfectants, which could damage the surface of the tool.
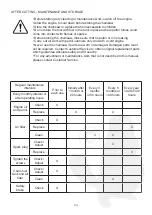
AFTER SAWING – MAINTENANCE AND STORAGE
• Before starting any cleaning or maintenance work, switch off the engine and
disconnect the ignition lead.
• Store the tool in a place that is inaccessible to children.
• Lubricate the chain and chain guide.
• Fit the chain guide cover again as soon as the cleaning or maintenance work
is complete.
• If you want to replace individual parts, only use parts that have been approved
by the manufacturer.
• Wear suitable clothing and protective gloves for the cleaning or maintenance
work to reduce the risk of injury.
• Never use the tool if certain parts are worn or damaged. Damaged parts must
not be repaired. Contact Customer Service to obtain original replacement parts,
which guarantee safety and fit exactly.
• For any adjustment or maintenance work that is not described in this manual,
please contact Customer Service.
• Check that the chain is properly tensioned and that the fastening nuts are
tight. Also check that the fastening nuts of the chain guide are not damaged and
are tightened correctly.
• Please wear protective gloves when handling the cutting chain to protect
against injury from cuts.
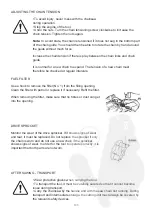
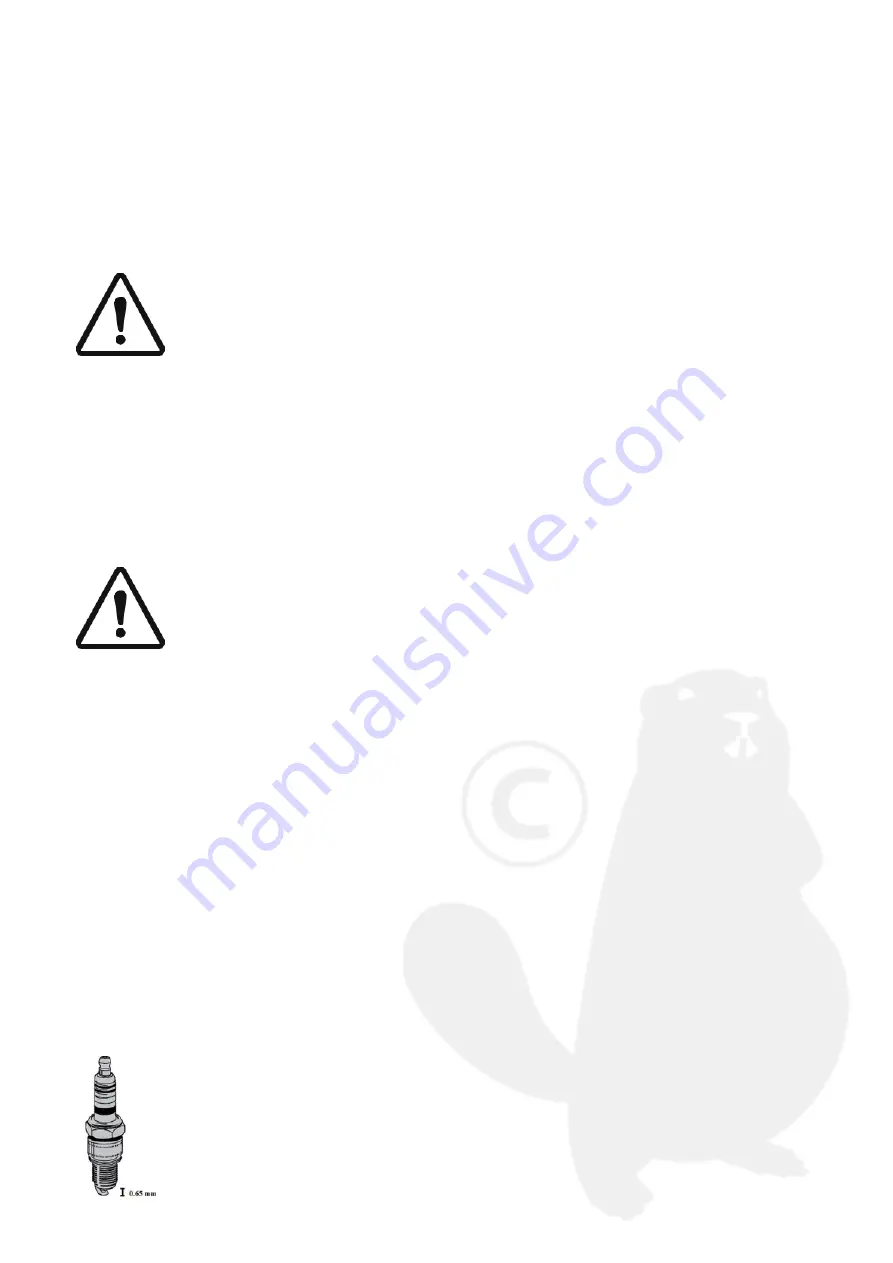
SPARK PLUG / IGNITION CANDLE.
• When the engine has cooled down, unscrew the spark plug and clean it with a
metal brush.
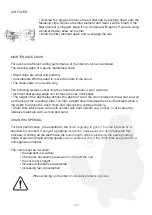
• Using a feeler gauge, check that there is a gap of 0.65 mm between the
electrodes.
Summary of Contents for CN-38
Page 2: ...2...
Page 37: ...37...
Page 68: ...68 3 CARACT RISTIQUES TECHNIQUES Vue clat e du produit et num rotation des pi ces...
Page 71: ...71...
Page 103: ...103 3 TECHNISCHE DATEN Explosionszeichnung des Produktes mit Nummerierung der Einzelteile...
Page 106: ...106...
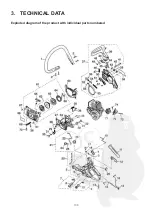
Page 138: ...138 3 TECHNICAL DATA Exploded diagram of the product with individual parts numbered...
Page 141: ......
Page 142: ...142...
Page 143: ...143...

