6. Engine cowlings
The upper and lower engine cowlings are trimmed to fit together and fit into the joggle at the front of
the fuselage for mounting. The cowlings are held together using countersunk screws through
Tinnerman washers into anchor nuts mounted to the lower cowling. Attachment of the cowlings to
the fuselage is also by means of similar screws and anchor nuts.
The trimming required will be: -
1. Removal of the flat areas, at the rear of the air outlet ramp in the lower cowling, at the two circular
areas at the lower cowling front, and at the lower rectangular areas at the front of the lower cowling.
When doing the first of these jobs leave a small flange, about 4 - 5mm (3/16”) around the outlet to
give it some stiffness.
2. Opening the up the side cooling gills.
3. Opening for the NACA scoop in the lower cowling. To prevent the end of the inlet ramp
contacting the air filter, it may be necessary to file away the rear of the ramp.
4. Cutting the hole in the upper and lower cowlings for the propeller shaft. Initially cut a hole in the
centre of this front circular area the same size as the propeller shaft. This will enable the cowlings to
locate on the propeller shaft making subsequent fitting easier.
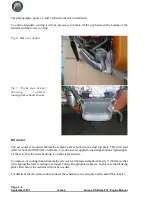
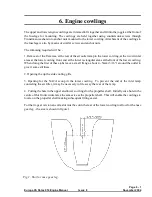
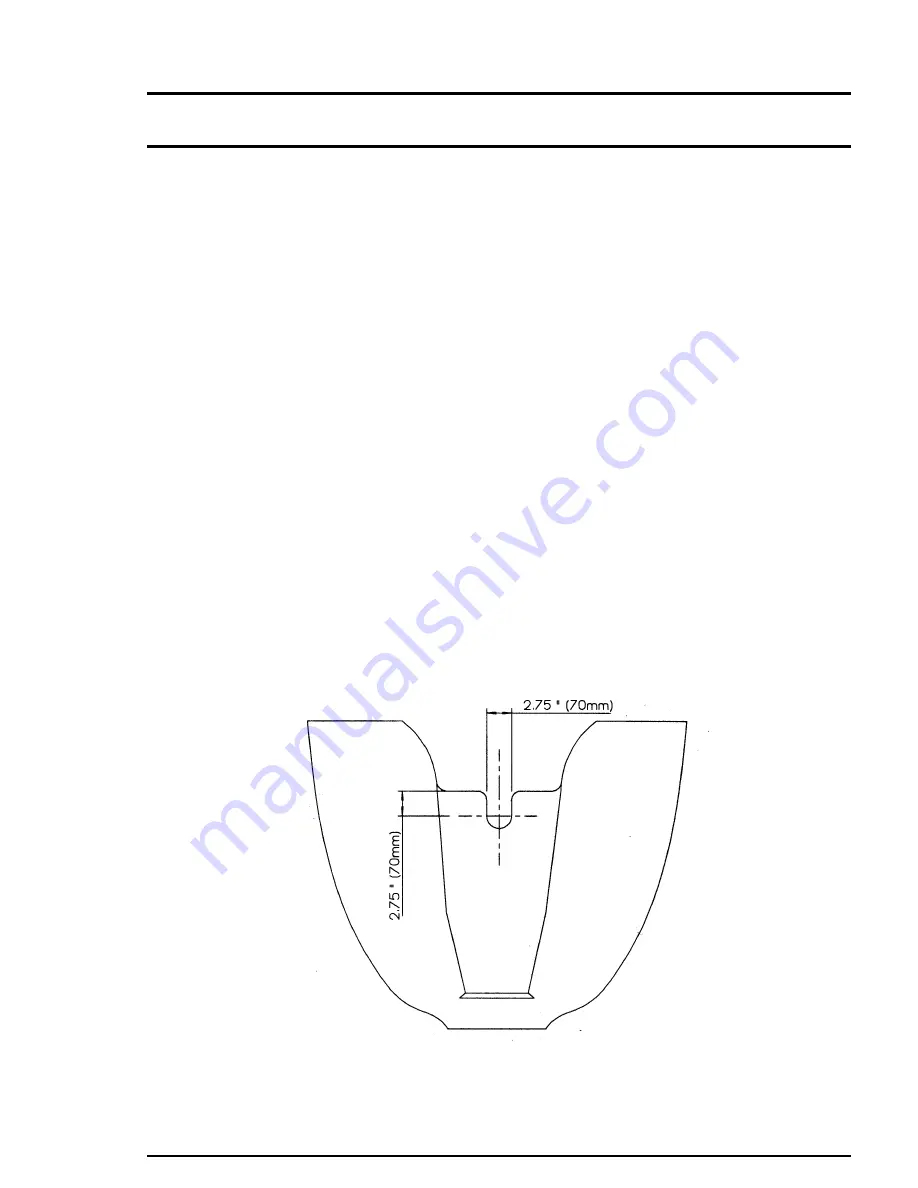
For the tri-gear version an extra slot must be cut in the rear of the lower cowling to allow for the nose
gear leg - the size is shown in figure 1.
Page 6 - 1
Europa XS Rotax 914 Engine Manual
Issue 8
November 2004
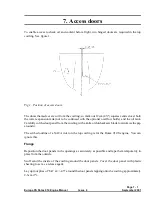
Fig 1. Slot for nose gear leg.
Summary of Contents for Rotax 914
Page 14: ...INTENTIONALLY BLANK Page 2 6 November 2007 Issue 10 Europa XS Rotax 914 Engine Manual ...
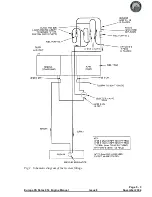
Page 28: ...Page 5 4 November 2004 Issue 8 Europa XS Rotax 914 Engine Manual Fig 2 Fuel system ...
Page 32: ...INTENTIONALLY BLANK Page 6 4 November 2004 Issue 8 Europa XS Rotax 914 Engine Manual ...
Page 40: ...INTENTIONALLY BLANK Page 8 6 September 2002 Issue 5 Europa XS Rotax 914 Engine Manual ...
Page 44: ...INTENTIONALLY BLANK Page 9 4 September 2002 Issue 5 Europa XS Rotax 914 Engine Manual ...


