background image


OPERATING INSTRUCTIONS OF  

MODEL PND-2500A 


BEFORE


OPERATING


THE


VACUUM


BOARD


MODEL


PND-2500A,


READ


THESE


INSTRUCTIONS


CAREFULLY


AND


MAKE


SURE


IT


IS


ASSEMBLED


CORRECTLY 


WARNING:


DO


NOT


PLUG


BOARD


INTO


ELECTRIC


OUTLET


UNTIL


IT


IS


COMPLETELY


ASSEMBLED


AS


SHOWN


IN


THE


FOLLOWING


INSTRUCTIONS. 


ASSEMBLY OF THE BOARD 


Take out of the box all parts of the vacuum board model PND-2500A with great care; 


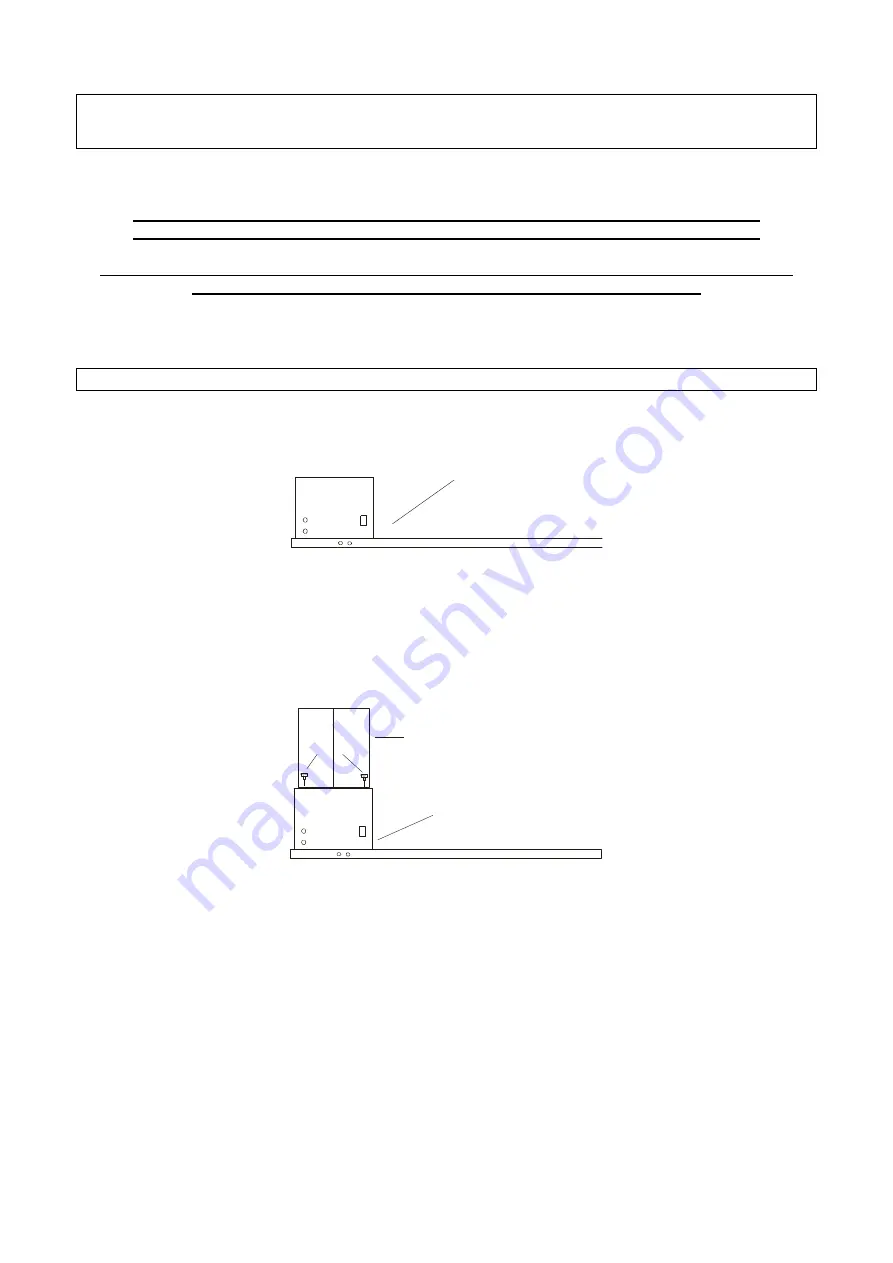
Take the ironing buck and put it upside down on the floor. 


Take the column (consisting of two panels). 


Using the wrench provided and 8 screws, attach the column (consisting of two panels) 
on the ironing board.  

NOTE: one panel is right-hand, the other one is left-hand.  


I

r

o

n

i

n

g


b

u

c

k


Ironing buck

Column consisting 
of 2 panels

Screws


Summary of Contents for MODEL PND-2500A

Page 1: ...ed Off before plugging or unplugging from outlet Never yank cord to disconnect from outlet instead grasp plug and pull to disconnect 4 Do not allow cord to touch hot surfaces Let vacuum board and iron cool completely before putting away 5 Always disconnect appliance from electrical outlet when not in use 6 Do not operate appliance with damaged cord or hose or if the appliance has been damaged To r...

Page 2: ... THE FOLLOWING INSTRUCTIONS ASSEMBLY OF THE BOARD Take out of the box all parts of the vacuum board model PND 2500A with great care Take the ironing buck and put it upside down on the floor Take the column consisting of two panels Using the wrench provided and 8 screws attach the column consisting of two panels on the ironing board NOTE one panel is right hand the other one is left hand I r o n i ...

Page 3: ...m the base into the socket of the electric access panel Then close the electric access panel with the 4 screws Take the iron rest and attach it on the vacuum board with 4 screws Turn over the vacuum board and put it in the upright position Slip the cloth on to the garment catch tray and then attach the garment catch tray to the column and base with screws Column Ironing buck Screws Base Plug Socke...

Page 4: ...lack plate braccio stiro Take the sleeve ironing arm and attach it to the ironing buck by means of 2 screws Plug wire from sleeve arm into receptacle on back of column Then take the board prontotop pad cover and the arm padding and slip them on the board and sleeve buck Then tighten each pad cover by means of drawstrings to insure a perfect fit Water tank stand Screws Sleeve ironing arm Screws ...

Page 5: ...ress the main switch wait for the board pilot lamp to go off at this point the vacuum board is ready for use Lamp will go on and off during normal use 4 PRESSING 1 Glide iron on the garments and at the same time press the vacuum pedal We advise keeping your foot on the vacuum pedal for a little longer after releasing the steam button on the iron in order to dry the garment 2 We advise changing the...

Page 6: ...6 ...

Reviews: