background image

 40


Pairing with Alexa: 


1. Once you fireplace is installed and fully functioning, download the Amazon Alexa app. 


2. Configure your Alexa device with the Amazon app by adding device. 


3. On the home screen, you will see a menu icon in the top left hand side. Single press to 
open the menu and select 

skills and games

’ 


4. Once open, in the top right corner search 

e

-

smart

’ 

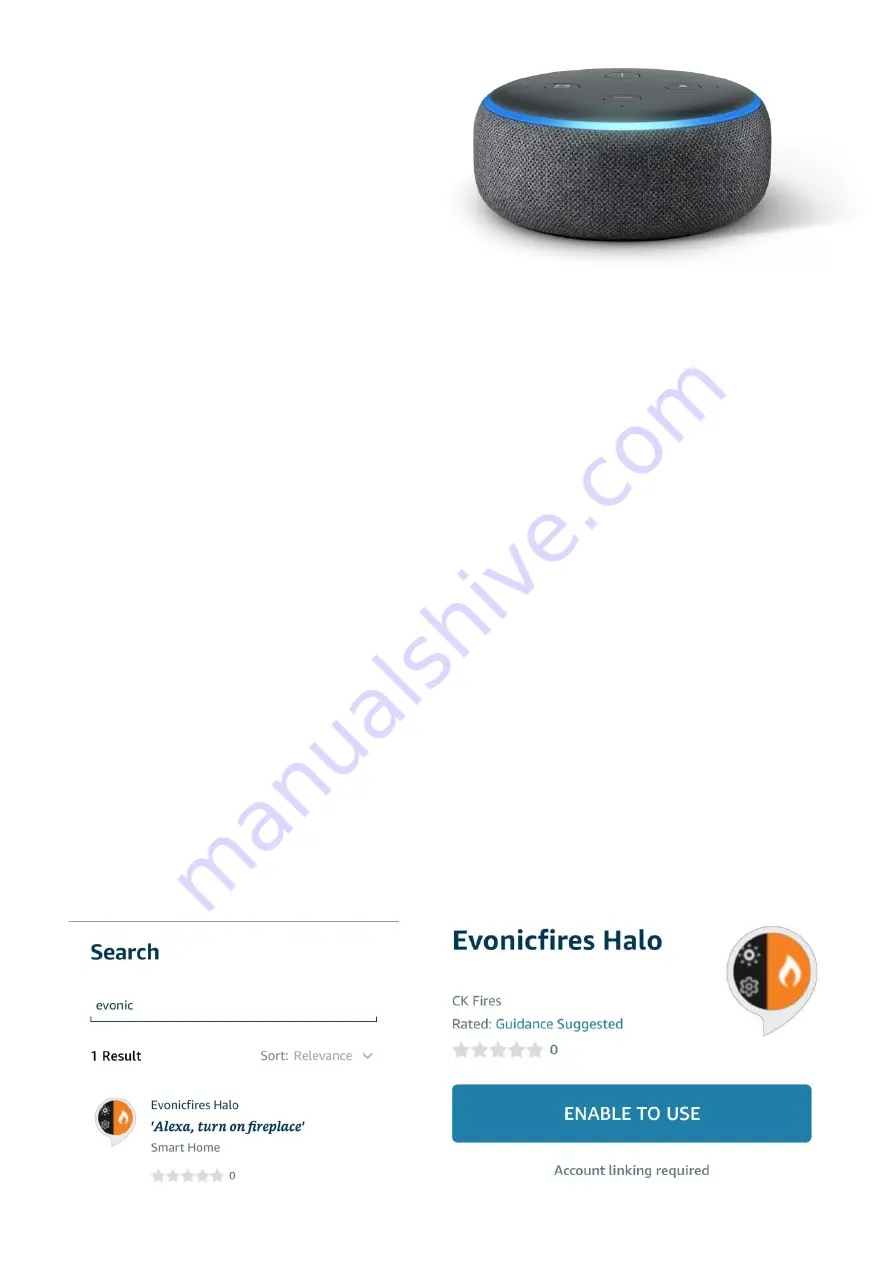
and the below skill option will        

appear. 

Fig 1


5. Single press to select skill, which will then open up the below page. 

Fig 2


6. Once you press 

ENABLE TO USE

, you will be directed to the evonet page. 


7. To complete pairing, Input the evonet account details you registered earlier in the           
e

-

smart app setup. You fireplace is now paired with Alexa. 

To add more than one fireplace 

please repeat this step. 


Summary of Contents for evonicfires Kiruna

Page 1: ...s manual to prevent personal injury or property damage Halo Instruction Guide English 31 05 20 Halo SERIAL NUMBER LABEL INSTRUCTIONS MUST BE KEPT AFTER INSTALLATION FOR FUTURE MAINTENANCE Models Tyrell Kiruna Linnea Please note Once your e smart product has been installed and switched ON the fireplace will take approximately 10 seconds to power up This is a normal operating procedure and NOT a fau...

Page 2: ...uct requires a well insulated location and indoor use CONTENTS 1 Electrical Safety 3 4 2 Installation Requirements 5 3 Installation Method 6 4 3 sided Installation 7 5 2 sided Installation 8 6 1 sided Installation 9 7 Glass Removal 10 11 8 Side Conversion Panels 12 15 9 App Interface 16 10 Log Guidance 17 11 Product Operation 18 12 Specification Drawings 19 27 13 Troubleshooting chart 28 31 14 App...

Page 3: ... should be supervised to ensure that they do not play with the appliance The appliance is not intended for use by young children or infirmed persons without supervision In the event of a malfunction disconnect power at the service panel and have the unit inspected by a reputable electrician before reusing If the power cord is damaged it must be replaced by the manufacturer or its service agent or ...

Page 4: ...s Do not change the plug in any way Always plug heaters directly into a wall outlet receptacle Never use with an extension cord or relocatable power tap outlet power strip Do not burn wood or other materials in the electric fireplace Do not strike the fireplace glass Always use a certified electrician should new circuits or outlets be required Always use properly grounded fused and polarized outle...

Page 5: ...nience 3 Remove electric fireplace front glass and hardware from the box and remove all packaging materials before installation 4 Store the fireplace in a safe dry and dust free location until you are ready to install the fireplace Grounding Instructions This product must be grounded If it should malfunction or breakdown grounding provides a path of least resistance for electric current to reduce ...

Page 6: ...ilicones or adhesives as this can also alter the airflow and hinder any further servicing of the product Installing Product Each product is supplied complete with one or more wall mounting brackets Dependent on Model Establish the desired finished height from floor level to the bottom of the plaster kit of the product Fix the wall bracket to the wall ensuring to use the correct hardware fixings gi...

Page 7: ...and 3 8 10mm to the depth to allow ample space for the fire to fit Please follow the D H measurement above and ensure that the W is no greater than the chimney breast or opening that the product is to be installed into Model Tyrell 31 9 16 802mm 11 13 16 300mm 23 1 4 590mm Kiruna 39 1 2 1003mm 11 13 16 300mm 14 1 16 357mm Linnea 59 1 4 1503mm 11 13 16 300mm 14 355mm The above table shows the finis...

Page 8: ...and 3 8 10mm to the depth to allow ample space for the fire to fit Please follow the D H measurement above and ensure that the W is no greater than the chimney breast or opening that the product is to be installed into Model Tyrell 31 9 16 802mm 11 13 16 300mm 23 1 4 590mm Kiruna 39 1 2 1003mm 11 13 16 300mm 14 1 16 357mm Linnea 59 1 4 1503mm 11 13 16 300mm 14 355mm The above table shows the finis...

Page 9: ...e fire to fit Please follow the D H measurement above and ensure that the W is no greater than the chimney breast or opening that the product is to be installed into Model Tyrell 31 9 16 802mm N A 23 1 4 590mm Kiruna 39 1 2 1003mm N A 14 1 16 357mm Linnea 59 1 4 1503mm N A 14 355mm The above table shows the finished sizes once the fire has been installed Please note The depth of a 1 sided installa...

Page 10: ...10 Glass Removal 1 Remove the two screws located in the bottom glass retaining bar 2 Remove the bottom glass retaining bar ...

Page 11: ...ay from the body of the fire Ensure that the glass is always supported A suction cup has been provided to aid with this step Please note The suction cup is provided for support only not to hold the full weight of the glass Please note It is recommended that this step is carried out by 2 persons to reduce the risk of injury ...

Page 12: ...TER KIT 3 OF LEFT SIDE 3 OFRIGHT SIDE 6 4 MAIN HOUSING 1 5 FRONT GLASS BOTTOM SUPPORT 1 6 FRONT GLASS BOTTOM RETAINER 1 7 FRONT GLASS BOTTOM RETAINER SCREWS 2 8 FUEL BED 1 9 SIDE GLASS TOP RETAINER INTERNAL 2 10 SIDE GLASS TOP RETAINER INTERNAL SCREWS 4 11 PLASTER KIT SCREWS 16 12 IN FILL SIDE PIECE SCREWS 16 13 IN FILL RIGHT SIDE 1 14 IN FILL LEFT SIDE 1 ...

Page 13: ...LIFT OFF THE FRONT GLASS RETAINER ITEM 6 AND USING THE SUCTION CUP SUPPLIED NOT SHOWN CAEFULLY REMOVE THE FRONT GLASS ITEM 2 STEP 2 REMOVAL OF SIDE GLASS ITEM 1 REMOVE THE 2 SIDE GLASS TOP RETAINER BRACKETS ITEM 9 BY TAKING OUT THE 4 SCREWS ITEM 10 2 ON EACH BRACKET CAREFULLY TILT THE SIDE GLASS INWARDS AT THE TOP AND LIFT IT AWAY FROM UNIT ...

Page 14: ...VAL OF PLASTER KIT ITEM 3 1 REMOVE THE PLASTER KIT SCREWS ITEM 11 USING A PHILLIPS SCREWDRIVER NOT SUPPLIED NOTE ENSURE TO KEEP SCREWS FOR FUTURE REFERENCE 2 REMOVE THE PLASTER KIT ITEM 3 FROM BOTH SIDES OF THE UNIT ...

Page 15: ...S OVER THE EXISTING SIDE PIECES USING THE IN FILL SIDE SCREWS ITEM 12 TOGETHER WITH THE PLASTER KIT SCREWS ITEM 11 THAT WERE REMOVED IN THE PREVIOUS STEP SECURE THE LEFT AND RIGHT IN FILL SIDES ITEM 13 ITEM 14 TO THE UNIT STEP 4 FITTING IN FILL SIDES ITEM 13 14 ...

Page 16: ...ontrol can be used on either OS or Android operating systems To obtain the App please visit either the OS App Store Or Google Play and follow the on screen instructions E Smart App Interface Screen shot taken from Apple App Store Home Screen shot taken from e smart App ...

Page 17: ...UT QUANTITY Tyrell E800 split log set X 1 5 logs Kiruna E1030 split log set X 1 7 logs Linnea E1500 split log set X 1 8 logs E800 Split log set X 1 E1030 Split log set X 1 E1500 Split log set X 1 A E B C D A B C D E F G A B C D E F G H ...

Page 18: ... degrees on the App control isolate from the mains power supply Leave product to cool After a suitable cooling down period remove the obstruction if obstructed and check installation After 10 minutes the thermo switch cut out in the heater will reset Please note that both the effect fan and heater fan omit a low decibel noise both of which are normal operating characteristics Heater unit cut out T...

Page 19: ...Specification 3 Sided MODEL HEIGHT WIDTH DEPTH TYRELL 31 1 8 790mm 31 9 16 802mm 11 13 16 300mm FIRE MEDIA QUANTITY Glass Amber Clear X2 EACH Vermiculite X3 BOXED WEIGHT UNBOXED WEIGHT 50KG 110 lbs 39 55KG 87 lbs ...

Page 20: ...pecification 3 Sided MODEL HEIGHT WIDTH DEPTH KIRUNA 21 7 8 556mm 39 9 16 1005mm 11 13 16 300mm FIRE MEDIA QUANTITY Glass Amber Clear X3 EACH Vermiculite X4 BOXED WEIGHT UNBOXED WEIGHT 46KG 101 lbs 35 55KG 78 lbs ...

Page 21: ...ecification 3 Sided MODEL HEIGHT WIDTH DEPTH LINNEA 21 15 16 557mm 59 3 16 1503mm 11 13 16 300mm FIRE MEDIA QUANTITY Glass Amber Clear X4 EACH Vermiculite X6 BOXED WEIGHT UNBOXED WEIGHT 64KG 141 lbs 53 55KG 119 lbs ...

Page 22: ...Specification 2 Sided MODEL HEIGHT WIDTH DEPTH TYRELL 31 1 8 790mm 31 9 16 802mm 11 13 16 300mm FIRE MEDIA QUANTITY Glass Amber Clear X2 EACH Vermiculite X3 BOXED WEIGHT UNBOXED WEIGHT 50KG 110 lbs 39 55KG 87 lbs ...

Page 23: ...pecification 2 Sided MODEL HEIGHT WIDTH DEPTH KIRUNA 21 7 8 556mm 39 9 16 1005mm 11 13 16 300mm FIRE MEDIA QUANTITY Glass Amber Clear X3 EACH Vermiculite X4 BOXED WEIGHT UNBOXED WEIGHT 46KG 101 lbs 35 55KG 78 lbs ...

Page 24: ...ecification 2 Sided FIRE MEDIA QUANTITY Glass Amber Clear X4 EACH Vermiculite X6 BOXED WEIGHT UNBOXED WEIGHT 64KG 141 lbs 53 55KG 119 lbs MODEL HEIGHT WIDTH DEPTH LINNEA 21 15 16 557mm 59 3 16 1503mm 11 13 16 300mm ...

Page 25: ...cification Single Sided MODEL HEIGHT WIDTH DEPTH TYRELL 31 1 8 790mm 31 9 16 802mm 11 13 16 300mm FIRE MEDIA QUANTITY Glass Amber Clear X2 EACH Vermiculite X3 BOXED WEIGHT UNBOXED WEIGHT 50KG 110 lbs 39 55KG 87 lbs ...

Page 26: ...cification Single Sided MODEL HEIGHT WIDTH DEPTH KIRUNA 21 7 8 556mm 39 9 16 1005mm 11 13 16 300mm FIRE MEDIA QUANTITY Glass Amber Clear X3 EACH Vermiculite X4 BOXED WEIGHT UNBOXED WEIGHT 46KG 101 lbs 35 55KG 78 lbs ...

Page 27: ...fication Single Sided MODEL HEIGHT WIDTH DEPTH LINNEA 21 15 16 557mm 59 3 16 1503mm 11 13 16 300mm FIRE MEDIA QUANTITY Glass Amber Clear X4 EACH Vermiculite X6 BOXED WEIGHT UNBOXED WEIGHT 64KG 141 lbs 53 55KG 119 lbs ...

Page 28: ...mmended clearance is 4 100mm Spray some anti static spray beneath the tray Please note If this product is freshly installed please leave running for 20 minutes so ribbons can loosen Check fan placement If problem persists replacement fan may be required Please see Evonic YouTube video Slow fan Replace element Please see Evonic YouTube video Faulty element Heater fan requires cleaning out Please se...

Page 29: ... the case If problem persists replacement fan unit maybe required Please see Evonic YouTube video Tighten fan cradle or screws holding fan onto fan cradle Please see Evonic YouTube video Fan has come loose Fan requires cleaning out If problem persists a replacement fan may be required Please see Evonic YouTube video Fan clogged Adjust fan to stop catching on the case Please see Evonic YouTube vide...

Page 30: ...not been turned to the ON position Double check switches are turned to the ON position PCB needs replacing Please see Evonic YouTube video Blown driver on PCB LED strip needs replacing Please see Evonic YouTube video LED blown Check location of short Replace LED strip if necessary Please see Evonic YouTube video LED shorting out 6 No lights Loose connection or disconnected wire Check all connectio...

Page 31: ...entre of mechanism Press red button on side of fan to re centre to stop it from catching Please see Evonic YouTube video 11 Connectivity Your router is not connecting with your fireplace Internet may be operating on 5hz frequency Try logging onto your router configuration page and change the frequency to 2 4hz to improve range App commands are not being processed by fireplace Same as above Also th...

Page 32: ...32 E Tab Controller 1 2 3 1 Volume control 2 Power button Press and hold for 3 seconds to turn ON OFF ...

Page 33: ...app can be used with both smart phone and tablet devices Utilising the e smart app will allow complete controllability of your Evonic product To download the e smart app please follow the below steps PLEASE NOTE Once fully charged the battery life of the E tab control system is roughly 24 hours and needs daily charging PLEASE NOTE e tab control systems already come with e smart app installed ...

Page 34: ...lecting your home wi fi This will pair the fire with your router Fig 3 5 Your Evonic product will now be paired and ready to operate 6 Under the settings panel located in the app you can now change the name of your fire Ensure you enter your e mail address as this is to identify between the fireplace and you You can also change units of temperature Fig 4 Fig 1 Fig 2 Fig 3 Fig 4 youremail mail com ...

Page 35: ...app The above screen will appear with your fire shown Single press Kalmar Please note It may take a few minutes for your fire to ap pear on the screen 2 Single press the flame icon to turn on the lights 3 Single press the heater button to turn on the heater 1 2 3 ...

Page 36: ...lays selected animation Single press arrow to reveal drop down menu D Side Lights Single press to turn on side lights E Lighting Single press to turn on off the fuel flame overbed lighting F Flame Lighting Slide left to darken or right to brighten G Fuel bed Lighting Slide left to darken or right to brighten H Speed Single press to adjust the speed of selected animation A B C D F E G H ...

Page 37: ...37 Setting timer 1 Select the clock icon to open up the main timer setting screen ...

Page 38: ...your fire to complete at the selected time Single press the Fire ON box to display a drop down menu 4 Then select the desired day of the week you would like the command to be set for Single press the desired day PLEASE NOTE Please de select all days before you press save on your timer 2 3 4 ...

Page 39: ...39 5 The following screen will then appear with your set timer You can choose to delete it using the trash icon 5 ...

Page 40: ... menu and select skills and games 4 Once open in the top right corner search e smart and the below skill option will appear Fig 1 5 Single press to select skill which will then open up the below page Fig 2 6 Once you press ENABLE TO USE you will be directed to the evonet page 7 To complete pairing Input the evonet account details you registered earlier in the e smart app setup You fireplace is now...

Page 41: ...exa turn fire off 2 Turning heater ON or OFF Alexa set fire heater to auto Alexa set fire heater to off 3 Changing temperature Alexa set temperature to 75 degrees Please note Alexa will only change temperature between 50 F 90 F Alexa make it cooler in there decrease 3 Alexa make it warmer in there increase 3 4 Animation selection Alexa set animation to still Alexa set animation to breathe Alexa se...

Page 42: ...f unauthorised repairs or modifications are made to the electric fire or in case of accident misuse or damage caused by improper installation or to damage occurring during transit to or from the repairer and altered or missing serial numbers Any parts which have been replaced under this warranty shall become our property The company shall not be liable for any consequential loss or damage what so ...

Reviews: