21
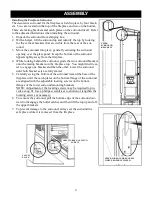
Note: It may be helpful to put a light coating of
dish or hand soap on the lag bolts to reduce resis-
tance when tightening.
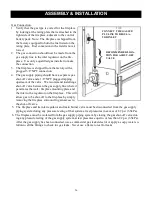
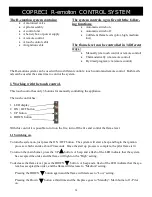
8. At this point, check to be sure that there is a 5/16”
air gap between the entire flat back surface of the
mounting plate and the wall surface. The gap is
critical to a safe installation and if the gap is ob-
structed in any way, remove the obstruction before
proceeding.
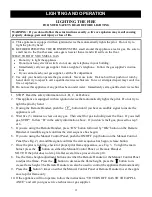
9. Next check that the brackets on the mounting plate
that actually hold the fireplace are level, again us-
ing a spirit level. If the brackets are not perfectly
level, you can adjust the right bracket by loosening
the bracket fasteners and moving the bracket until
it is level with the left bracket. Remember to
tighten the bracket fasteners once you have
achieved a level position.
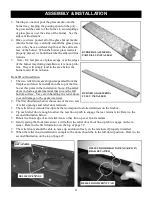
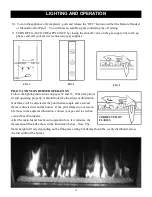
10. The next step is to install the vent starter pipe onto
the fireplace.
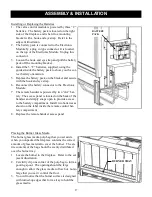
11. Remove the glass panel and glass frame assembly
from the front of the firebox by loosening and re-
moving the four glass frame fasteners that are lo-
cated along the top edge of the glass frame.
12. While holding the glass panel and glass frame
along the outer edges, tip the top of the glass frame
forward a few inches.
13. Wrap your fingers around the frame and hold the
glass and frame together while you lift the frame
up and out of the lower glass retainer. Set the
glass and frame assembly aside in a safe place.
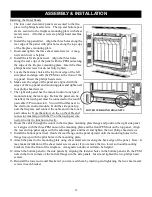
14. Carefully place the fireplace with the front down
on a protected floor.
15. At this point, it is necessary to determine whether
your installation will require the addition of flow
restrictors to the combustion air inlet system or the
exhaust outlet or both. Refer to the venting section
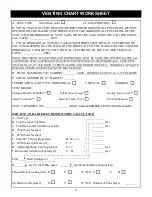
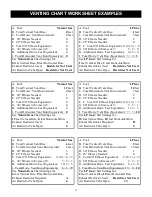
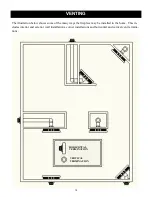
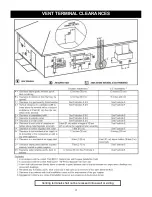
that starts on page
8
to make that determination.
16. If your installation does not require any restrictors,
place the vent starter pipe gasket on the back of the
fireplace aligning the holes in the gasket with the
pilot holes on the rear of the fireplace.
17. Align the inner pipe of the vent starter pipe with
the exhaust outlet pipe on the fireplace. The vent
pipe will fit tightly over the fireplace pipe. Gently
push the starter pipe on to the fireplace pipe until
the outer pipe flange makes contact with the starter
pipe gasket. Be sure that the holes in the starter
pipe flange align with the gasket and pilot holes.
When the flange contacts the gasket, install the
four fasteners provided with the starter pipe.
LAG BOLTS & WASHERS
LEVEL
LEVEL THE BRACKETS
INSTALLING THE
VENT STARTER
PIPE & GASKET
ASSEMBLY & INSTALLATION

