27
ASSEMBLY & INSTALLATION
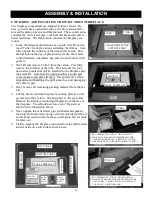
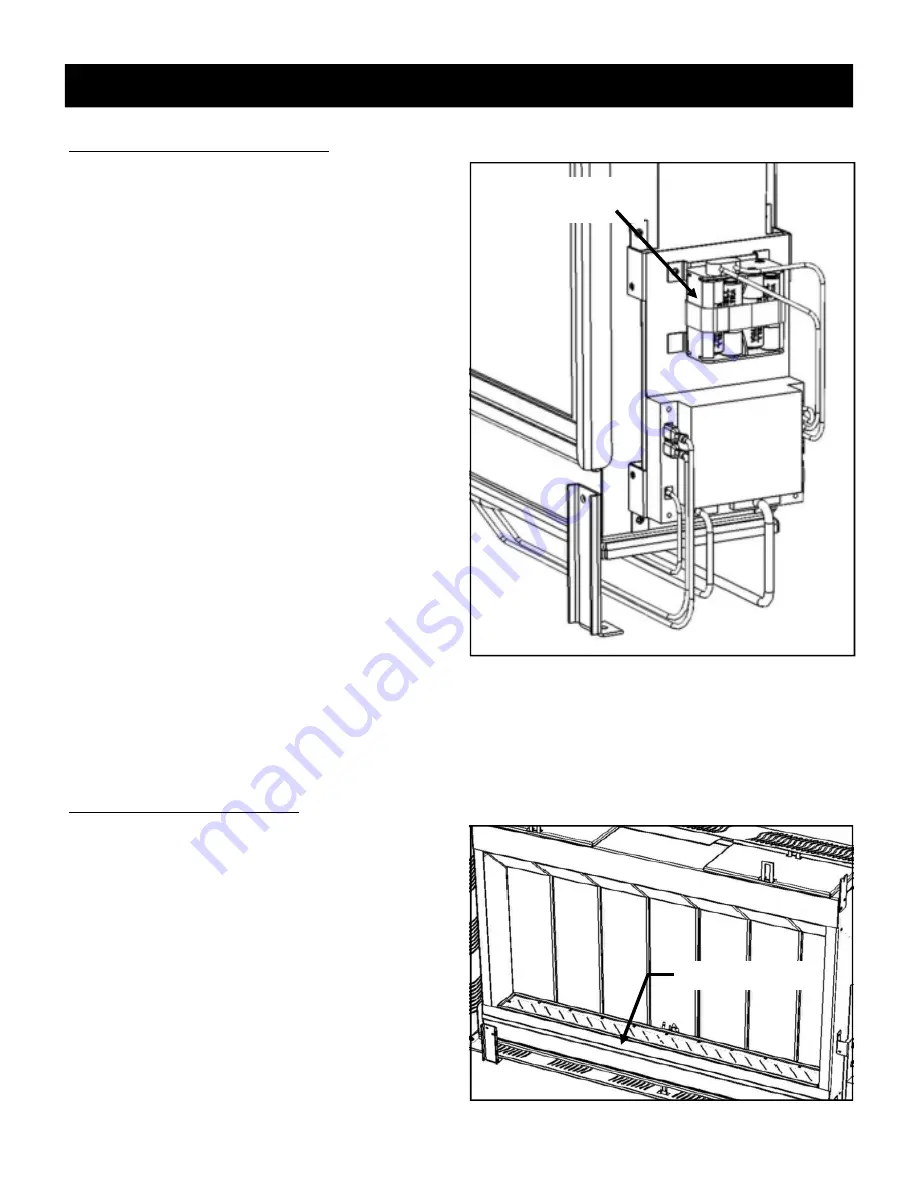
Installing or Replacing the Batteries
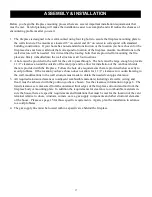
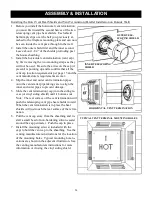
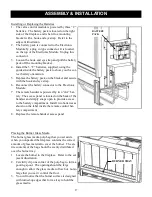
1. The valve control module is powered by three “C”
batteries. The battery pack is located on the right
side of the fireplace and is held to a mounting
bracket with a hook and eye strap. Refer to the
adjacent illustration.
2. The battery pack is connected to the Electronic
Module by a plug in type connector. It is located
on the top of the Electronic Module. Unplug this
connector.
3. Loosen the hook and eye strap and pull the battery
pack off the mounting bracket.
4. Install the 3 “C” batteries, supplied, using the
guides inside the battery pack to show you the cor-
rect battery orientation.
5. Replace the battery pack on the bracket and secure
with the hook and eye strap.
6. Reconnect the battery connector to the Electronic
Module.
7. The remote handset is powered by two “AA” bat-
tery. The access panel is located on the back of the
handset and simply snaps open to provide access
to the battery compartment. Install two batteries as
shown on the label inside the remote control bat-
tery compartment
8. Replace the remote handset access panel.
BATTERY
PACK
Placing the Burner Glass Media
The burner glass media poly-bag that you set aside
when you unpacked the fireplace contains the correct
amount of glass material to cover the burner. The en-
tire contents of the bag should be evenly distributed
over the burner tray.
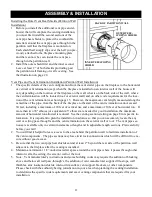
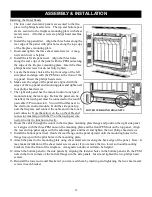
1. Locate the burner in the fireplace. Refer to the ad-
jacent illustration.
2. Carefully clip one corner of the poly-bag to form a
pouring spout. The opening should be large
enough to allow the glass media to flow but not so
large that you can’t control the flow.
3. You will notice that the burner surface is designed
with turned-up edges that form a tray to hold the
glass media.
BURNER TRAY

