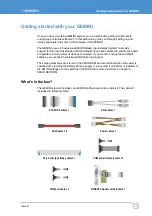
Getting started with your GEMINI
Issue D
15
Connecting a CompactFlash
®
card
The GEMINI has a single CF+ version 2.0 Type II CompactFlash
®
socket that supports
both Type I and Type II CompactFlash cards.
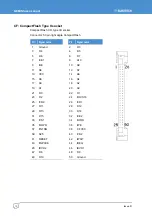
The CompactFlash socket is interfaced to the IDE controller. If a CompactFlash card is
plugged into the socket it acts as a normal hard disk drive and is detected by the BIOS
during the POST process. If the card has an operating system loaded and is correctly
configured to be bootable, it can be selected as a boot device from the BIOS boot menu.
The CompactFlash card can only be inserted into the socket one way. The correct
orientation is for the top of the card (i.e. the normal printed side) to be faced down to the
PCB.
For further details about the CompactFlash socket, see
on page
.
Connecting a keyboard
A PS/2 keyboard can be connected to the PS/2 MiniDIN Connector via the PS/2 cable
supplied. A USB keyboard can also be connected to any USB port available. See
on page
for more information.
Connecting a mouse
A PS/2 mouse can be connected to the PS/2 MiniDIN Connector via the PS/2 cable
supplied. A USB mouse can also be connected to any USB port available. See
on page
Using the serial interfaces (RS232/422/485)
The four serial port interfaces on the GEMINI are fully PC compatible. COM1 to COM4
are decoded at standard PC address locations. PC applications can use these ports
without any special configuration.
The BIOS setup screens are used to configure the operation of each of the serial ports.
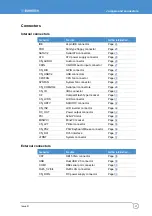
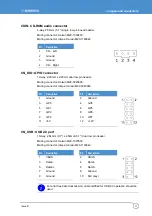
Connection to COM1 is via a standard DB9-M connector mounted on the PCB. COM2 to
COM4 are interfaced via a 10-way boxed header. The pin assignment of these headers
matches the standard 9-way D-Type plug one (pin to pin connection). A suitable cable is
provided in the box. The D-type connector is compatible with the standard 9-way
connector on a desktop machine.
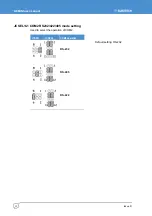
See
JSEL1/2: COM2 RS232/422/485 mode setting
for further details about
the serial port interface, and page
for pin details.


