GB
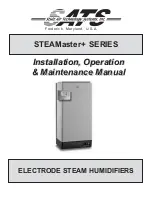
INTELLIGENT DEHUMIDIFIER
Warning:
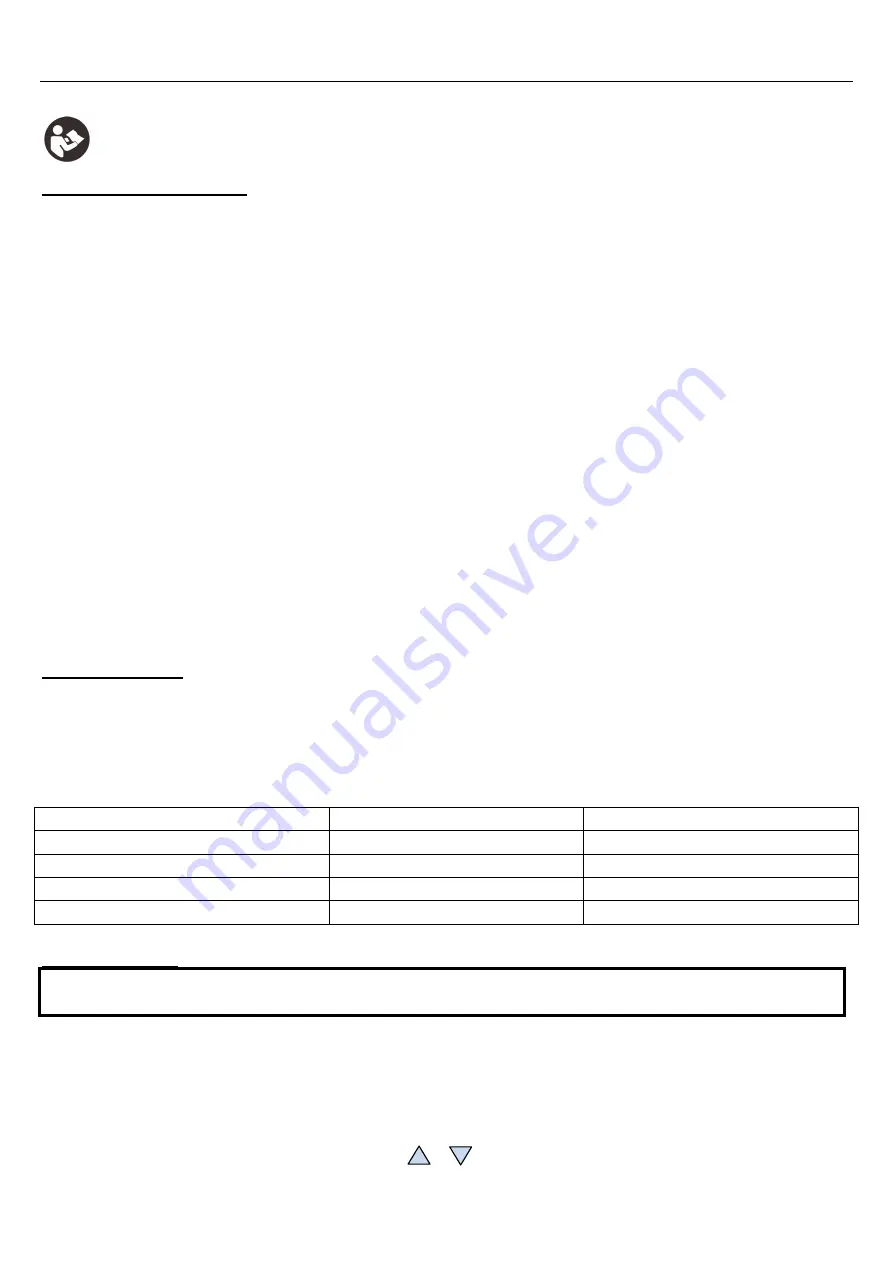
Please read this instruction manual carefully before using the instrument and keep it for future use.
A. SAFETY INSTRUCTIONS
1. The device is intended exclusively for private and not for commercial use. Only use this device as describe in this
instruction manual.
2. Before to use, make sure that the supply voltage corresponds with the voltage marked on the rating label.
3. Do not place any part of this appliance in water or any other liquid.
4. Do not handle the unit or plug with wet hands.
5. Unplug from the power outlet after use and allow the appliance to cool down completely before to clean it or to
move it.
6. When disconnecting the cable, always pull at the plug; do not pull on the cable itself.
7. When using the device, always pull the power cord completely from its housing to prevent overheating.
8. If the cord is damaged, it must be replaced by the manufacturer or its service agent or a similarly qualified person
in order to avoid an electric shock.
9. Never try to repair it by yourself. It must be repaired by the manufacturer or its service agent or a similarly qualified
person in order to avoid an electric shock.
10. The power cable must be checked regularly to avoid damage. If the power cable is damaged it must be replaced
by a qualified service center to avoid any danger.
11. Do not use outdoors.
12. Do not let the power cord on the edge of a table or work surface, and prevent it comes into contact with hot
surfaces.
13. Keep it away from heat sources such as radiators, to avoid deformation of plastic parts.
14. Do not use coarse or abrasive sponges/cloths or steel wool to clean the appliance.
15. This unit is not designed to be operated by means of an external timer or a separate remote control system.
B. INTRODUCTION
This device is intended for use in the removal of excess moisture from small rooms such as studies, walk-in closets
and bathrooms.
It works by way of thermoelectric cooling, which uses what's known as the Peltier effect to create a heat flux between
the junctions of two different types of materials. Using no compressor or moving part, the device quietly pulls
moisture from the air around it, removing muskiness and dampness from the room.
1. On/off switch
2. Green LED (power on)
3. Yellow LED (water tank is full)
4. Room Humidity (RH) level display
5. RH Up/Down buttons
6. Air inlet grill
7. Dry air outlet grill
8. Removable Water tank
9. Water tank pull-out handle
10. Water displacement hole
11. Hydraulic cut-off
12. Power adapter
13. DC power socket
14. Rubberized feet
C. HOWTO USE IT
Keep unit upright position whenever in use.
Ensure that inlet and outlet grilles are unobstructed.
To remove excess moisture from small rooms, place the dehumidifier in preferred area (max 20m
2
).
Insert smaller end of AC/DC power adaptor
⑫
into DC power socket
⑬
.
Connect other end to wall socket.
Toggle On/Off switch
①
to ON position.
Wait a few seconds until the humidity level display
④
reads current humidity level.
Set your desired relative humidity level by pressing / button (from 20% to 80%).
Display will flash then revert to showing current environment humidity.
When the relative humidity levels decrease below your set level by a value of 5%, the machine automatically turns off.
Summary of Contents for 46122
Page 1: ...INTELLIGENT DEHUMIDIFIER 46122 ...
Page 2: ......


