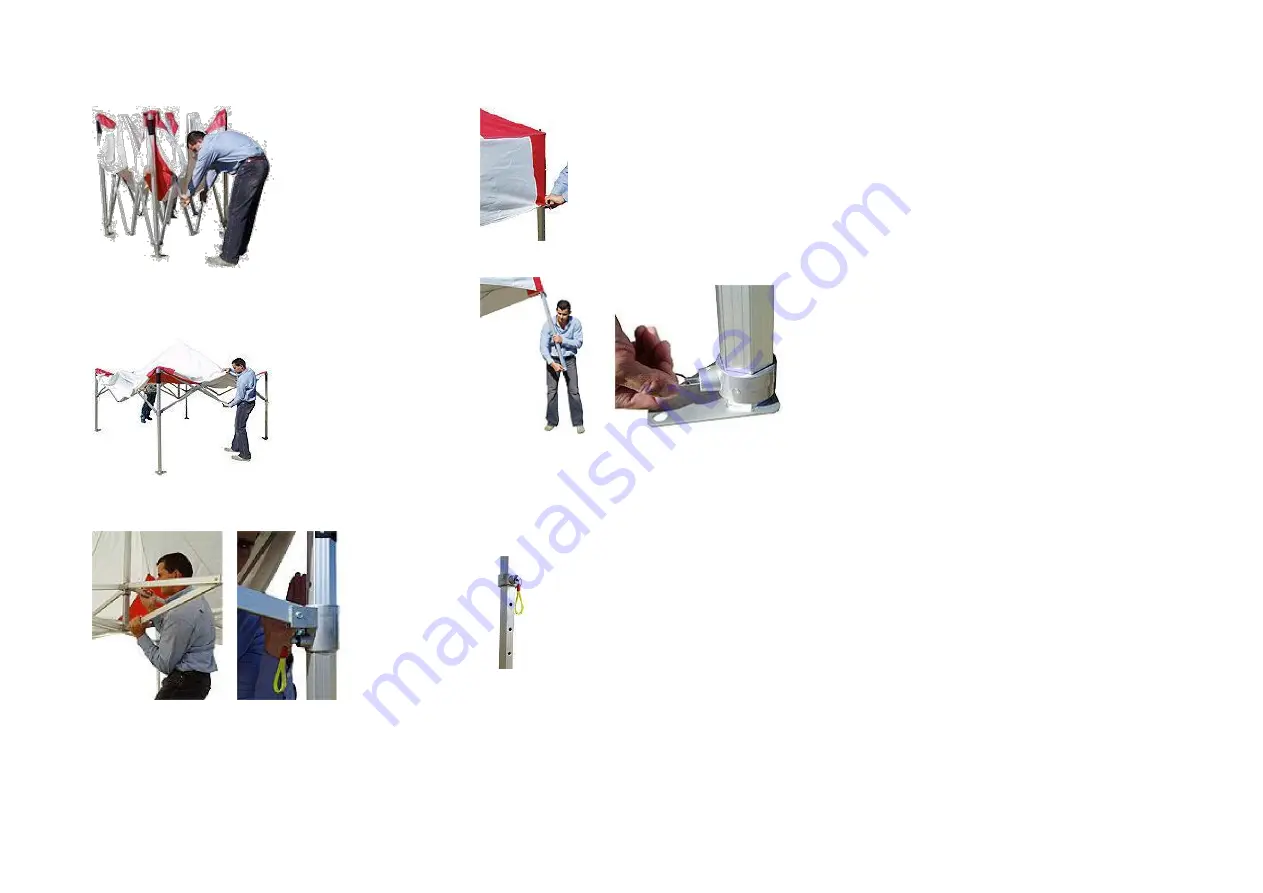
4 Grab the concertina sections on two
opposite sides, lift slightly off the ground to
and walk away from each other.
5 Take the upper and the bottom part of the
side section right in the centre and squash
towards each other.
7 Once the roof is fully extended, roll the
canopy back down over the corners.
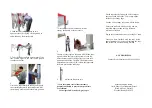
8
Grab two corner legs on the same side, lift the tent
up and release the joint at the bottom of each leg.
After the inner part of the leg slides out, lock into
position at one of the 5 heights. The height can be
adjusted any time after. Now release the joints and
lock into position the other legs.
Fit the tent sides by fitting the Velcro strips at
the top of each side to the Velcro strip on the
inside of the canopy edge.
Use the Velcro straps to secure walls to frame.
Ensure the walls are fitted correctly and are
stretched tight to make sure zip fasteners
will meet at corners.
Zip up the corners and centres (if using 6x3 tent)
Once you have finished with the tent, follow
the instructions in reverse to dismantle the tent
and return it to Event Furniture Limited
ANY PROBLEMS
Contact: Event Furniture Ltd. 01922 628961
6
Get inside, underneath the canopy and squash
the central spider while the other person lifts
the joints up until they all locked into position.
9
Adjust the height to suit.
10
It is absolutely crucial that the tent is
properly anchored to prevent any problems
or accidents!
Use weights and/or stakes & guy ropes.
Event Furniture Limited,
Unit2, Maple Leaf Industrial Estate
Bloxwich Lane, Walsall,
West Midlands, WS2 8TF


