79
LATCH/UAS (Rear-Facing and Forward-Facing)
Installing LATCH/UAS
8.
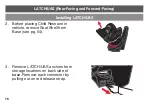
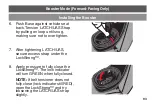
Push Base against vehicle seat
back. Tension LATCH/UAS Strap by
pulling on loop until snug, making
sure not to overtighten.
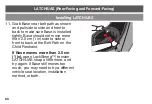
10.
Apply pressure to fully close the
LockStrong™. The lock indicator will
turn GREEN when fully closed.
NOTE:
If belt tensioner does not fully
close (lock indicator still RED), open
the LockStrong™ and try loosening
the LATCH/UAS strap slightly.
2
Tighten
Aprete
1
4
Instalación con conectores inf
er
iores
Lo
w
er Connector Installation
Open
Abre
Close
Cierre
Attach
Acople
25809061
10/20
3
V
ehicle Belt Installation
Instalación con cinturón del v
ehículo
Open
Abre
Route
Ruta
Close
and loc
k
3
Or
O
4
2
1
Tighten
lap belt
Cinturón par
a
regaz
o
Tighten lap/
shoulder belt
Apreta cinturón
par
a regaz
o y
hombro
25809059 10/20
Cierre y
bloquear
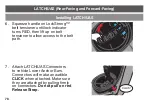
9.
After tightening LATCH/UAS,
secure excess strap under the
LockStrong™.


