Studio Pro 14
Installation and Operating Manual
North American Model
Jan 2019
Page
5
of
10
Stand Assembly
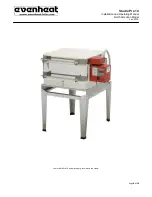
If you have chosen to place the Studio Pro 14 on the stand you will first need to assemble the stand.
CE marked Studio Pro 14 models MUST be
used with the Studio Pro 14.
Tools Needed: Phillips Screwdriver, 7/16” wrench
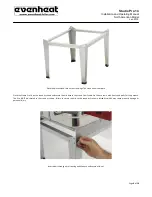
Stand Contents: 2 19-3/8” frame angles, 2 25” frame angles, 4 16” legs (20cm for CE marked models), 4 stand feet, 16 bolts, 16 nuts
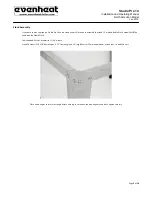
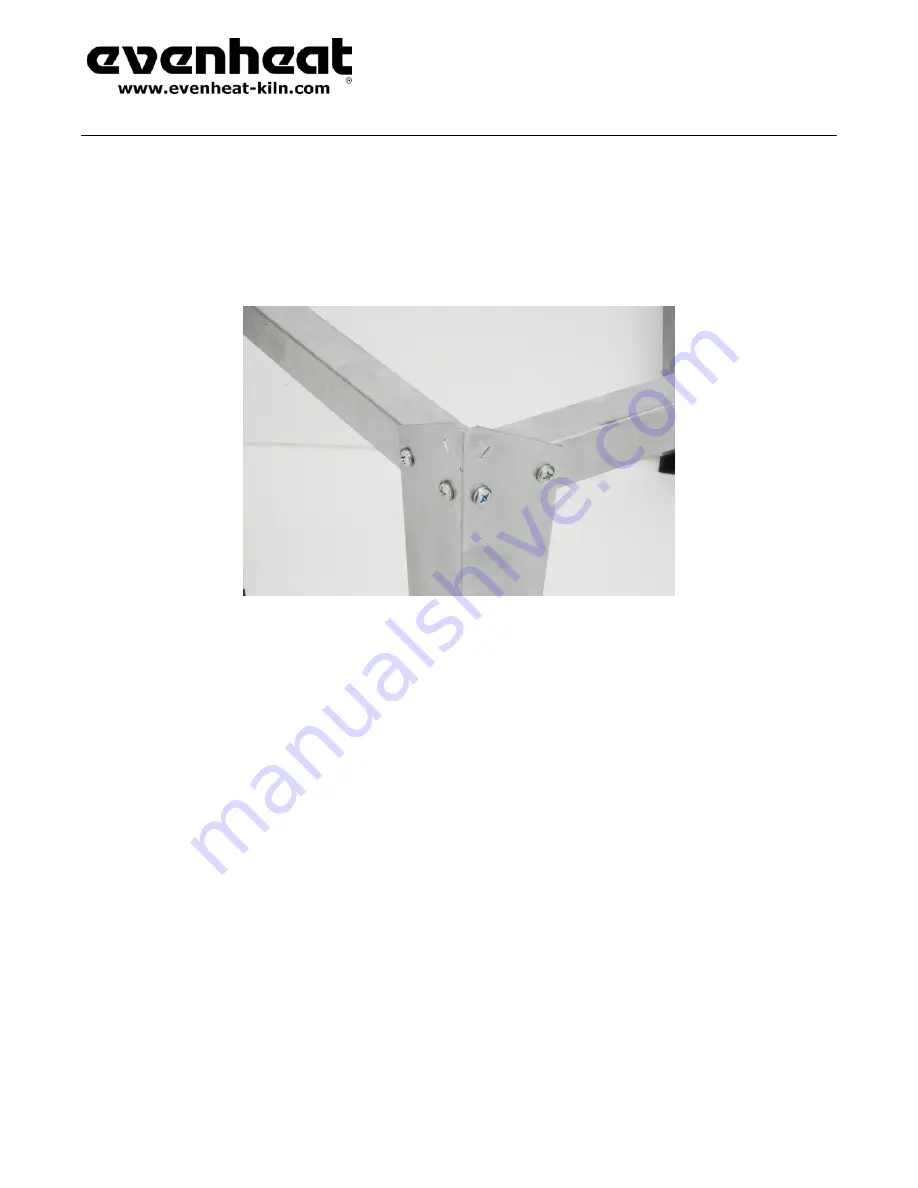
Place frame angles to form a rectangle. Attach each leg to corners as shown using nuts and bolts, tighten securely.

