Installation Overview
The EA-LAN1 provides convenient remote management of the controller over the
internet or local area network. There are a few steps to follow to properly install the
EA-LAN1 and ensure proper connection. An overview of these steps is given below,
and the rest of this guide is devoted to a detailed description of the process. To
perform these steps, you will need to have the controller and readers installed, and
will need a computer at the location of the install (we’ll call this the “Installation PC”).
This computer can be the administration PC that will be used to manage the system,
but it does not have to be. A laptop or other PC can be used for step 1-6, and the
administration PC (we’ll call it the “Admin PC”) must be used in step 7.
Step 1:
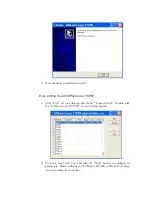
Install the EA-LAN1 software on the Installation PC using the CD included
with the EA-LAN1. Make sure that the installation PC is connected to the network
that will be used to manage the controller.
Step 2:
Connect the EA-LAN1 to the local area network using a LAN cable, and
power up the EA-LAN1.
Step 3:
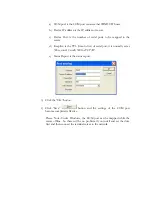
Using the software that you installed in Step 1 on the Installation PC, locate
the EA-LAN1 on the local area network and change the IP address on the EA-
LAN1.
Step 4:
Configure the EA-LAN1 as described in the detailed description later in this
guide.
Step 5:
Connect the EA-LAN1 to the controller. (Note: Perform this step only after
successfully completing steps 1-5)
Step 6:
Install the “COM Port Simulator” driver on the Admin PC using the CD
included with the EA-LAN1, and map the COM Port to be used.
Step 7:
Confirm that the controller is now available on the network. At the Admin
PC, open the EverAccess Flex Software and connect to the controller using the
COM Port mapped in Step 7.
Chapter
2

