EZN3160/3260
54
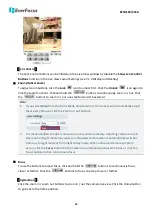
Auto mode without IR LED:
Select to let the camera automatically switch to Night mode
(black and white images with IR LED off) when the light levels fall to a specified level, and
back to Day mode (color) when the light levels rise to a specified level.
Night mode without IR LED:
Select to keep the camera in Night mode (black and white
images with IR LED off), even in daytime.
Schedule without IR LED:
Select to let the camera to switch to Day mode or Night mode (IR
LED off) based on the day and night schedule settings (see
7.2.3 Schedule
).
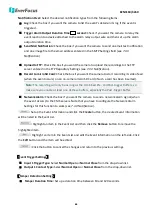
D/N Level:
This function can only be activated if you select
Auto
/
Auto mode without IR LED
mode in the Day/Night Settings field. Adjust the level (0 - 46 lux) for the camera to switch from
Day mode to Night mode based on the light level detected by the Light Sensor. Click
Apply
to
apply the changes or
Cancel
to cancel the changes and return to the previous settings.
Day Profile / Night Profile:
Select
Day Profile
to configure the following settings for daytime and select
Night Profile
to configure the following settings for nighttime. Click the
Apply
button to save the
settings.
Note:
Some settings in the Exposure Settings / Features may be grayed-out. To configure all the
settings, select
User Define
from the Day Mode / Night Mode drop-down list (see
7.2.2 Profile
).
【
Lens Settings
】
Click
Apply
to apply the changes or
Cancel
to cancel the changes and return to the
previous settings.
Focus Mode:
Select
Manual
to manually adjust the focus or select
Auto
to enable the Focus
button on the live view window (see
5.4 Live View Window
). Note that if you select
Auto
, the
camera will automatically adjust focus every time when you click the zoom in / out button on
the Live View window.
【
Exposure Settings
】
This function can only be set up in the
Advanced
tab and can only be activated
when you select
User Define
from the Day Mode / Night Mode drop-down list (see
7.2.2 Profile
). This
setting is used to adapt to the amount or type of light used by the camera. Click
Apply
to apply the
changes or
Cancel
to cancel the changes and return to the previous settings.
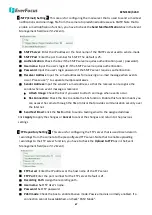
Mode:
Select a mode from the drop-down list.
Auto:
Selecting Auto for the camera to automatically adjust the Shutter based on the
measured light level.
ALC (Shutter Priority):
Selecting ALC (Automatic Light Control) allows the camera circuitry to
either take bright spots more into consideration (peak), bringing out detail in bright areas, or
less into consideration (average) bringing out detail in shadows.
Manual:
Select this option to manually set up the IRIS, Shutter (Manual) and AGC (Manual)
values.


