EZN3160/3260
55
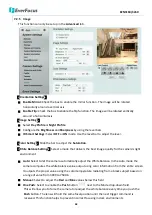
IRIS:
This function is only activated if you select
Manual
in the Mode field.
Shutter (Manual):
The function is only activated if you select
ALC
or
Manual
in the Mode field. If
enabled, this setting lets you set the shutter speed yourself (measured in fractions of a second).
AGC (Manual):
The function is only activated if you select
Manual
in the Mode field. Set the
Auto Gain Control limit here. The lower the AGC level, the lower the video signal and the noise.
Slow Shutter:
The function is only activated if you select
Auto
in the Mode field.
AGC:
The function is only activated if you select
Auto or ALC
in the Mode field. Set the Auto
Gain Control limit here. The lower the AGC level, the lower the video signal and the noise.
Flickerless:
The function is only activated if you select
Auto
in the Mode field. Choose between
OFF, 50HZ or 60HZ.
【
Backlight Compensation Settings
】
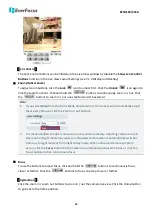
Backlight Compensation Settings is used to make the subject
appear clearer when it is set against a bright background. Click
Apply
to apply the changes or
Cancel
to cancel the changes and return to the previous settings.
OFF:
Select to switch Back Light Compensation functions off.
ON (BLC):
This option is useful when the background of the subject is very bright and the subject itself
is dark. The BLC will measure the light of the image center and the lens iris will automatically set for
optimal image quality.
BLC Edit Mode:
Click the
Enable
button, the BLC grids appear on the
image. Click on the grids to enable / disable the BLC function. The
selected grids (in green) will be applied with the BLC function.
【
Features
】
This function can only be set up in the
Advanced
tab. Click
Apply
to apply the changes or
Cancel
to cancel the changes and return to the previous settings.
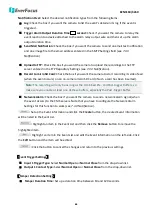
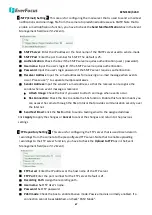
Noise Reduction (NR):
This limits the amount of digital “video noise” that is usually found in any
video stream, and helps to reduce file size. Select
Manual /Auto
to enable / disable the Noise
Reduction function. Slide the Level bar to set up the level. The higher the level, the more the
reduction.
2D DNR:
Select
Manual
to enable the 2D DNR function and use the slide bar to set up the level.
The greater the value, the more the reduction. Select
Auto
for the system to automatically adjust
to the optimal 2D DNR value.
Level:
Slide the bar to set up 2D DNR level.
3D DNR:
Select
Manual
to enable the 3D DNR function and use the slide bar to set up the level.
The greater the value, the more the reduction. Select
Auto
for the system to automatically adjust
to the optimal 3D DNR value.You can further set up the following two settings. You can reach
optimal results once two settings are balanced.

