- 58 -
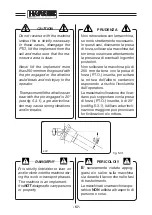
Nota
Durante il lavoro la scatola ingranaggi
può raggiungere, a causa del riscal-
damento dell'olio, una temperatura
tale che la superficie esterna può
“scottare”
al tatto; questo è normale
e non provoca danni. E'
importante
verificare comunque sempre che l'olio
sia al giusto livello e che sia del tipo
indicato (vedere tabella al par. 7.6).
Note
Since the oil heats, the gearbox may
reach a rather high temperature during
work and its outer surface may become
“
hot
” to touch.
This is normal and will cause no dam-
age. It is, however,
important
to always
check that the oil is at the correct level
and of the indicated type (consult the
table in paragraph 7.6).
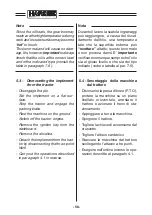
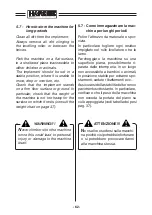
5.4 - Demounting the implement
from the tractor
- Disengage the pto.
Set the implement on a flat sur-
face.
Stop the tractor and engage the
parking brake.
- Rest the machine on the ground.
- Switch off the tractor engine.
- Remove the ignition key from the
dashboard.
- Remove the driveline.
- Detach the implement from the trac-
tor by disconnecting the three-point
hitch.
- Carry out the operations described
in paragraph 4.1 in reverse.
5.4 - Smontaggio della macchina
dal trattore
- Disinserire la presa di forza (P.T.O),
portare la macchina su un piano
livellato orizzontale, arrestare il
trattore e azionare il freno di sta-
zionamento.
- Appoggiare a terra la macchina.
- Spegnere il trattore.
- Togliere la chiave di accensione dal
cruscotto.
- Togliere l’albero cardanico.
- Staccare la macchina dal trattore
scollegando l’attacco a tre punti.
- Eseguire nell’ordine inverso le ope-
razioni descritte al paragrafo 4.1.
Summary of Contents for HARDEE HT3
Page 2: ......
Page 22: ...10...
Page 27: ...15 39914100 g 2 2 1 g 2 2 2 Z11 399143000 g 2 2 4 Z13 Z14 g 2 2 3 399CEE001 399CEE002 Z12...
Page 42: ...30 g 2 9 1 Z06...
Page 43: ...31 1 g 2 9 2 399CEE001 39914100 Z11 Z12...
Page 44: ...32 g 2 9 3 2 72 0386 00...
Page 45: ...33 3 g 2 9 4 72 0390 00...
Page 46: ...34 5 g 2 9 5 72 0391 00...
Page 50: ...38...
Page 98: ...86...
Page 106: ...94...
Page 107: ...95 9 Assembly instructions for Kit standing jack Schema di montaggio per Piedino di appoggio...
Page 108: ...STANDING JACK PIEDISTAL STUTZHALTER PIEDINO DI APPOGGIO HT2 1 10 12 11 4 5...
Page 110: ...7 3 6 2 4 5 STANDING JACK PIEDISTAL STUTZHALTER PIEDINO DI APPOGGIO HT3...
Page 112: ...7 12 12 8 10 9 11 6 STANDING JACK PIEDISTAL STUTZHALTER PIEDINO DI APPOGGIO HT4...
Page 114: ...STANDING JACK PIEDISTAL STUTZHALTER PIEDINO DI APPOGGIO HT6 7 11 11 8 10 9 12 6...
Page 116: ...STANDING JACK PIEDISTAL STUTZHALTER PIEDINO DI APPOGGIO HT9 8 13 13 9 11 10 12 7...
Page 118: ......
Page 119: ......

