B
3.7 Front X Wheels
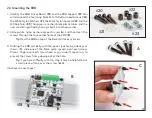
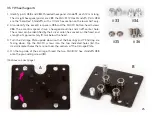
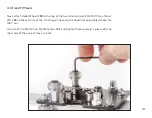
1. Identify parts
#37
,
#38
, and
#39
, the M4×22 But-
ton-head Screw, Roller Wheels, and M4 Nylon Locknuts.
The screws are the longest in the kit, 22 mm long, with a
hexagonal socket on the head. The M4 Locknuts have a
hexagonal outline and rounded tops.
2. Also locate the thick M4×7×3 Spacers
#30
and M4×10×1
Stamped Washers
#31
which will be used in this step. (Re-
fer to §3.3, “Spacers, shims, and washers” on page 23
for more about identifying these parts.)
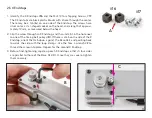
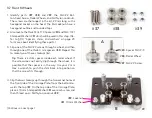
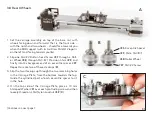
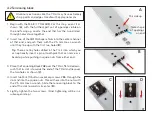
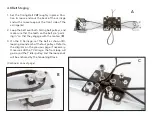
3. Slip one of the M4×22 screws through a wheel, and then
through one of the thick 3 mm spacers
#30
. Repeat this
to make two of these stackups (
A
).
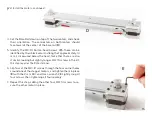
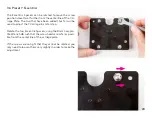
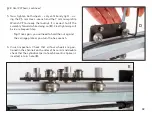
4. Slip the two stackups up through the two corner holes at
the front side of the Carriage Plate, from the bottom to-
wards the top (
B
). On the top side of the Carriage Plate,
place a 10 mm Stamped Washer
#31
over each screw and
then thread on an M4 Nylon Locknut
#39
.
#37
A
#38
#39
#37
, M4×22 Screw
#31
, 10 mm Washer
#39
, Locknut
#30
, Spacer M4×7×3
#38
, Roller Wheel
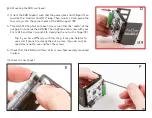
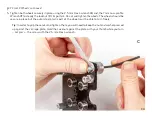
Tip:
There is a shim spacer inside each roller wheel. If
the screw does not easily slip through the wheel, it is
possible that the spacer is in the way. Use your 2 mm
Hex L-wrench to push the shim back into position so
that the screw fits through.
(Continues on next page)
29
Summary of Contents for AxiDraw MiniKit 2
Page 5: ...Part 1 Tools 5...
Page 8: ...Part 2 The Base 8...
Page 20: ...Part 3 The X Carriage 20...
Page 35: ...Part 4 Y Belt and Z 35...
Page 55: ...Part 5 Servo and wiring 55...

