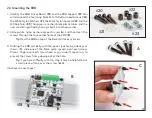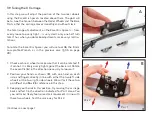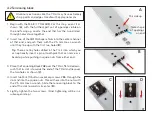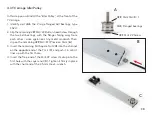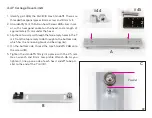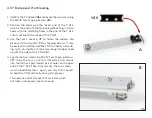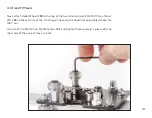
3.8 Rear X Wheels
(Continues on next page)
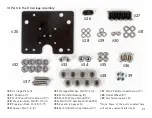
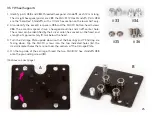
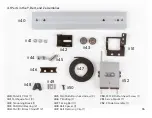
#37
, M4×22 Screw
#29
, Shim, M4×8×1
#35
, Eccentric Spacer
#38
, Roller Wheel
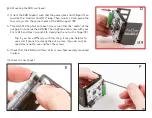
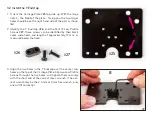
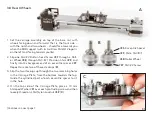
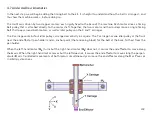
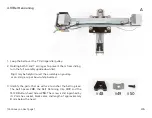
1. Set the carriage assembly on top of the base rail, with
wheels facing down and forward. That is, the front side –
with the notch and two wheels – should face towards you
when the EBB support (with its AxiDraw MiniKit 2 logo) is
on the left and facing towards you (
A
).
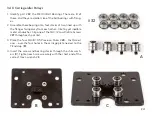
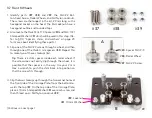
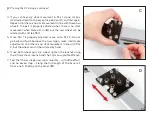
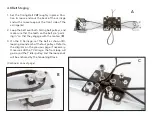
2. Slip one M4×22 Button-head Screw
#37
through a Roll-
er Wheel
#38
, through M4×8×1 Precision Shim
#29
, and
finally into the hexagonal end of an eccentric spacer,
#37
.
Repeat to make two of these stackups (
B
).
3. Slip the two stackups up through the two remaining holes
in the Carriage Plate, from the bottom towards the top.
Guide the cylindrical part of each eccentric spacer to sit
in the hole.
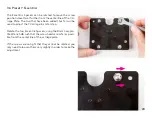
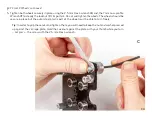
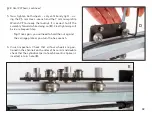
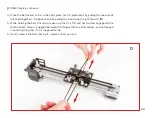
4. On the top side of the Carriage Plate, place a 10 mm
Stamped Washer
#31
over each protruding screw and then
loosely thread on a M4 Nylon Locknut
#39
(
C
).
A
B
C
31
Summary of Contents for AxiDraw MiniKit 2
Page 5: ...Part 1 Tools 5...
Page 8: ...Part 2 The Base 8...
Page 20: ...Part 3 The X Carriage 20...
Page 35: ...Part 4 Y Belt and Z 35...
Page 55: ...Part 5 Servo and wiring 55...

