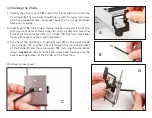
4.13 Adding the Z Slide
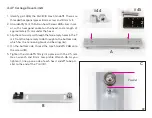
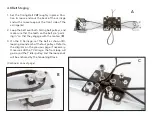
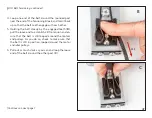
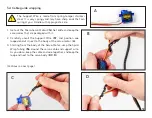
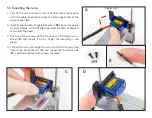
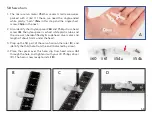
1. Identify the servo mount,
#51
, and test fit it over the front end of the
Y carriage (
A
). The two holes should line up with the lower two holes,
which you tapped earlier. It extends above the Y carriage, and folds
back over it slightly.
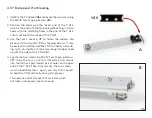
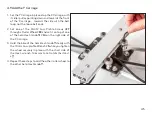
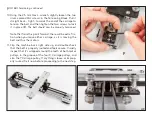
2. Identify part
#52
, the Z slide assembly. This has two parts, a front face
with two small holes and one large slot, and a smaller rear mounting
bracket with two smaller slots in it. Check that the front face slides
freely with respect to the mounting bracket.
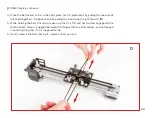
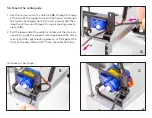
3. Put one of the M4×12 Torx Tapping Screws
#17
on the tip of the
#2
Torx L-wrench (B), and then insert it through the mounting bracket
of the Z slide (
C
) and the servo mount (
D
), matching the orientation
shown.
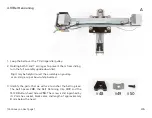
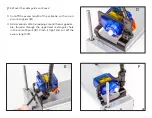
Important: Take care that the screw head touches only the
back mounting bracket of the Z slide, not the front face.
(Continues on next page)
A
B
C
D
53
Summary of Contents for AxiDraw MiniKit 2
Page 5: ...Part 1 Tools 5...
Page 8: ...Part 2 The Base 8...
Page 20: ...Part 3 The X Carriage 20...
Page 35: ...Part 4 Y Belt and Z 35...
Page 55: ...Part 5 Servo and wiring 55...

