background image

11

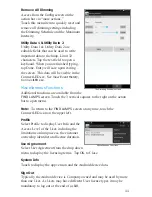
Remove All Dimming

Access from the 

Con

fi

 g 

screen on the 

action bar via “more actions.”  
Touch this menu item to quickly reset and 
remove all dimming settings including 
the Dimming Schedule and the Maximum 
Intensity. 

Utility Data 1 & Utility Data 2

Utility Data 1 & Utility Data 2 are 
editable fi elds that can be used to write 
important data to the lamp. Limit 32 
characters. Tap the text fi eld to open a 
keyboard. When you are fi nished typing, 
tap Done. Entry will save upon exiting 
the screen. This data will be visible in the 
ConnectLED.csv. See 

View Event History, 

ConnectLED.csv.

Miscellaneous Functions

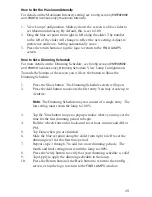
Additional functions are available from the 

FIND LAMPS

 screen. Touch the 3 vertical squares to the right on the action 

bar to open menu. 

Note:

  To return to the 

FIND LAMPS 

screen at any time, touch the 

ConnectLED icon on the upper left. 

Profi le

Select Profi le to display User Info and the 
Access Level of the User, including the 
limitations on lamp access, the customer 
ownership identifi er and license duration.


User Agreement 

Select User Agreement from the drop down 
menu to display the licensing terms.  Tap OK to Close.

System Info 

Touch to display the app version and the Android device data. 

Sign Out

Typically, the Android device is Company owned and may be used by more 
than one User. As Users may have different User license types it may be 
mandatory to log out at the end of a shift.

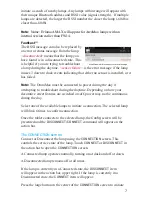
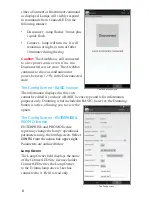
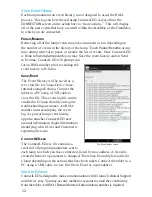
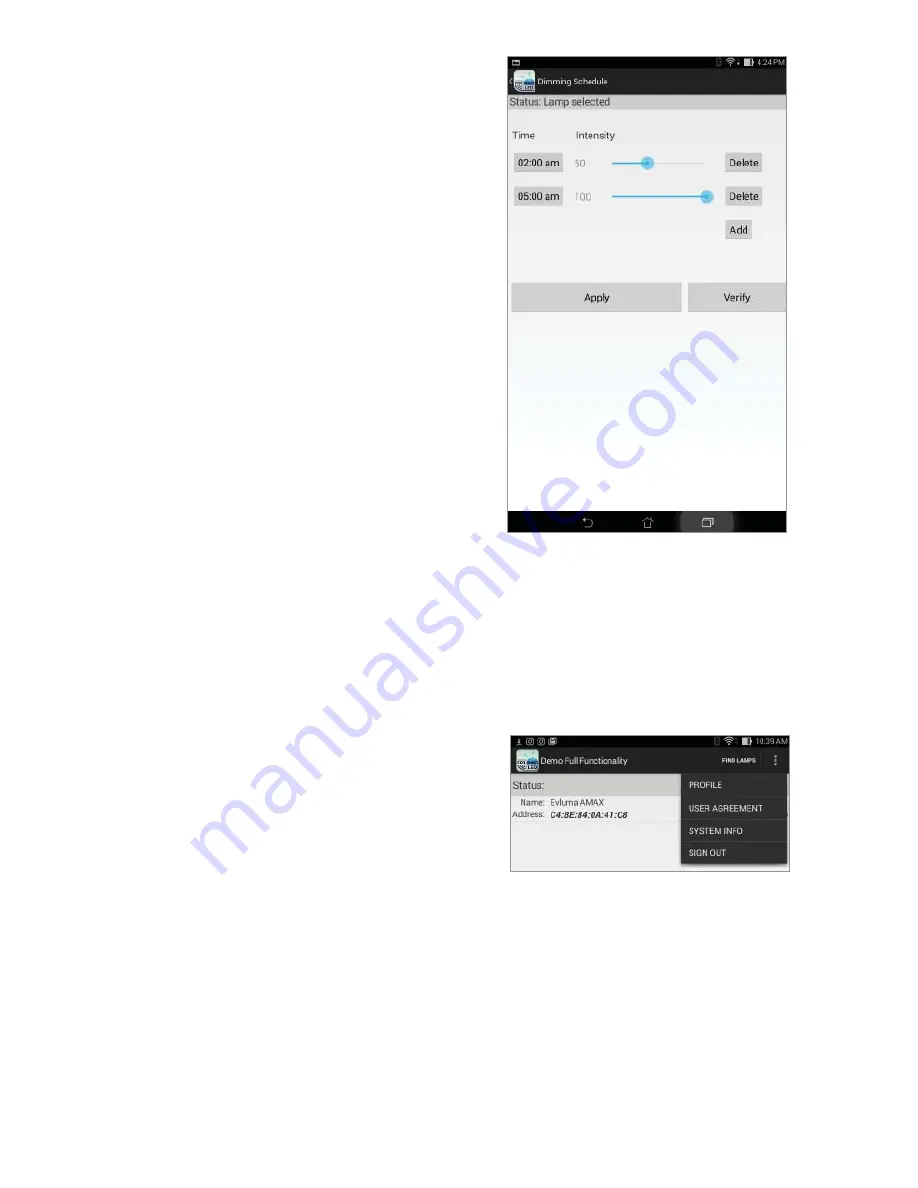
The Dimming Schedule screen

Miscellaneous Functions

Summary of Contents for ConnectLED

Page 1: ...ConnectLED Reference Guide Android Tablet v2 2 PN 100478 001 Rev A02 Evluma...

Page 2: ...a WiFi Source 4 To Start Google Maps 4 To Turn Off ConnectLED 4 System Updates 4 App Updates 4 ConnectLED Operation Overview 5 Licenses and Security 5 User License Types 5 License Renewals 5 Function...

Page 3: ...iscellaneous Functions 11 Profile 11 User Agreement 11 System Info 11 Sign Out 11 View Event History 12 Pause Resume 12 Save Send 12 ConnectLED csv 12 Send to Evluma 12 Common Tasks 13 How to Connect...

Page 4: ......

Page 5: ...itions ConnectLED is also available for Windows 7 8 1 and 10 laptops and for Apple iOS 8 or higher Please contact Evluma for more information or see www evluma com Compatible Android Tablets V2 2 is c...

Page 6: ...ply evluma com After setting password Users then log on through the app For more details see the ConnectLED Customer Admin Guide on evluma com connectled Upgrading v2 1 to v2 2 Uninstall ConnectLED fr...

Page 7: ...ration Pressing Back may be required to end a current operation The Active Program List button is on the right This is a list of current programs being used and allows a quick way to switch between ap...

Page 8: ...urrent GPS location of tablet To Turn Off ConnectLED To turn off ConnectLED touch the Active Programs button and swipe the ConnectLED application to the right You may also press the Clear All button S...

Page 9: ...p becoming the Lamp Owner regardless of the User type User License Types There are three types of User licenses available for ConnectLED BASIC ENTERPRISE and PROMO The BASIC license has restricted fun...

Page 10: ...d devices are WiFi only You will need to be connected to the Internet the first time you log on to ConnectLED Logon credentials are permanently cached as an internet connection may not be available at...

Page 11: ...uring the daytime Depending on how your decorative street fixtures are switched on off power may not be continuous during the day Select one of the available lamps to initiate a connection The selecte...

Page 12: ...n BASIC license The information displayed in this view cannot be edited if you have a BASIC license type and is for information purposes only Dimming is not included in BASIC however the Dimming butto...

Page 13: ...e is 100 to 20 If the Maximum Intensity is set the light output of the lamp will never exceed this setting This establishes the overall maximum brightness of the lamp A dimming schedule may be created...

Page 14: ...r Show button will open the Dimming Schedule screen If no dimming schedules have been set the screen will initially be blank Press the Add button to bring up a default time and intensity Adjust approp...

Page 15: ...ns are available from the FIND LAMPS screen Touch the 3 vertical squares to the right on the action bar to open menu Note To return to the FIND LAMPS screen at any time touch the ConnectLED icon on th...

Page 16: ...Internal storage Evluma Connect the tablet to a PC using a USB cable to view this file This event log file can be emailed to Evluma should you require troubleshooting assistance An RMA number must acc...

Page 17: ...et lamp location optional See also To Initialize ConnectLED GPS WiFi Google Maps 1 Touch the Settings icon to open the Settings screen 2 Under Wireless Networks touch WiFi 3 Touch the WiFi switch to t...

Page 18: ...ct an AreaMax or OmniMax You may wish to connect or re connect an AreaMax or OmniMax to service if it has previously been disconnected 1 Tap the logo on the Home screen to launch ConnectLED Log on 2 C...

Page 19: ...Show the Dimming Schedule 1 Press the Show button The Dimming Schedule screen will open 2 Press the Add button to activate the first entry You may create up to 4 entries Note The Dimming Schedule may...

Page 20: ...e three types of Authentication Alerts indicating that you are either unable to authenticate your logon because of a lack of internet connection or an issue with your license Sign in Failed No interne...

Page 21: ...or message Follow the instructions in SB20170606 1 Appendix AAndroid If you have attempted to restore the Time Setting and you still receive the error message please contact Evluma Customer Support Di...

Page 22: ...salesperson or call 425 336 5800 Option 2 http www evluma com contact html Warranty V2 1 tablets provisioned by Evluma warrantied for 6 months from the date of shipment Evluma AreaMax OmniMax Connect...

Reviews: