
EVO REV 600 ELLIPTICAL TRAINER
Visit us at:
www.evofitness.com
16
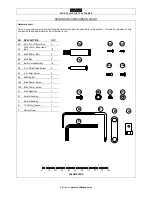
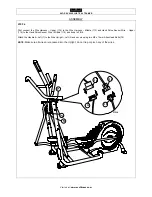
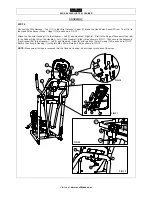
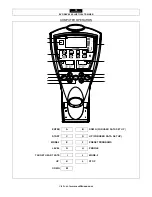
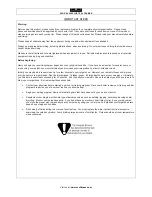
ASSEMBLY
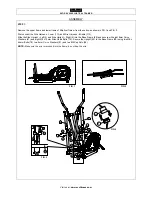
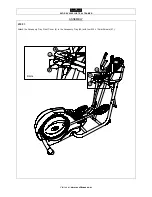
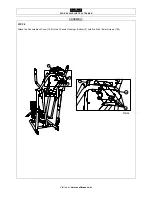
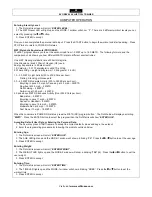
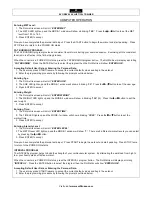
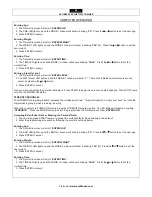
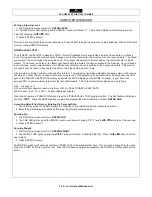
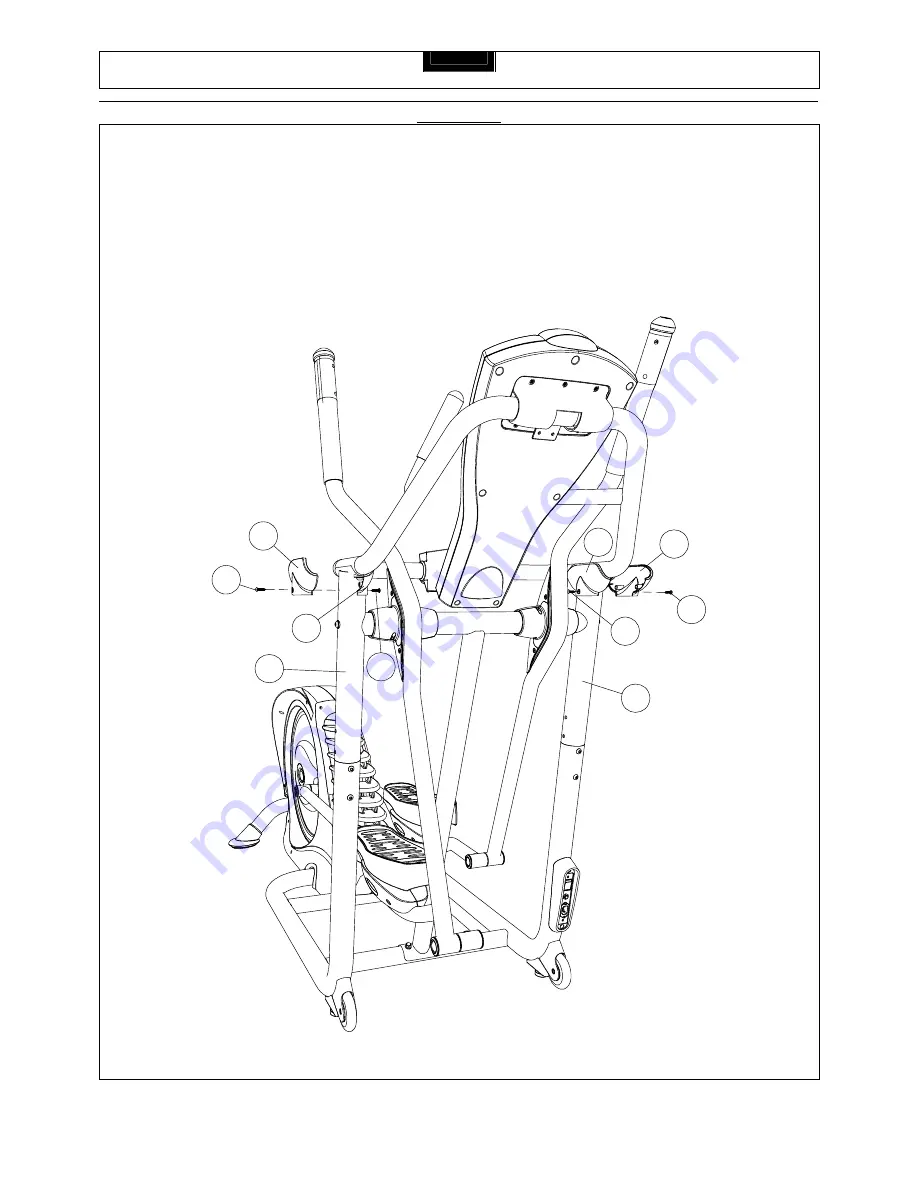
STEP 9
:
Attach the Side Upright Top Cover #1 (59) and Side Upright Top Cover #2 (60) to the Side Upright – Left (5) and Side
Upright – Right (6) then secure using four #4 x 19 Drill Head Screws (95).
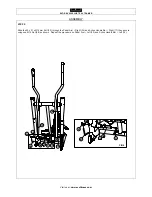
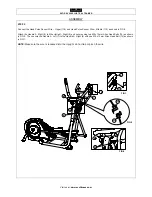
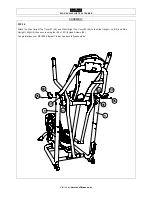
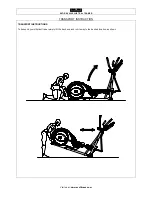
Congratulations your REV600 Elliptical Trainer has been fully assembled.
60
95
59
95
60
59
95
5
6
95


