-7-
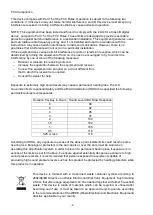
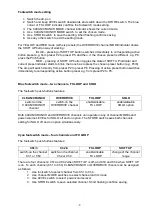
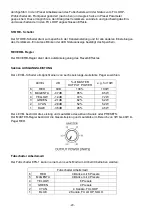
Footswitch mode setting
1. Switch the amp on
2. Switch and keep LEVEL switch downwards and switch down the STORE switch. The blue
colour of FX LOOP indicator confirms the footswitch mode setting.
3. The CLEAN/CRUNCH MODE channel indicator shows the current mode.
4. Use CLEAN/CRUNCH MODE switch to set the chosen mode.
5. Use STORE switch to save the setting. Short flashing confirms saving.
6. Use any other switch to exit the setting mode.
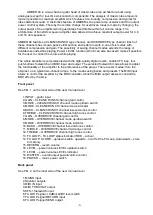
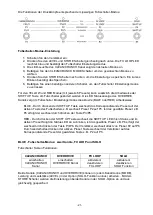
For YELLOW and RED mode (with six presets) the OVERDRIVE channel MODE indicator shows
the SHIFT UP button way of working:
BLUE
– pressing of SHIFT UP button switches immediately to corresponding active
button preset e.g. from preset P2 to preset P5, and then, if the chosen preset is different e.g. P6,
press the P3/6 button
RED - pressing of SHIFT UP button toggles the state of SHIFT UP indicator and
current preset indicator starts to blink, then one has to press the chosen preset button (e.g. P3/6).
The amp will switch directly from preset P2 to preset P6. Pressing of active preset button switches
immediately to corresponding active button preset e.g. from preset P2 to P5.
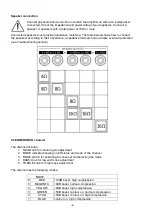
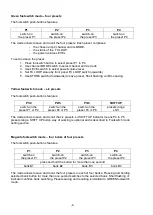
Blue footswitch mode
– two channels, FX LOOP and SOLO
The footswitch push-buttons features:
CLEAN/CRUNCH
OVERDRIVE
FX LOOP
SOLO
switch-on the
CLEAN/CRUNCH
channel
switch-on the
OVERDRIVE channel
enable/disable
FX LOOP
enable/disable
SOLO option
Both CLEAN/CRUNCH and OVERDRIVE channels can operate in any of channel MODEs and
power/volume LEVELs for SOLO off and on option. The STORE switch saves both channels
setting for SOLO off and on option simultaneously.
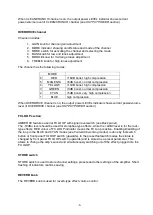
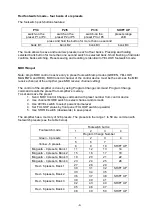
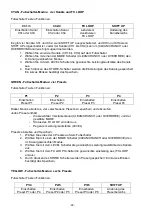
Cyan footswitch mode
– four channels and FX LOOP
The footswitch push-buttons features:
Ch1/3
Ch2/4
FX LOOP
SHIFT UP
switch-on the channel
Ch1 or Ch3
switch-on the channel
Ch2 or Ch4
enable/disable
FX LOOP
change of the channel
range
There are four channels: Ch1 and Ch2 when SHIFT UP is off, and Ch3 and Ch4 when SHIFT UP
is on. To each channel (Ch1 to Ch4) CLEAN/CRUNCH or OVERDRIVE channel can be assigned
as follows:
1. Use footswitch to select channel from Ch1 to Ch4
2. Use channel MODE switches to select channel and its mode
3. Use LEVEL switch to select power/volume level
4. Use STORE switch to save selected channel. Short flashing confirms saving.
Summary of Contents for AMBER 40
Page 14: ... 14 ...


