1. Upon receiving your walker, please check the contents carefully. Report any missing items to your
dealer or place of purchase immediately:
2. Contents of your walker are as follows:
a. Folded walker complete with main frame, seat, handles, and wheels already installed.
b. A pair of handles (attached to walker by brake cables)
c. A soft folding basket
d. Two handle adjustment knobs and two knob bolts
e. Back support
f. Warranty Registration Card
g. Owner’s Manual
h. Soft seat cushion
3. Backrest Assembly
a. Using a Phillips screwdriver, remove screws, washers and nylock nut from back support anchor
points.
b. Insert back support on one side and align holes of back support and anchor point (figure 1).
c. Insert screw, washer and nut and tighten securely (figure 2).
d. Repeat for second side.
STEP ONE >>
Putting your walker together:
STEP TWO >>
Checking the brakes and wheels:
1. Adjust brake cable from time to time (see Brake Adjusting)
2. Check tightness of nut and bolts regularly.
3. Check frame and tire integrity at least once a month.
To FOLD your walker, pull on the seat center handle and the walker will remain standing up.
To UNFOLD the walker, simply push down on the handle in the middle of the seat making sure the
walker locks in the fully open position.
Caution: Ensure the center seat handle is level with the seat before sitting.
To carry the walker while folded, simply pick it up by the center handle and lift the walker carrying it at
your side like a suitcase.
Apply the brakes by pulling both brake handles upwards. Do not walk with brakes on.
Press down on both brake handles unbrakes are engaged. Pull upwards to release the parking brakes.
When using the seat, press down on both brakes until you hear a distinct click sound. Always make sure
both brakes are engaged in the locked position (down) before sitting on the walker. Do not sit on the
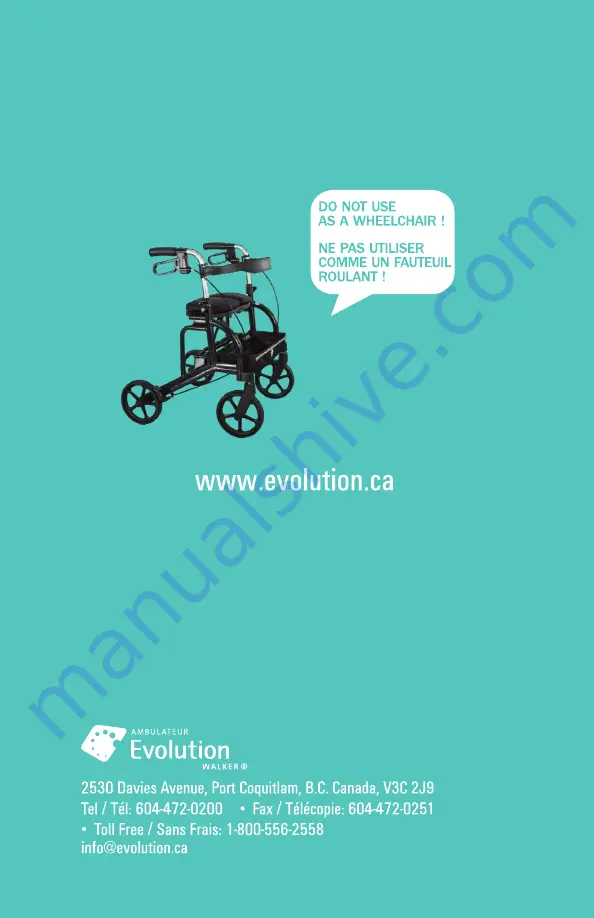
walker without the brakes on and do not use the walker as a wheelchair.
STEP THREE >>
Maintenance and care of your walker:
Folding, Unfolding, and Carrying your walker:
Brake Adjusting:
Brakes:
Parking Brakes:
Your nearest Evolution dealer will be pleased to assist you with the assembly and/or maintenance of
your walker.
Assistance:
Adjust handles to prescribed height by adjusting the handle knobs and knob bolts:
Installing Basket:
Factory Repair Information >>
Warranty only covers manufacturer defects. If the problems with your walker are deemed to be the
result of improper use, such as hitting curbs, hit-opening doors, wear & tear, etc., it will not be covered
under warranty. We reserve the right to determine if your walker has been misused.
Furthermore, the warranty only covers the parts required to fix the defects.
A few things to remember:
Sierra Air
To install the soft folding basket, fold the walker slightly and wrap
the hook-and-loop fastener around the frame of the walker
4. Adjust handle height. Put Knob Bolts through from inside. Tighten until it is snug.
Caution: Do Not Overtighten.
1. The Evolution braking system provides safety and ease of operation. Hold (squeeze) to brake and
press down on the brake handle for parking.
2. Check braking system. The wheels should stay locked while parking brake is activated.
3. Do not activate parking brake while walker is moving. This may cause permanent damage to the
wheels.
4. Always activate parking brake before using the seat.
From time to time you might need to adjust the tension on the
brake cable system. To increase the tension on the brake cable
simply loosen brake adjusting nut “A”, unscrew the knurled
end piece “B” and turn it COUNTER CLOCKWISE about four
complete turns. “A” and “B” are found at the back of the brake
handle. When desired tension is reached, retighten the nut. No
tools are necessary to perform this adjustment.
To adjust the handles to a suitable height, stand behind the walker with your shoulders level. The
handles should be at the same height or slightly higher than the user’s wrist. A therapist might suggest
a different handle height to accommodate a specific need for the user.
To adjust the handles, remove the knob and pull
the hex bolt out, adjust the handle to the
prescribed or desired handle height and insert the
hex bolt, ensuring that the hexagonal part of the
bolt fits properly on the hexagonal cut out on the
frame of the walker, and tighten the knob snugly.
Caution: Do not over-tighten.
Evolution’s motto is ‘Committed to Providing Unsurpassed Quality & Service’. Our goal is to provide you
the best service in the industry. If you encounter problems with your Evolution Walker or need help,
please:
1. Review your documentation: You will find printed documentation shipped with your Evolution
walker. They contain maintenance guides and installation information.
2. Call or visit your Evolution dealer: They will be able to give you the assistance you need or determine if
your walker is eligible for warranty repair.
3. Alternatively, contact Evolution Customer Service at: 1-800-556-2558 (U.S. and Canada). We will be
more than happy to assist you in locating a dealer nearby.
SA1.4
Each walker comes with a lock strap to keep the walker in the folded position when not in use. To use
the lock strap, simply fold the walker and latch the lock strap to the opposite end. To undo the lock
strap, gently twist the latch off of the opposite end and the strap will unlatch.
Lock Strap:
Summary of Contents for Sierra Air
Page 1: ...Sierra Air...
Page 6: ...SA1 4...


