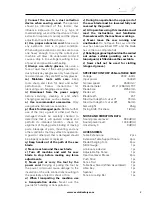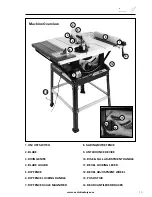
Fig 33
Removing the access plate.
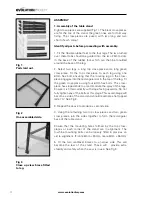
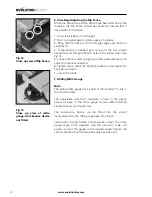
Fig 34
Close up of removing
the blade using the tools
provided.
22
www.evolutionfury.com
1. Disconnect the machine from the power supply
2. Remove the blade guard. (see Assembly 7)
3. Remove the table access plate by removing the two
countersunk head screws from either end of the access plate.
Lift the plate away and carefully store it and its fixing screws
for future use. See Fig 33.
4. Raise the blade to its highest position.
5. Use the two blade changing tools provided. One to hold the
motor arbor, and the other to loosen the arbor nut. See Fig 34.
6. Remove the nut, outer flange and blade.
7. Fit the new blade. Ensure that the teeth are facing to the
front of the saw, and that the arrow on the blade is in line with
the motor direction.
8. Replace the outer flange and nut and tighten securely with
the spanners provided. Check that both blade flanges are in
contact with the blade.
9. Replace the table access plate and its fixing screws. Ensure
that the fixing screws are correctly seated.
10. Replace the blade guard.
Cleaning
After each use the machine should be cleaned. Remove all
sawdust etc from the visible parts of the machine with a
vacuum cleaner. A vacuum cleaner can also be connected to
the machine dust extraction port at the rear of the machine.
This should remove debris from the inside of the machine.
Never use solvents to clean plastic parts, as solvents can
damage them. Clean only with a soft damp cloth.
Riving Knife
The riving knife is a very important component and comes
factory fitted and correctly aligned and adjusted. The riving
knife prevents the work from binding as it passes through the
blade. Inspect the riving knife at regular intervals and replace
it if it is worn or damaged.


