13
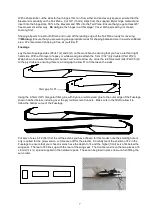
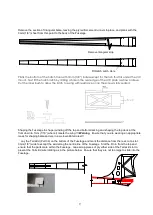
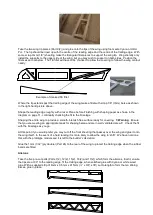
Take the two wing tip pieces (Part 9(2)) and glue onto the tips of the wing using foam safe Cyano or UHU
Por. The tip should be lined up with the centre of the leading edge and the centre of the trailing edge. With
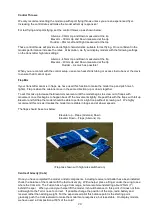
some scrap 3mm (1/8”) sheeting make the triangular fillet pieces to support the wing tip. We generally only
install the supports to the upper side of the wing, but you may wish to support on both sides. Position the
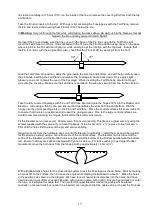
fillets as set out below. The TE fillet will have to be ‘cranked’ to allow the covering to follow the wing contour
neatly.
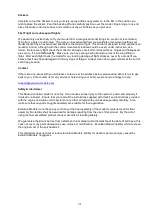
Example of cranked TE fillet
Where the tip extends past the trailing edge of the wing make a fillet with scrap 1/8” (3mm) balsa as shown
in the right-hand picture above.
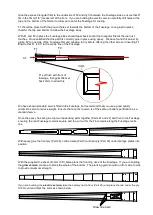
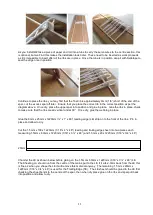
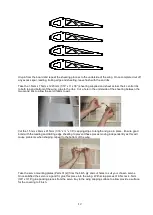
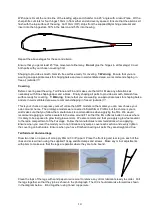
Shape the leading edge roughly with a razor Plane before Finishing with shaping paper as shown in the
diagram on page 11, continually checking the fit to the Fuselage.
Shaping the entire wing to provide a smooth, blemish free surface ready for covering. !!!
Warning
. Ensure
that you are wearing an appropriate mask for shaping balsa and are in well ventilated area.!!! Check the fit
with the Fuselage as you go.
At this point if you would prefer you may cut off the front sheeting that passes over the wing and glue it onto
the wing itself. In the event of a hard landing it is more likely to allow the wing to ‘shift’. We have not done
this with the prototype models and it is left to the builder’s discretion.
Glue the 1mm (1/32”) ply doubler (Part 26) to the rear of the wing to protect the trailing edge when the rubber
bands are fitted
Ailerons
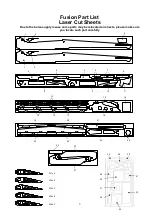
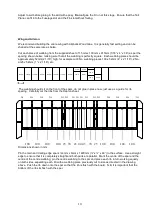
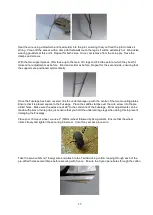
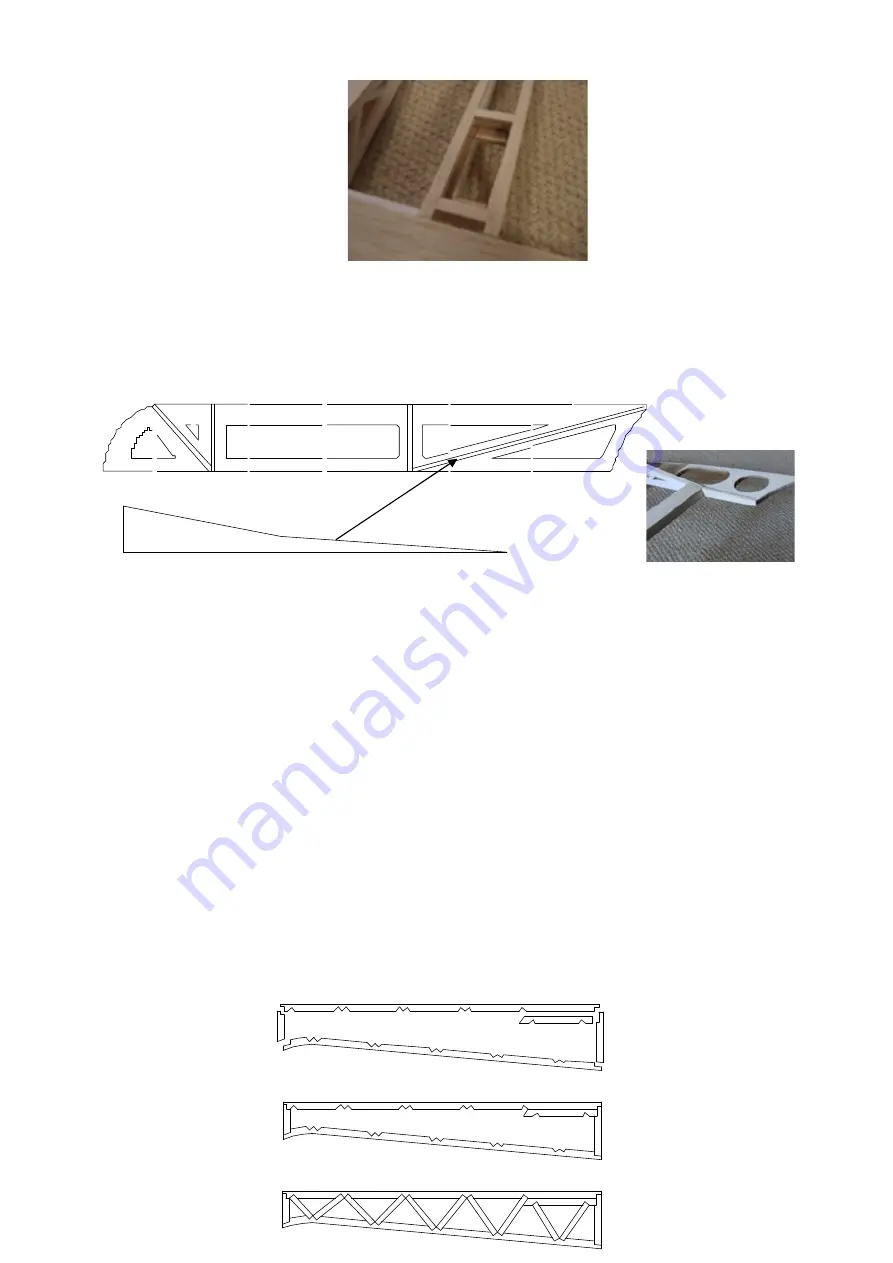
Take the five pre-cut parts (Parts 7(2), 12(2), 15(2), 16(2) and 17(2))
which form the ailerons,
trial fit, ensure
the tips are at 90° to the leading edge, fit the trailing edge, when satisfied glue with Cyano or white wood
glue. With a supplied strip of 6mm x 9.5mm x 915mm (¼” x 3/8” x 36”) cut to length to form the ten ribbing
pieces, glue in place.


