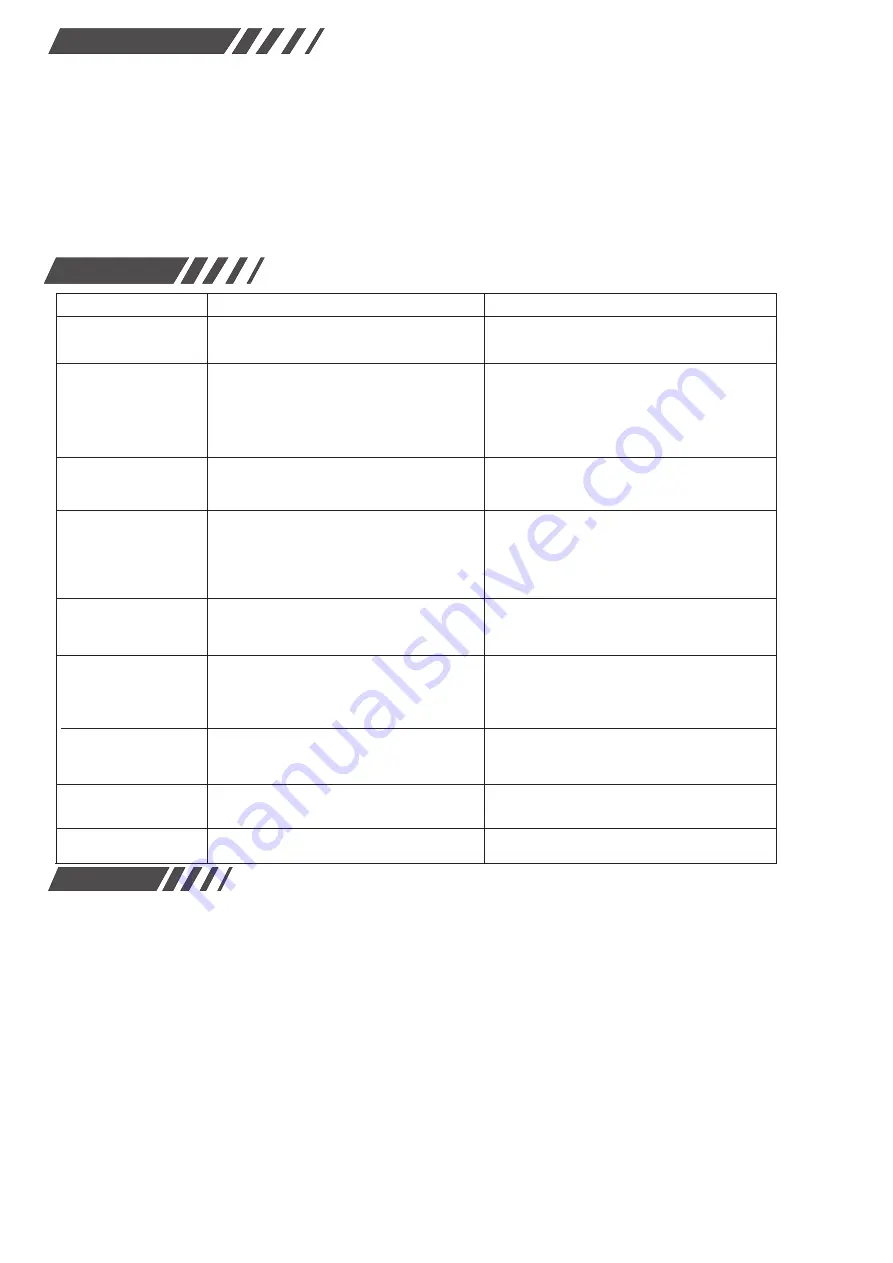
Failure
Causes
Precautions
No display when
power is on.
check to see if the power is shorted circuit or the
thermostat is failed.
Check power supply and change fuse.
Check if there is 220V power input or change
thermostat with our distributor.
Display but machine
does not work
The setting temperature is higher than the current
temperature.
The heat protector is open circuit because the
pressure is over loads.
The heat protector within compressor is open
circuit.
Reset the necessary controlling temperature.
Check the reasons for overload and overheating.
After the trouble is solved, restart to work.
Defrost is not completed
The defrosting time is too short.
The temperature of defrosting withdrawal is
too low.
Reset defrosting time.
Increase temperature for defrosting withdrawal.
Defrosting does not work
Defrosting sensor is not correctly installed.
Defroster has burned out.
The wiring or device for controlling defroster failed
The temperature for defrosting withdrawal is lower
than that in cold storage house.
Check installation by the diagram.
Change defroster.
Check wiring or device.
Reset temperature for defrosting withdrawal.
Displayed temperature
is unstable or there exists
misplay
The sensor wiring is interfered, poorly contacted
or is tied with other cables. The circuit is damaged.
Separate sensor wiring with power cables or change
shielded lines or check if the contact is tight or not.
Real temperature is much
difference to thermostat
display.
The locations for the sensors are not correct or sensor
wiring is too long and its resistance is too big. The
wiring contact is poor and the sensor is damaged.
All sensors should be corrected at their locations.
Enlarge the cross section of the expanded wires.
Make sure the wiring sealing, water-proof or Moisture-proof
of performance is good. Change sensor.
Machine does not stop
as soon as the temperature
reaches
The sensor is not correctly installed and cannot
measure the correct temperature. The contactor
of compressor failed.
Check if the sensor has accurately measured
the temperature or not. Change compressor contactor.
Cooler works with
over-frequency
Return difference value is too small or
the setting for pressure protection is incorrect.
Reset and enlarge the temperature value of return
difference. Adjust setting for pressure protection.
“
E1
”、“
E2
”
is displayed
The sensor circuit is opened or shorted.
Check to see if the sensor wiring has good contact with
coupling end or not.
Trouble shooting
Feature
D
escriptions
:
Cooling
:
When
the
current
temperature
≥
setting
tempera-
ture
+
temperature
hysteresis (D)
and
delay
the
setting
of
the
"
delay
time
", (
The
load
relay
is
on) compressor starts,run-
ning indicator lights on, thermostat indicator light off.
Cooling
Stop
:
When
the
current
temperature
≤
the
setting te-
mperature
,
the
cooling relay
is
off; the running indicator is off;
thermostat indicator lights on.
Note: When you press Heat key, if defrost sensor temperature
≥
exit defrost temperature, the system can not enter defrost sta-
ge, to keep the current state.
Defrost Star
:
When
the
instrument
after
defrost
(
or
boot
)
to
run
a
set
"
running cycle
"
and
defrost sensor temperature < exit temperature
defrost,
then
into
defrost.
The
defrost indicator
is
on; thermostat
indicator lights off. Cooling relay off, running lights off.
Defrost Stop:
1.When defrost sensor temperature
≥
or got to the setting of “defrosting time”,
defrost (Default
2 minutes defrost dripping time after defrost ). The defrost in-
dicator is off. Thermostat indicator lights on. Controller will
return back to the normal control status. Then beginning of the
next defrost cycle time is running.
exit defrost temperature
exit
Warnings
1. Please read this product instruction carefully and connect
input/output plugs of power & sensor to the corresponding sockets
strictly by following connection diagram, otherwise the usage &
operations will be affected. Check again to make sure there is no
mistake. Tighten all the screw of connection plugs again, and then
connect it to the power for running.
2. Keep away this product from moist or corrosive air and high
magnetic field. Otherwise the normal operation of this product will
be affected.
.
3. All our products have passed strict quality inspections before
leaving factory. We provide one-year quality guarantee (which is
limited to product itself ,and is not responsible for any other joint
and several liability) period for this product.
If you have any doubt or problem concerning the electronic
temperature or humidity controller made by us, please contact
our distributors and we will provide you high-quality after-
sale services. Thanks!
Guangzhou Eliweli Autocontrol Tech. Co., Ltd.
http://www.eliweli.com
If the products including but not limited to, the following is
not the product itself quality problem caused by the damage,
Install and use under the do not conform to the safe environment;
That the load capacity is beyond the scope of product is allowed;
Products by users to disassemble and change, change the internal
components, etc.,We will not be so and damaged products
provide a replacement and maintenance services, regardless of
whether its in the quality assurance period; Meanwhile, we will
not assume so direct or indirect losses caused by the liability to
pay compensation.
Product warranty date on the case is important basis of
product quality assurance. Appeared including but not limited to
full filling without permission, to change, to replace lost,
damaged, scratched, dirty, and so on, we will not provide a
replacement and maintenance services for these products.


