Design and function
MIG/MAG welding
28
099-005507-EW501
13.09.2018
5.4
MIG/MAG welding
5.4.1
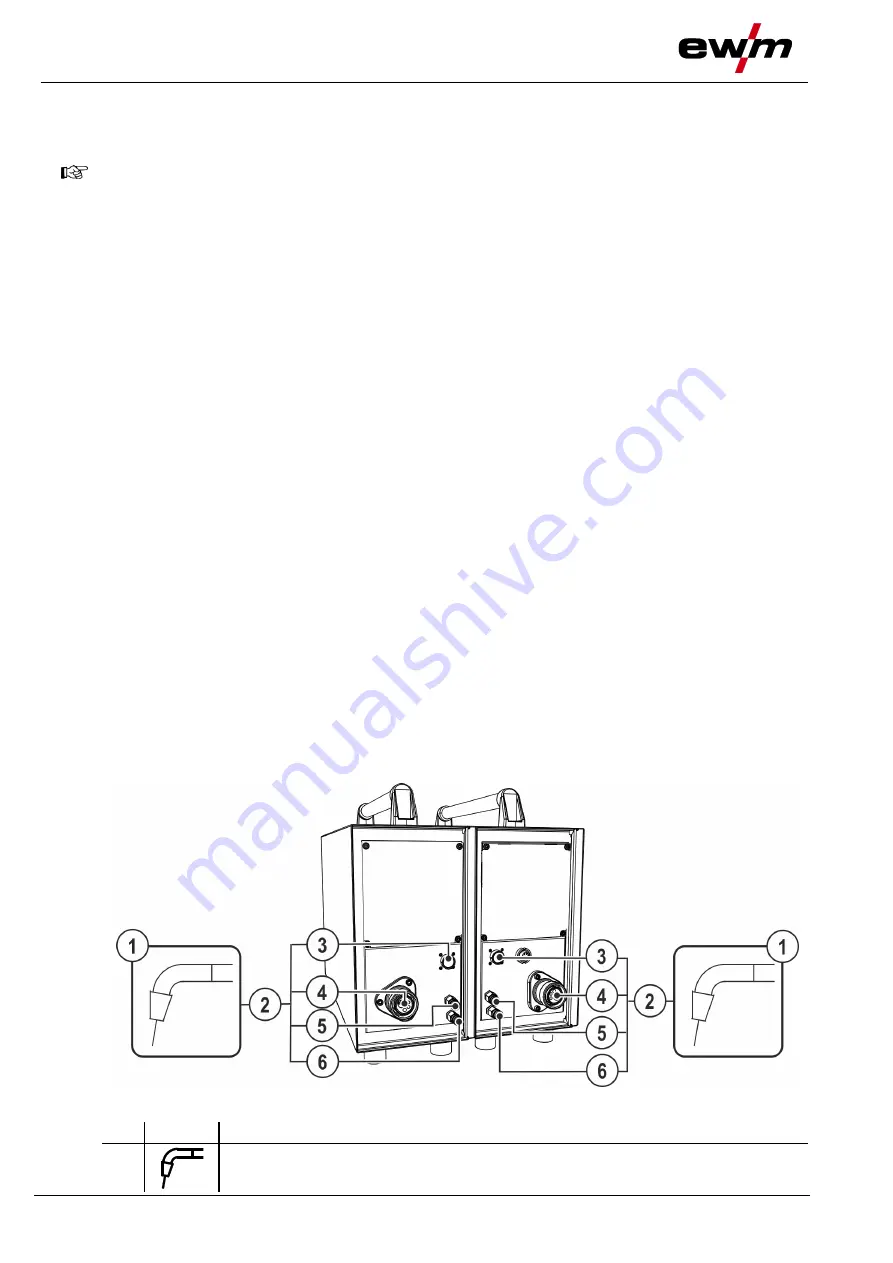
Welding torch connection
Equipment damage due to improperly connected coolant pipes!
If the coolant pipes are not properly connected or a gas-cooled welding torch is used, the coolant
circuit is interrupted and equipment damage can occur.
• Connect all coolant pipes correctly!
• Completely unroll the hose package and the torch hose package!
• Observe maximal hose package length > see 5.1.3.2 chapter.
• When using a gas-cooled welding torch, use a hose bridge to establish the coolant
circuit > see 9 chapter.
On delivery, the Euro torch connector is fitted with a capillary tube for welding torches with a
steel liner. Conversion is necessary if a welding torch with a liner is used!
• Operate welding torches with a liner > with a guide tube.
• Operate welding torches with a steel liner > with a capillary tube.
Depending on the wire electrode diameter or type, either a steel liner or liner with the correct inner
diameter must be inserted in the torch!
Recommendation:
• Use a steel liner when welding hard, unalloyed wire electrodes (steel).
• Use a chrome nickel liner when welding hard, high-alloy wire electrodes (CrNi).
• Use a plastic or teflon liner when welding or brazing soft wire electrodes, high-alloy wire electrodes or
aluminium materials.
Preparation for connecting welding torches with a liner:
• Push forward the capillary tube on the wire feed side in the direction of the Euro torch connector and
remove it there.
• Insert the liner guide tube from the Euro torch connector side.
• Carefully insert the welding torch connector with as yet too long a liner into the Euro torch connector
and secure with a crown nut.
• Cut off the liner with a liner cutter
> see 9 chapter
just before the wire feed roller.
• Loosen the welding torch connector and remove.
• Carefully chamfer the cut off end of the liner with a liner sharpener
> see 9 chapter
and sharpen.
Preparation for connecting welding torches with a spiral guide:
• Check that the capillary tube is correctly positioned in relation to the central connector!
Figure 5-10
Item Symbol
Description
0
1
Welding torch


