Design and function
Transport and installation
099-005507-EW501
13.09.2018
25
• Insert the end of the hose package through the strain relief of the hose package and lock by turning to
the right.
• Push the welding current cable socket onto the “welding current connecting plug” and lock by turning
to the right.
• Lock connecting nipples of the cooling water tubes into the corresponding quick connect couplings:
Return line red to quick connect coupling, red (coolant return) and
supply line blue to quick connect coupling, blue (coolant supply).
• Insert cable plug on the control lead into the 7-pole connection socket and secure with crown nut (the
plug can only be inserted into the connection socket in one position).
• Connect crown nut of the shielding gas line to the G¼“ connecting nipple.
5.1.7
Shielding gas supply (shielding gas cylinder for welding machine)
5.1.7.1 Shielding gas volume settings
If the shielding gas setting is too low or too high, this can introduce air to the weld pool and may cause
pores to form. Adjust the shielding gas quantity to suit the welding task!
• Slowly open the gas cylinder valve.
• Open the pressure regulator.
• Switch on the power source at the main switch.
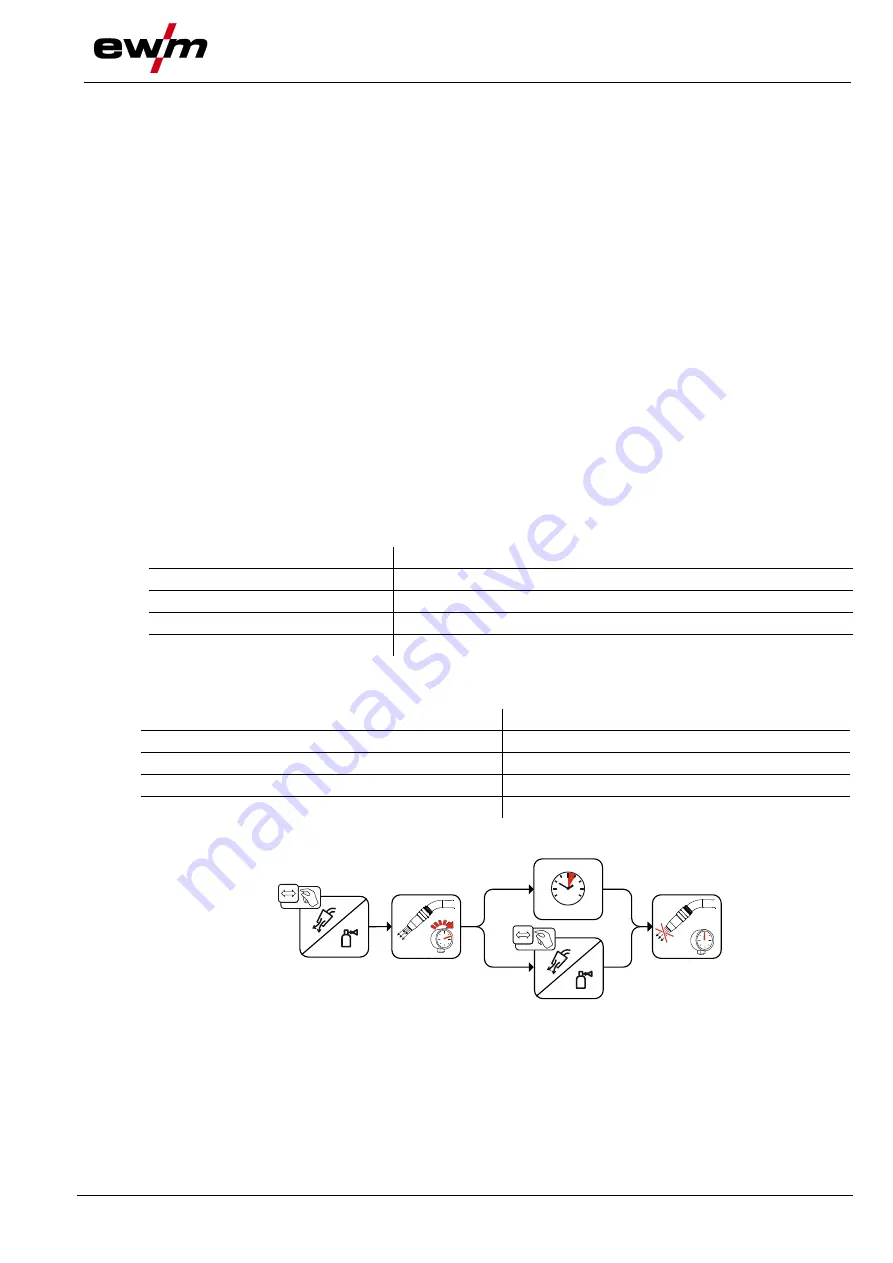
• Trigger gas test
> see 5.1.7.2 chapter
function (welding voltage and wire feed motor remain switched
off
– no accidental arc ignition).
• Set the relevant gas quantity for the application on the pressure regulator.
Setting instructions
Welding process
Recommended shielding gas quantity
MAG welding
Wire diameter x 11.5 = l/min
MIG brazing
Wire diameter x 11.5 = l/min
MIG welding (aluminium)
Wire diameter x 13.5 = l/min (100 % argon)
TIG
Gas nozzle diameter in mm corresponds to l/min gas throughput
Helium-rich gas mixtures require a higher gas volume!
The table below can be used to correct the gas volume calculated where necessary:
Shielding gas
Factor
75% Ar/25% He
1.14
50% Ar/50% He
1.35
25% Ar/75% He
1.75
100% He
3.16
5.1.7.2 Gas test
25s
0
Figure 5-7


