Getting Started with Your CT440
CT440
21
Starting/Stopping the CT440
To update the CT440 software:
The last version of the CT440 software is available on the EXFO website.
Updating the CT440 software does not affect the existing traces, configuration, nor selected
analysis parameters.
1.
From the EXFO website (https://www.exfo.com/en/exfo-apps), download the last
CT440 software package and copy it on your computer.
2.
Unzip the
CT440 Installer
file to a temporary folder on your computer.
3.
Double-click the
setup.exe
file.
The CT440 Installation wizard appears.
4.
Follow the instructions displayed in the wizard window.
The CT440 GUI software is now updated on your computer.
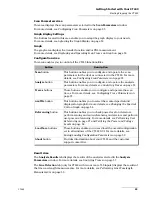
At the GUI startup with the CT440, if the new version requires an update of the DSP
code of the unit, you are prompted to upgrade the CT440 DSP. In this case, click
Yes
to
update the DSP.
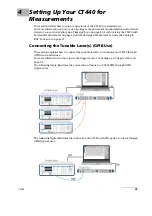
Connecting the CT440 to Your Computer
Before starting:
Make sure the CT440 GUI software and USB driver are installed on your computer (see
Installing/Updating the CT440 Software Package on Your Computer
Make sure you have the USB-A to USB-B cable provided with the CT440.
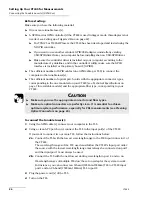
To connect the CT440 to your computer:
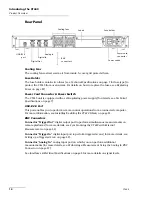
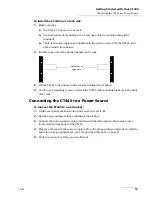
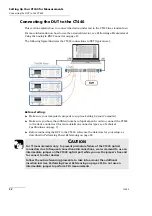
Using the USB cable, connect the USB-A 2.0 port of your computer to the CT440 USB-B
connector located on the rear panel.
Starting/Stopping the CT440
Turning On/Off the CT440
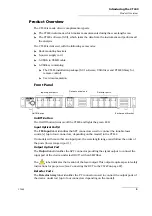
The green LED located on the front panel indicates that the CT440 is turned on.
To turn on the CT440:
1.
On the rear panel, set the power switch to
1
.
2.
On the front panel, press the On/Off button.
The green LED indicator lights, which means that the CT440 is turned on.
To turn off the CT440:
1.
On the front panel, press the On/Off button.
The green LED indicator fades out.
2.
On the rear panel, set the power switch to
O
.
Summary of Contents for CT440 Series
Page 1: ...User Guide CT440 Passive Optical Component Tester www EXFO com...
Page 6: ......
Page 30: ......
Page 96: ......
Page 162: ......

