Using the RS-232 Interface and Software
12
Connecting the RS-232 Interface Cable
To connect the RS-232 interface cable:
1.
Power off the unit and the PC.
2.
Connect the cable to the FVA-60B appropriate jack.
3.
Connect the DB-25 or DB-9 connector to COM 1 or COM 2 on the PC.
Starting the Interface Application
The information within square brackets is optional and depends on the
configuration of your personal computer.
From the DOS directory where the file DEMO60B.EXE is located, type
DEMO60B [com port] [display] < return>
Using the Interface Application
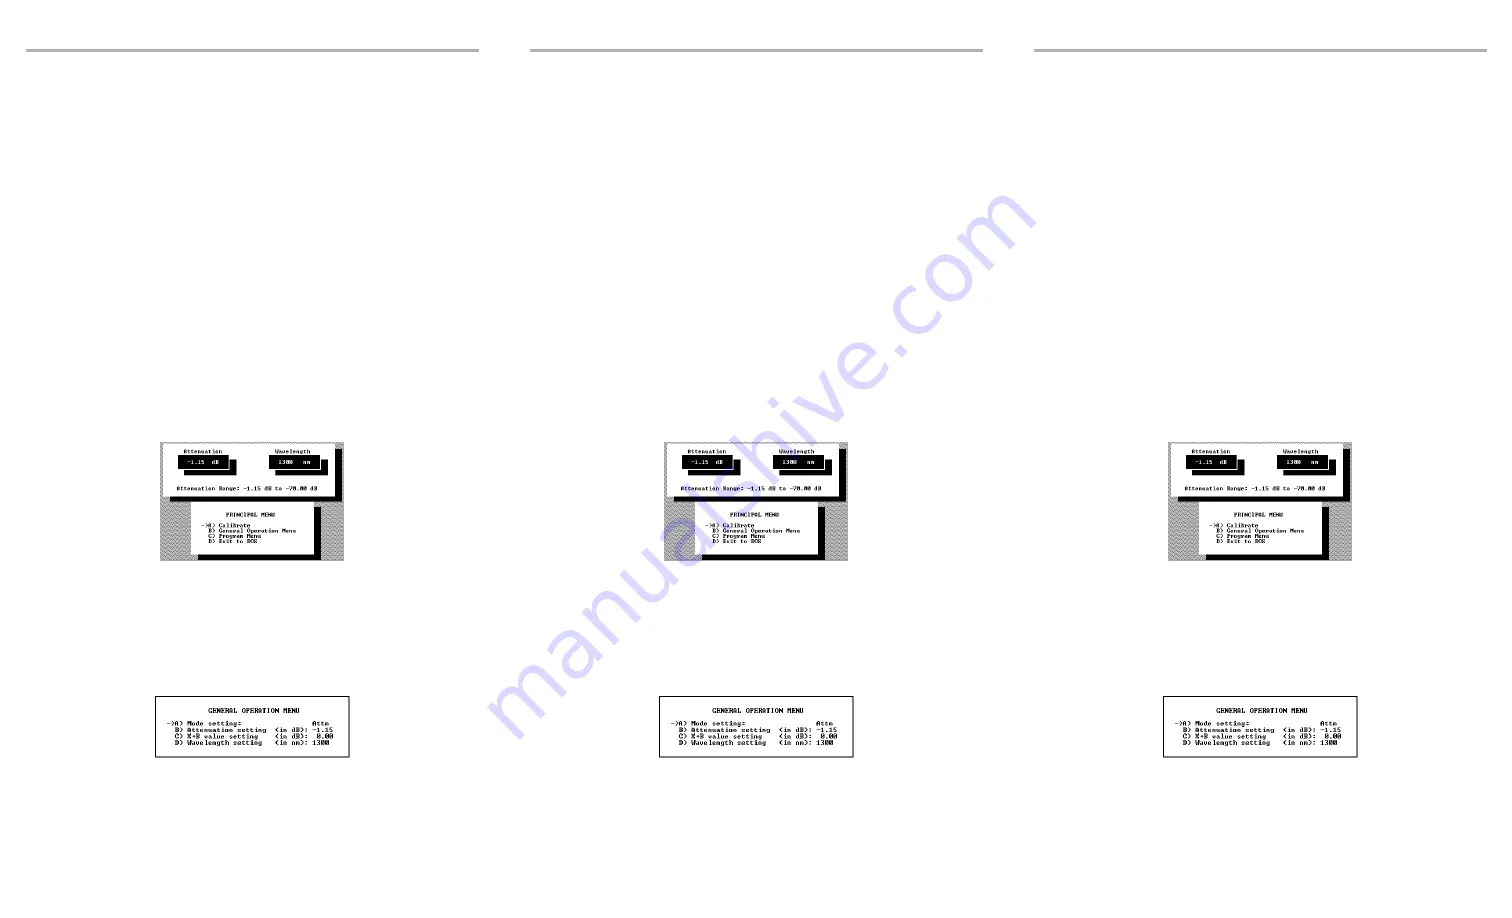
Once the RS-232 communication is established and the
PRINCIPAL MENU
screen is
displayed, you can control the operation of your unit from your PC. The attenuation
and wavelength settings are always displayed on the upper portion of the screen.
To activate a menu command, use the keyboard arrow keys (or type the
corresponding letter) to highlight the line and press
Enter
.
Note:
Press
F1
to call up the help screen
.
Understanding the General Operation Menu
Note:
Changing the RS-232 interface software display mode does not change
the unit’s display mode.
com port
enter
1
for COM 1,
2
for COM 2 (default is COM 1)
display
enter
TRUE
for color,
FALSE
for monochrome (default is true)
Artisan Technology Group - Quality Instrumentation ... Guaranteed | (888) 88-SOURCE | www.artisantg.com
Summary of Contents for FVA-60B
Page 11: ...Artisan Technology Group Quality Instrumentation Guaranteed 888 88 SOURCE www artisantg com ...
Page 17: ...Artisan Technology Group Quality Instrumentation Guaranteed 888 88 SOURCE www artisantg com ...
Page 35: ...Artisan Technology Group Quality Instrumentation Guaranteed 888 88 SOURCE www artisantg com ...


