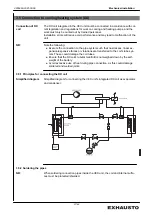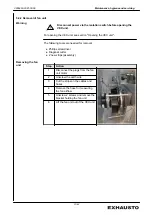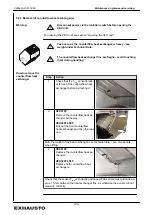
5.4.3 Removal of counterflow heat exchanger(s)
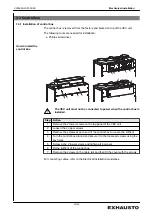
Warning
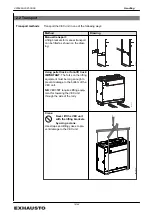
Disconnect power via the isolation switch before opening the
VEX unit.
For opening the VEX unit, see section "Opening the VEX unit".
Take care, as the counterflow heat exchanger is heavy - see
weight under Technical Data.
The counterflow heat exchanger fins are fragile - avoid touching
them during handling
How to remove the
counter flow heat
exchanger
Step
Action
1
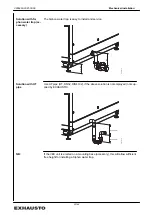
Check that the T
ice
sensor/brack-
et is free of the counterflow heat
exchanger before extracting it.
2
VEX310T:
Remove the counterflow heat ex-
changer all the way.
VEX320T-350T:
Pull out the front counterflow
heat exchanger and then the rear
one.
Note the weight of the heat exchanger, see technical data – min. two people
when lifting.
3
VEX310T:
Replace the counterflow heat ex-
changer.
VEX320T-350T:
Replace both counterflow heat
exchangers.
Check that the sensor T
ice
is correctly positioned. The sensor must protrude ap-
prox. 10 mm between the heat exchanger fins, as otherwise the sensor will not
measure correctly.
3005993-2021-03-09
Maintenance, hygiene and servicing
32/44
Summary of Contents for VEX300 Series
Page 44: ......

