Exinda Network Orchestrator
2 Getting started
|
37
To manually add a license key
1.
Go to
Configuration > System > Setup > License
.
2.
At the bottom page, type your license key. To add multiple licenses, separate each license with a comma (,).
3.
Click the
Add Licenses
button.
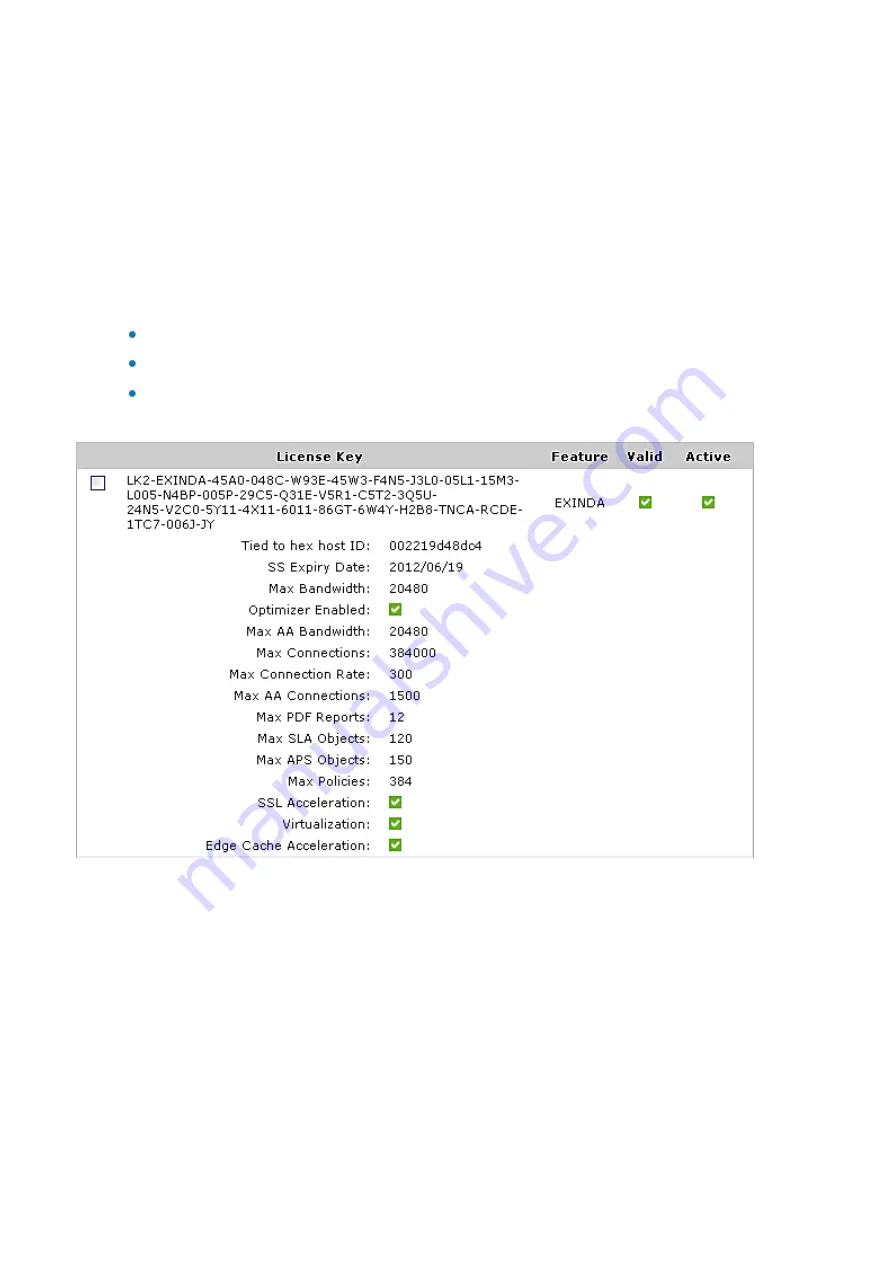
To see previously applied licenses
1.
Go to
Configuration > System > Setup > License
.
2.
Below the current license status table, you can see all the licenses that have been applied to your appliance.
Notice the Valid columns and Active columns to understand which licenses are currently applied.
The appliance will use the license that provides the highest specification limits.
License keys can also be removed from the system by clicking 'Remove'. Before removing, ensure that you
keep a copy of the license key.
To re-enable a virtual appliance that has shut down due to not connecting
Contact Exinda TAC to re-enable your virtual appliance.
To generate a virtual appliance trial license
In this step you will go to the Exinda website to create your trial license. Your trial license will be emailed to you after you
complete this step.
1.
Navigate to
https://license.exinda.com/virtual_licensing
2.
Enter in the Host-ID for the virtual appliance.
3.
Select the License Type for the virtual appliance.
Summary of Contents for EXNV-10063
Page 369: ...Exinda Network Orchestrator 4 Settings 369 ...
Page 411: ...Exinda Network Orchestrator 4 Settings 411 Screenshot 168 P2P OverflowVirtualCircuit ...
Page 420: ...Exinda Network Orchestrator 4 Settings 420 Screenshot 175 Students OverflowVirtualCircuit ...


