Exinda Network Orchestrator
2 Getting started
|
78
TIP
It is highly recommend that you import the virtual machine on a Gigabit network connection or local storage, as the
import file is large in size and installation is affected by slowly performing networks.
10.
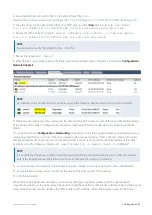
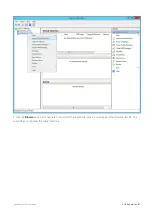
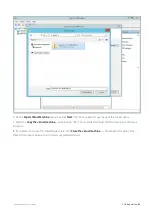
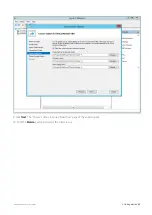
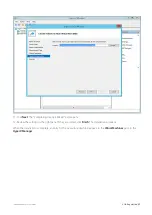
Right-click on the imported Exinda and select
Start the Exinda virtual appliance
. You will see the progress bar
screen below in the Log tab indicating you have successfully started the virtual appliance.
11.
On the
XenCenter Console
tab of the Exinda virtual machine, type the credentials and the default parameters as
part of the first time wizard setup. The default user name is
admin
, and the password is
exinda
.
12.
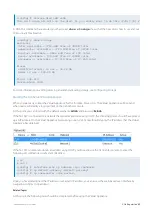
Press Enter to read the EULA agreement. Press Ctrl-C to get to the EULA agreement question.
13.
Press Y to accept the EULA agreement and press
Enter
.
14.
You will be prompted with a series of questions as part of the initial configuration Wizard. It is recommended you
accept the defaults, as you have the option to configure the system later from the Exinda GUI. Press
Yes
. Use the fol-
lowing defaults to complete the wizard configuration.
Select
No
to disable IPv6.
Select
Yes
to configure ETH0 for management access. This will disable the BR0 bridge.
Select
Yes
to use DHCP on ETH0.
Select
null
to default to the Exinda hostname.
Select
null
for SMTP server address.
Select
null
for email address for reports and alerts.
Select
null
to use the default password which is “exinda”.
Select
Yes
to change the interface speed.
Select
AUTO
to configure the interface speed on ETH0 (assumes a gigabit NIC).
You have successfully completed the wizard setup.
15.
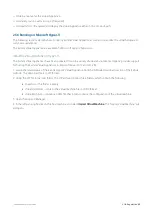
Determine the IP address of your Exinda virtual appliance on the XenServer Network tab of the Exinda virtual
machine and note the IP address assigned by default to NIC 0.
16.
Browse to the Dashboard tab and find the Host-ID that the XenServer host created for this virtual machine.
Related Topics
Once the appliance is deployed, review the following sections:
Add storage to the XenServer virtual appliance
Modifying the XenServer Virtual Machine Configuration
To improve the performance of the virtual appliance, change the number of CPUs, the RAM, networking, and storage
allocated to the virtual machine.
TIP
You will need to shut the virtual appliance down before you can modify its configuration.
Summary of Contents for EXNV-10063
Page 369: ...Exinda Network Orchestrator 4 Settings 369 ...
Page 411: ...Exinda Network Orchestrator 4 Settings 411 Screenshot 168 P2P OverflowVirtualCircuit ...
Page 420: ...Exinda Network Orchestrator 4 Settings 420 Screenshot 175 Students OverflowVirtualCircuit ...


