Exinda Network Orchestrator
3 Using
|
360
4.
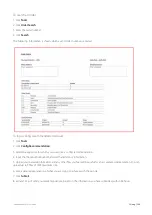
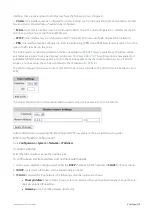
Enter a
Name
for the new configuration template.
5.
Enter a suitable
Description
to describe your template.
6.
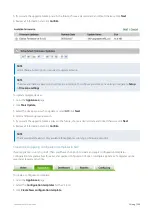
Check the
Configuration Option(s)
you want to define in your template and in the pop-up window that appears
define its desired parameters.
7.
Click
Save
.
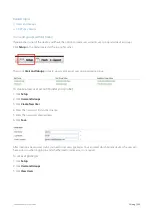
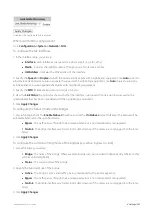
To apply a configuration template:
1.
Go to the
Appliances
page
2.
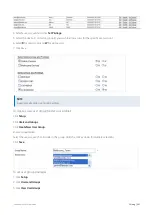
Select the
Configuration templates
for the V5 tools.
3.
Select the template you'd like to apply and click
Apply
.
4.
Select the appliance(s) you wish to configure.
5.
Click
Next
and confirm the details.
3.7.6 The SDP dashboard
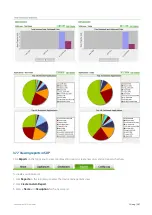
The SDP Dashboard is fully customizable. It allows you to create a number of custom views based on predefined reports.
All dashboard items are aggregate reports, but you can view appliance individual reports by clicking on the graphs.
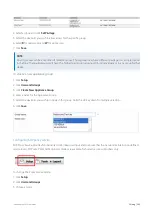
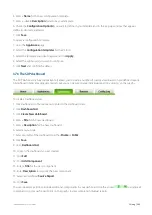
To create a Dashboard view
1.
Click Dashboard on the top menu to enter to the dashboard view.
2.
Click
Dashboard List
.
3.
Click
Create New dashboard
.
4.
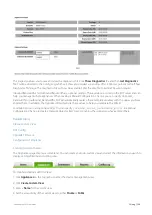
Enter a
Title
for the new dashboard.
5.
Enter a
Description
for the new dashboard.
6.
Select a layout style.
7.
Set accessibility of the dashboard to either
Private
or
Public
.
8.
Click
Save
.
9.
Go to
Dashboard List
.
10.
Click on the dashboard you just created.
11.
Click
Edit
.
12.
Click
Add Component
.
13.
Enter a
Title
for the new component.
14.
Enter
Description
to describe the new component.
15.
Select a predefined
Source Report
.
16.
Click
Save
.
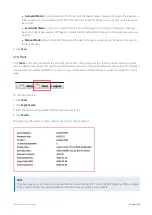
You can repeat steps 9-16 to include additional components in your dashboard. Use the arrows
to arrange all
components on your dashboard. Click on the graphs to view complete individual reports.
Summary of Contents for EXNV-10063
Page 369: ...Exinda Network Orchestrator 4 Settings 369 ...
Page 411: ...Exinda Network Orchestrator 4 Settings 411 Screenshot 168 P2P OverflowVirtualCircuit ...
Page 420: ...Exinda Network Orchestrator 4 Settings 420 Screenshot 175 Students OverflowVirtualCircuit ...

