background image

Maintenance

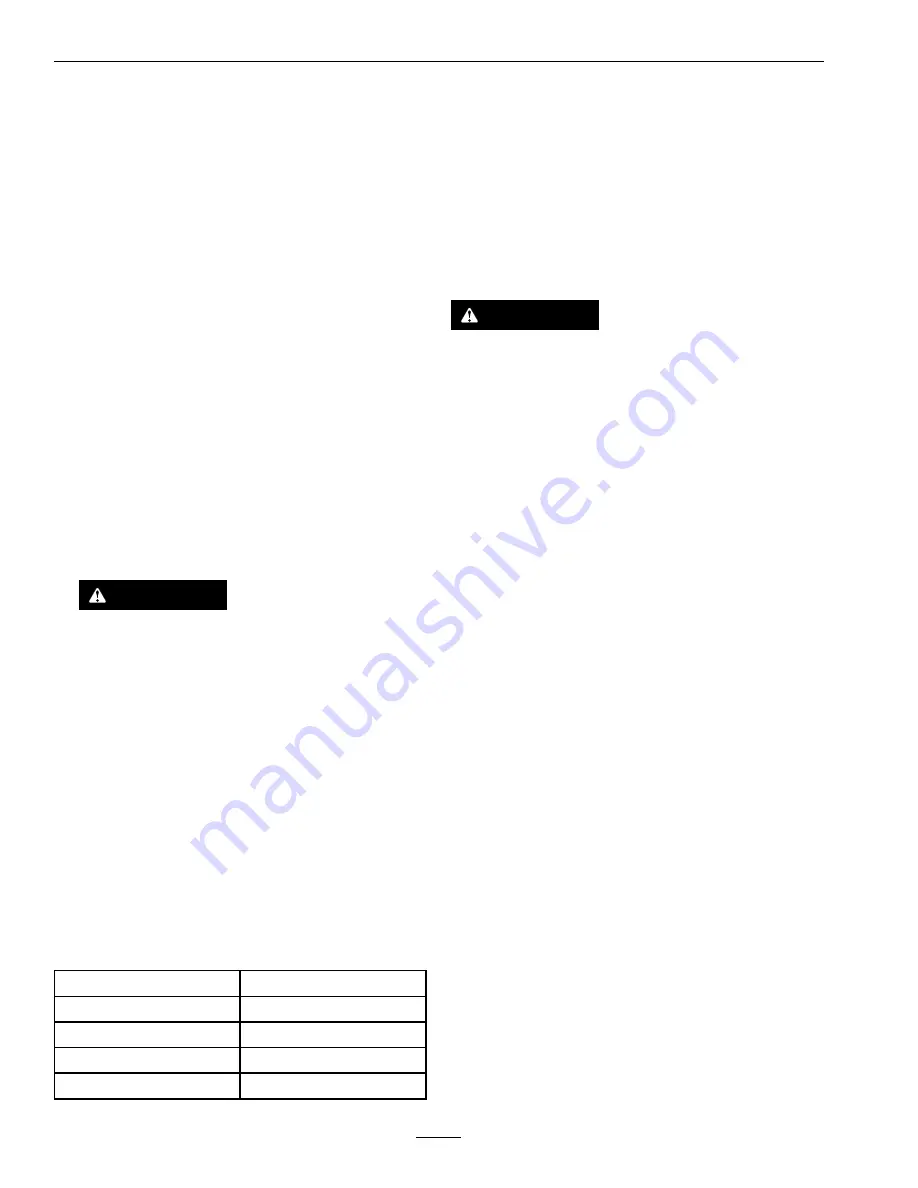
Periodic Maintenance

Check Blower
Housing/Impeller

Service Interval: Before each use or daily

1.

Stop engine, wait for all moving parts to stop, and
remove key. Engage parking brake.

2.

Inspect for wear or damage daily. Replace or
repair worn parts as needed.

Note:

When mowing in areas with sandy soil,

use low lift blades on the cutting deck and higher
cutting heights to minimize wear on the blower
components.

Check Bags

Service Interval: Before each use or daily

1.

Stop engine, wait for all moving parts to stop, and
remove key. Engage parking brake.

2.

Inspect the bags for wear, tears, or damage.

WARNING

Under normal use the bag will deteriorate and
wear. Objects could exit through worn bag
at high speeds. Thrown objects can cause
serious injury or kill you or bystanders.

Check bags frequently for tears and holes.
Replace worn bags only with Exmark
replacement bags.

Check Condition of Belt

Service Interval: Every 50 hours

All Units

1.

Stop engine, wait for all moving parts to stop, and
remove key. Engage parking brake.

2.

Inspect the belt for damage or wear. Replace belt
with one of the following:

Deck

Part No.

44 inch

119-1566

48 inch

116-4844

52 inch

1-653333

60 inch

703636

Cleaning

Clean Muffler and Rear
Frame Area

Service Interval: Before each use or daily

Stop engine, wait for all moving parts to stop, and
remove key. Engage parking brake.

WARNING

Operating engine parts, especially the muffler,
become extremely hot. Severe burns can occur
on contact and debris, such as leaves, grass,
brush, etc. can catch fire.

Allow engine parts, especially the muffler, to
cool before touching.

Remove accumulated debris from muffler and
engine area.

Clean Rear Screen In Hopper

Service Interval: Before each use or daily

1.

Stop engine, wait for all moving parts to stop, and
remove key. Engage parking brake.

2.

Open hopper and remove clippings that are stuck
to the screen.

Clean Blower

Service Interval: Yearly or before storage

Grass build up may cause problems with the impeller
when the unit is put back into operation.

1.

Stop engine, wait for all moving parts to stop, and
remove key. Engage parking brake.

2.

Remove grass buildup from around the impeller
before placing it in storage.

18


Summary of Contents for 135-2604

Page 1: ...COLLECTION SYSTEM 135 2604 For UltraVac Serial Nos 406 294 345 Higher To fit Radius Models Serial Nos 400 000 000 Higher Part No 4504 779 Rev A ...

Page 2: ...ts products at any time without incurring any obligation to make such changes to products manufactured previously Exmark or its distributors and dealers accept no responsibility for variations which may be evident in the actual specifications of its products and the statements and descriptions contained in this publication 2019 Exmark Mfg Co Inc 2101 Ashland Ave Beatrice NE 68310 2 Contact us at w...

Page 3: ...o to https www Exmark com for additional safe operation information such as safety tips training materials and Operator s manuals All Exmark equipment dealers and distributors are kept informed of the latest methods of servicing and are equipped to provide prompt and efficient service in the field or at their service stations They carry ample stock of service parts or can secure them promptly for ...

Page 4: ...peration Safety 9 Pre Start 9 Operating Instructions 10 During Operation Safety 10 After Operation 16 Maintenance 17 Maintenance Safety 17 Recommended Maintenance Schedule s 17 Periodic Maintenance 18 Check Blower Housing Impeller 18 Check Bags 18 Check Condition of Belt 18 Cleaning 18 Clean Muffler and Rear Frame Area 18 Clean Rear Screen In Hopper 18 Clean Blower 18 Troubleshooting 19 California...

Page 5: ...utating hands and feet and of throwing objects Exmark designed and tested this machine to offer reasonably safe service however failure to comply with safety instructions may result in injury or death Read understand and follow all instructions and warnings in the mower and UltraVac Operator s Manuals and other training material on the machine engine and attachments All operators and mechanics sho...

Page 6: ...off the backing to expose the adhesive surface Apply only to a clean dry surface Smooth to remove any air bubbles Familiarize yourself with the following safety signs and instruction labels They are critical to the safe operation of your Exmark commercial mower decal106 5517 106 5517 1 Warning do not touch the hot surface decal126 4662 126 4662 1 Warning Read the Operator s manual for correct quan...

Page 7: ...t hazard Do Not operate the blower without the entire system installed and latched 6 Warning loss of traction do not operate with only counterbalance weights installed do not operate with only UltraVac installed operate only with both UltraVac and counterbalance weights installed decal135 4664 135 4664 1 Crushing hazard of hand Do not remove the whole bagger from the machine Step 1 Open the bagger...

Page 8: ...eck 60 0 inches 152 cm Radius w 52 inch Deck 64 3 inches 163 cm Radius w 60 inch Deck 72 8 inches 185 cm Overall Length w UltraVac Radius w 44 inch Deck 97 9 inches 249 cm Radius w 48 inch Deck 97 9 inches 249 cm Radius w 52 inch Deck 97 9 inches 249 cm Radius w 60 inch Deck 98 3 inches 250 cm Curb Weight UltraVac Weight Radius w 44 inch Deck with caster weights 263 lb 119 kg Radius w 48 inch Deck...

Page 9: ...opriate personal protective equipment such as safety glasses substantial slip resistant footwear and hearing protection Tie back long hair and avoid loose clothing and loose jewelry which may get tangled in moving parts CAUTION This machine produces sound levels in excess of 85 dBA at the operator s ear and can cause hearing loss through extended periods of exposure Wear hearing protection when op...

Page 10: ...arge deflector entire grass collection system or mulch kit is installed Stop the blades slow down and use caution when crossing surfaces other than grass and when transporting the mower to and from the area to be mowed Be aware of the mower discharge path and direct discharge away from others Avoid discharging material against a wall or obstruction as the material may ricochet back toward the oper...

Page 11: ...ing conditions When mowing in areas with sandy soil use low lift blades on the cutting deck and higher cutting heights to minimize wear on the blower components When mowing in wet conditions such as just after a rain or in heavy dew use low lift blades on the cutting deck to minimize plugging of the blower Maintaining a ground speed that does not pull down the engine RPM will allow for the highest...

Page 12: ...wer Pivot the blower away from the deck and lift it off the deck g252225 Figure 6 1 Pivot blower away from deck 2 Blower latch 7 Install the discharge deflector using retained hardware see Figure 7 g252488 Figure 7 1 Deflector 2 Retained hardware WARNING An uncovered discharge opening will allow objects to be thrown in operator s or bystander s direction Also contact with blade could occur Thrown ...

Page 13: ... an accident which may cause death injury or property damage Install caster or toe board weights ONLY when the collection system is installed 14 The machine can now be used for side discharge mowing Collection System Installation Important Verify that the bagger mount support brackets are installed on your unit prior to operation 1 Stop engine remove key and wait for all moving parts to stop Engag...

Page 14: ...e Figure 10 to determine the pin location in the blower frame g251519 Figure 10 1 Mounting pin 4 48 inch deck location A 2 Roll pin 5 60 inch deck location C 3 52 inch deck location B 8 Pivot the blower towards the deck and pull outward on the latch pin Release the latch pin when it aligns with the hole on the tab of the deck to lock the blower in this position 9 Push the spring loaded idler in an...

Page 15: ... on the upper tube with the end of hopper seal and center between the two screws as shown in Figure 14 The screw head should be installed to the inside of the tube to provide minimum obstruction to flow g007027 Figure 14 1 Dimple 17 Set the deck in lowest cutting position 18 Slide the lower tube onto the blower and attach the latches Make sure that the upper tube does not move out of alignment 19 ...

Page 16: ...tup instructions and or completing kit Note The removable weights are heavy Use care when lifting them Make sure that you can hold them securely before lifting them Use caution when positioning your hands to that you Do Not set them down on your hands or fingers Note The portions of the UltraVac collection system that are not bolted to the mower are designed to be installed or removed in their ent...

Page 17: ...ing components and replace them with the manufacturer s recommended parts when necessary WARNING Removal or modification of original equipment parts and or accessories may alter the warranty controllability and safety of the machine Unauthorized modifications to the original equipment or failure to use original Exmark parts could lead to serious injury or death Unauthorized changes to the machine ...

Page 18: ...op and remove key Engage parking brake 2 Inspect the belt for damage or wear Replace belt with one of the following Deck Part No 44 inch 119 1566 48 inch 116 4844 52 inch 1 653333 60 inch 703636 Cleaning Clean Muffler and Rear Frame Area Service Interval Before each use or daily Stop engine wait for all moving parts to stop and remove key Engage parking brake WARNING Operating engine parts especia...

Page 19: ...opper 2 Remove debris leaves or grass clippings from the screen 3 Ground speed is too fast 3 Drive slower at full throttle 4 Blower belt is worn loose or broken 4 Install new blower belt 5 Plugged tube or blower 5 Locate and remove plugged debris Excessive grass blowout from the deck 6 Conditions are dry 6 Use lower lift blade 1 Bags are too full 1 Empty bags more frequently 2 Ground speed is too ...

Page 20: ...estaurants grocery stores hotels schools and hospitals and on a wide variety of products Additionally some online and mail order retailers provide Prop 65 warnings on their websites or in catalogs How do the California warnings compare to federal limits Prop 65 standards are often more stringent than federal and international standards There are various substances that require a Prop 65 warning at...

Page 21: ...Notes 21 ...

Page 22: ...Notes 22 ...

Page 23: ...Service Record Date Description of Work Done Service Done By 23 ...

Page 24: ...CCESSORIES AND OPTIONS CUSTOM RIDE SEAT SUSPENSION SYSTEM DUAL TAIL WHEEL FLOOR PAN EXTENDER HITCH KIT LIGHT KIT MICRO MULCH SYSTEM ROLL OVER PROTECTION SYSTEM ROPS SNOW BLADE SNOWBLOWER SUN SHADE TRASH CONTAINER ULTRA VAC COLLECTION SYSTEM ULTRA VAC QUICK DISPOSAL SYSTEM WEATHER CAB Some accessories and options not available for some models Place Model No and Serial No Label Here Included in the ...

Reviews: