Maintenance
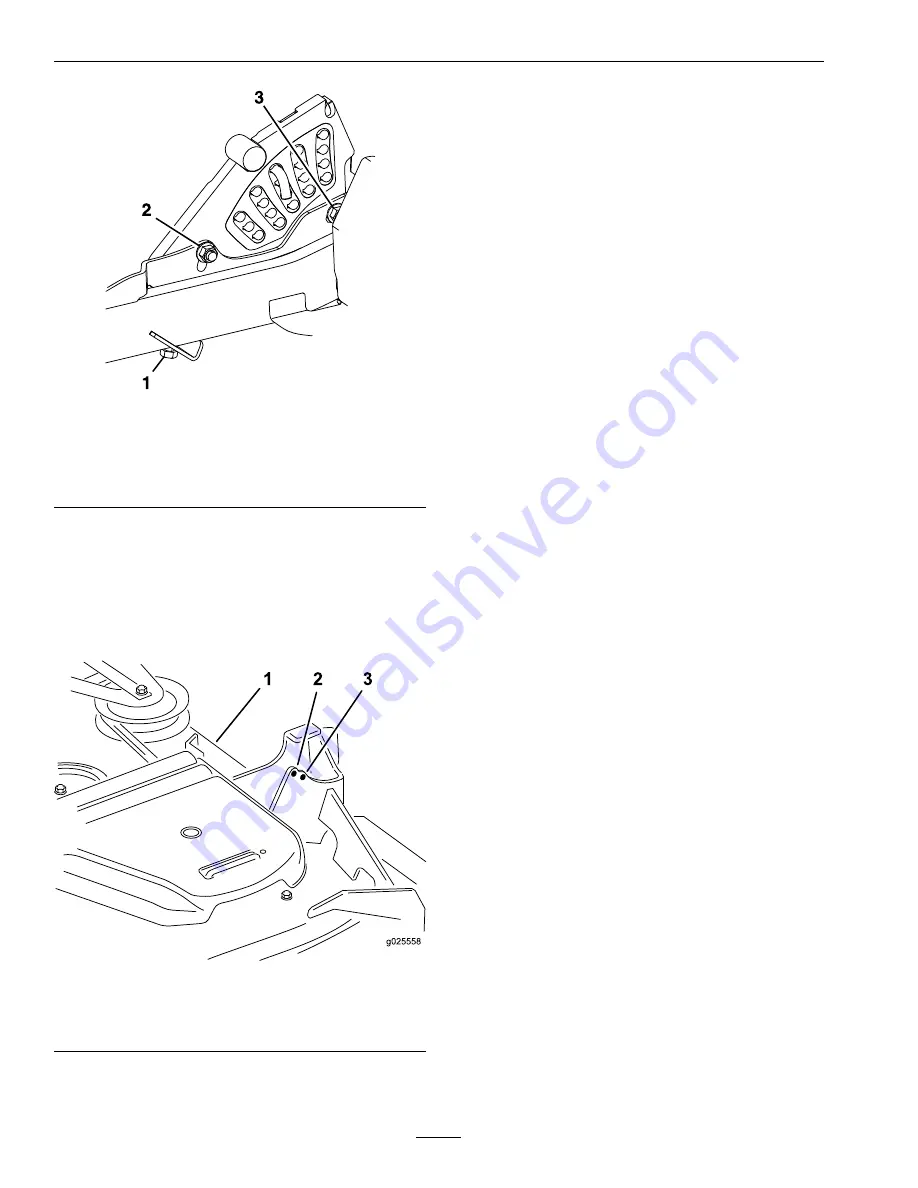
g232012
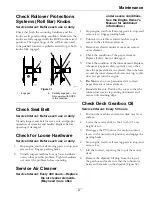
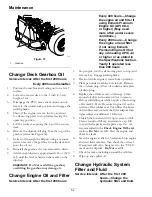
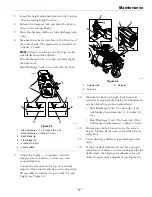
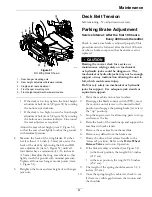
Figure 45
1.
Single point height adjustment bolt
2.
Front height of cut plate mounting bolt
3.
Rear height of cut plate mounting bolt
14.
To adjust the single point system, first loosen the
front and rear height of cut plate mounting bolts.
Note:
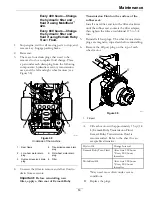
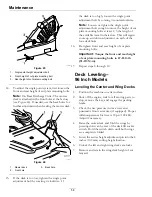
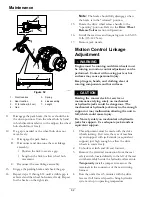
On Rear Discharge Units: The mower
deck is attached in the front holes at the factory
(see Figure 46). If needed, use the back holes for
further adjustment when leveling the mower deck.
g025558
Figure 46
1.
Mower deck
3.
Back hole
2.
Front hole
15.
If the deck is too low, tighten the single point
adjustment bolt by rotating it clockwise. If
the deck is too high, loosen the single point
adjustment bolt by rotating it counterclockwise.
Note:
Loosen or tighten the single point
adjustment bolt enough to move the height of cut
plate mounting bolts at least 1/3 the length of
the available travel in their slots. This will regain
some up and down adjustment on each of the
four deck links.
16.
Re-tighten front and rear height of cut plate
mounting bolts.
Important:
Torque the front and rear height
of cut plate mounting bolts to 67-83 ft-lb
(91-113 N-m).
17.
Repeat steps 8 through 12.
Deck Leveling–
96 Inch Models
Leveling the Center and Wing Decks
1.
Position the machine on a flat surface.
2.
Shut off the engine, wait for all moving parts to
stop, remove the key, and engage the parking
brake.
3.
Check the tire pressure in drive tires and
pneumatic front caster tires (if equipped). Proper
inflation pressure for tires is 18 psi (124 kPa).
Adjust if necessary.
4.
Raise the center deck and fold the wings by
pressing down at the rear of the deck lift rocker
switch. Hold the switch down until both wings
are completely folded.
5.
Insert the center height adjustment pin into the 4
inches (102 mm) cutting height location.
6.
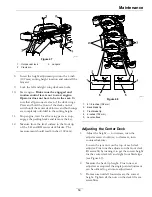
Unlock the left and right wing deck cam locks.
7.
Remove and retain the wing deck height of cut
lanyard.
58

