Maintenance
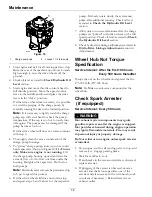
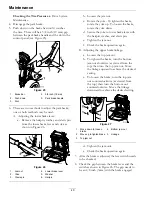
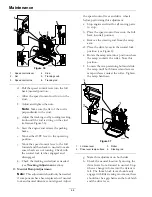
Figure 19
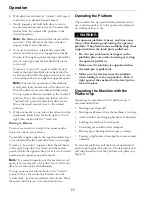
1.
Blades front to rear
2.
Measure here
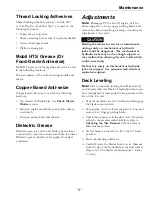
7. Measure between the outside cutting edges and
the flat surface (Figure 20). If both measurements
are not within 3/16 inch (5 mm), an adjustment is
required; contact an Authorized Service Dealer.
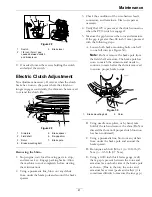
Figure 20
1.
Blades side to side
2.
Measure here
8. Lower the discharge deflector.
Adjusting the Cutting Deck
Rake
1. Park the machine on a level surface and disengage
the blade control switch.
2. Stop engine, wait for all moving parts to stop, and
remove key. Engage parking brake.
3. Check the air pressure in the drive tires. If needed,
adjust to the recommended inflation; refer to
Checking the Tire Pressure
in Drive System
Maintenance section.
4. Check and adjust the side to side blade level if
you have not checked the setting; refer to
Deck
Leveling
.
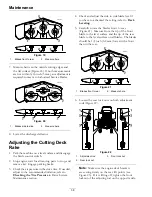
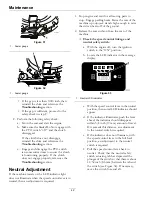
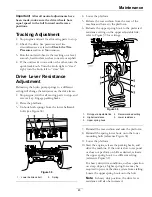
5. Carefully rotate the blades front to rear
(Figure 21). Measure from the tip of the front
blade to the level surface and the tip of the rear
blade to the level surface on all blades. The blades
should be 1/4 inch (6.4 mm) lower in the front
than in the rear.
Figure 21
1.
Blades front to rear
2.
Measure here
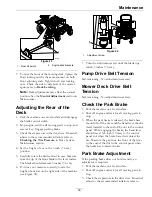
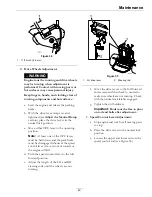
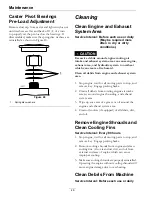
6. Loosen the rear lock nuts on both adjustment
rods (Figure 22).
Figure 22
1.
Adjustment rod
3.
Front lock nut
2.
Rear lock nut
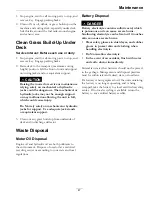
Note:
Make sure the engine deck brackets
are resting firmly on the rear lift points (see
Figure 23). If it is lifting off, tighten the front
locknut of the adjusting rod on the opposite side.
38
Summary of Contents for VANTAGE X Series
Page 1: ...VANTAGE X SERIES For Serial Nos 315 000 000 Higher Part No 4502 224 Rev A ...
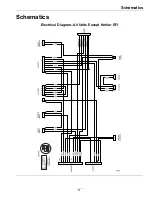
Page 51: ...Schematics Schematics Electrical Diagram All Units Except Kohler EFI 51 ...
Page 52: ...Schematics Electrical Diagram Kohler EFI 52 ...
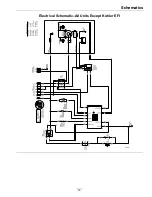
Page 53: ...Schematics Electrical Schematic All Units Except Kohler EFI 53 ...
Page 54: ...Schematics Electrical Schematic Kohler EFI 54 ...
Page 55: ...Schematics Hydraulic Diagram 55 ...
Page 57: ...Service Record Date Description of Work Done Service Done By 57 ...
Page 58: ...58 ...

