HARDWARE INSTALLATION
Before you begin, make sure you turn OFF all power to your system before
connecting the PCMCIA CD-ROM to your computer.
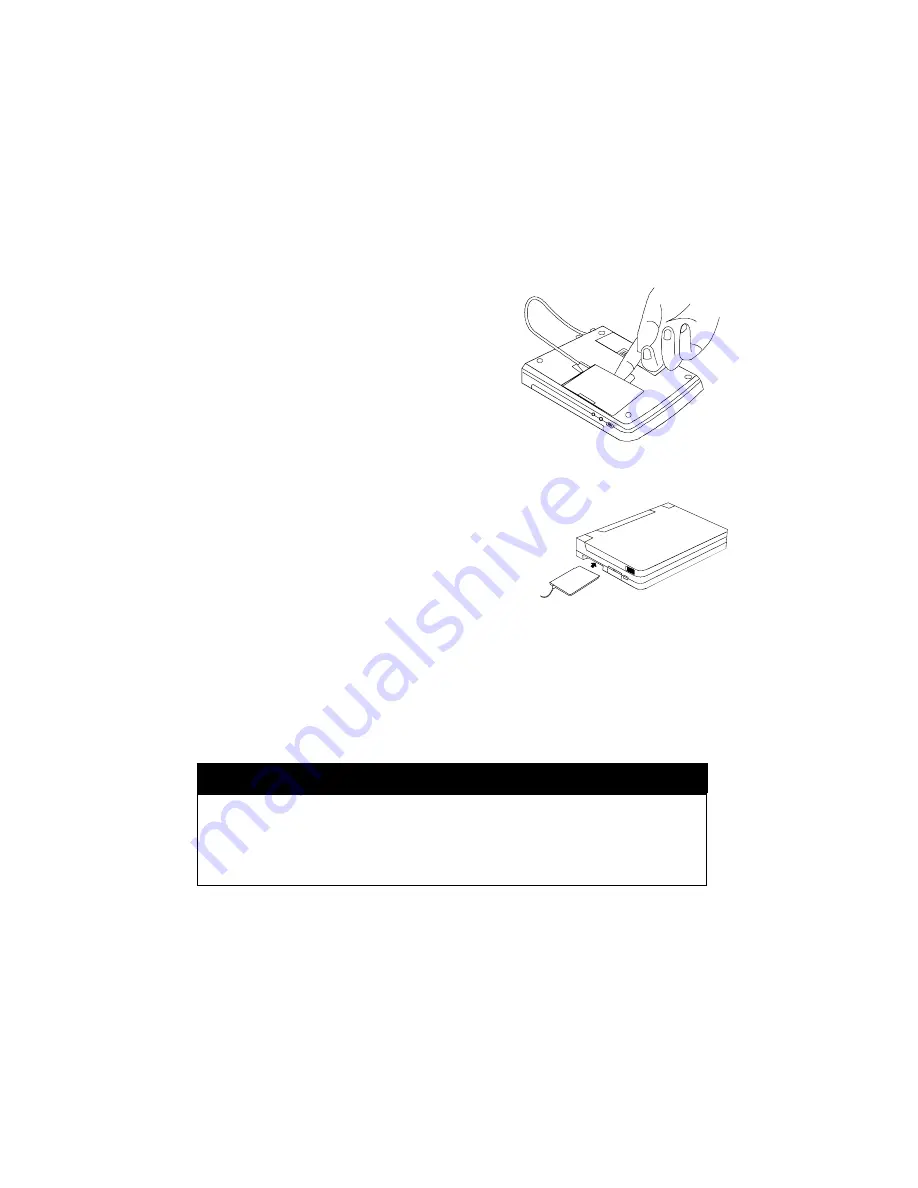
1. Turn over the CD-ROM drive, locate the
PCMCIA interface card at the back of the CD-
ROM drive. Lift and take out the card from the
holder as shown in Figure 6.
2. Place the CD-ROM drive upright in the
horizontal position.
3. Make sure that the PCMCIA interface cable is
firmly connected to the interface connector at
the back panel of the CD-ROM drive.
4. Refer to the computer user’s manual to locate
your computer’s PCMCIA slot.
5. Align the PCMCIA interface card with the arrow
sign pointing towards the computer’s slot. (Please
note that the card is keyed to guide for proper
insertion.)
6. Slowly insert the PCMCIA interface card into the
slot and press firmly until the connector is seated.
7. Check the power source switch set it according to
power source.
PCMCIA Socket
=> PC
AC adapter or Battery
=> DC/BATT
(Make sure the AC adapter is properly connected or the batteries are installed)
8. Turn the system ON to install the PCMCIA CD-ROM device driver.
CAUTION
Connect the PCMCIA interface cable to CD-ROM drive before inserting
the PCMCIA interface card into your computer. DO NOT
connect/disconnect the PCMCIA interface cable to/from the CD-ROM
drive while the card is inserted and the system is in the power-on state.
Figure 6
Figure 7


