- 3 -
Installation
Installation should be done by an experienced competent person only.
The product MUST be fixed to a strong, solid wall using the correct fixings. The
fixings used are dependent on the type and build of wall.
1. Remove the wall bracket from the unit by unscrewed the large bolt holding
the wall bracket to the unit.
2. Offer the wall bracket to a wall, ensure straight with a level and mark 4
holes.
3. Drill and prepare the wall to hold the unit.
4. Using the correct fixings, attach the bracket to the wall. Fixings are
dependent on the type/build of wall.
5. With the help of another person, offer the cascade to the bracket, insert
the large bolt and tighten.
6. Just above the cascade, offer the transformer to the wall, ensure straight
with a level and mark 4 holes.
7. Drill and prepare the wall to hold the transformer.
8. Using the correct fixings, attach the transformer to the wall. Fixings are
dependent on the type/build of wall.
9.
Follow the ‘Getting Started’ section below.
Getting Started
1. Securely mount the Superactive LED Fibre Optic Cascade on a flat solid
wall
. (Please see ‘Installation’ section in this manual).
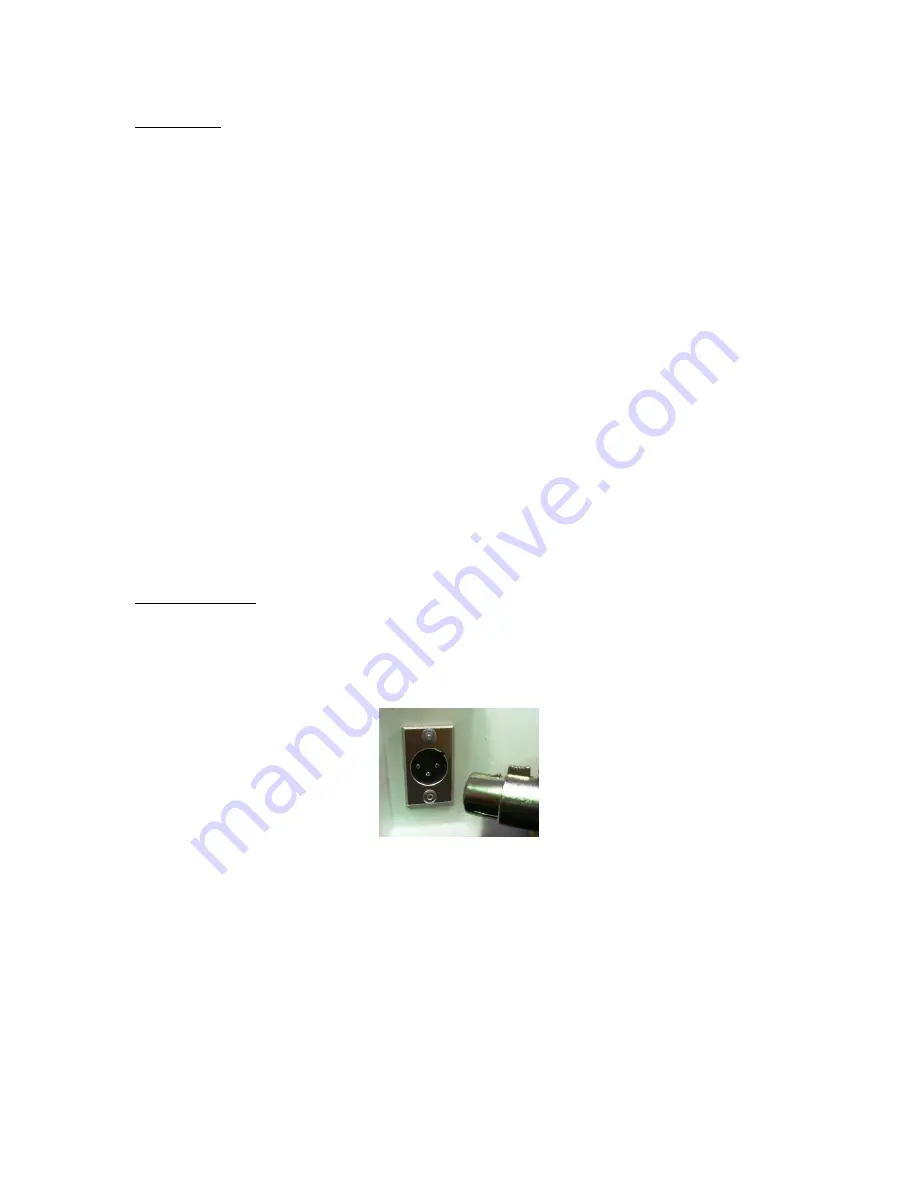
2. Connect the round XLR connector (silver connector with grey cable) from
the Low Voltage transformer to the socket on the top of the unit.
3. Connect the standard mains plug to a mains outlet.
4. The Fibre Optics will now illuminate and will scroll through the many
colours.
5.
Now it’s ready to use.
6. Insert the batteries into the 8 way controller and you are now ready to
interact with the cascade by choosing the colours by pressing any button.
7. The cascade can be used flush to the wall or moved out to 90°.


