背面 95mm x 145mm
SHARK VII USER GUIDE
LED Indicator
TO ENJOY THE FULL EXSOUND SHARK VII EXPERIENCE,
PLEASE ENSURE THE DRIVER TO BE INSTALLED COMPLETELY.
TO MAKE SURE YOUR SHARK VII HEADSET WORKING PROPERLY,
PLEASE CHECK YOUR PC AUDIO SETTING AS BELOW:
1. You can use driver disk or download the driver from www.goexsound.com
2. Please connect the USB connect or to an available USB port on your PC or Laptop
3. Install the driver.
4. Reboot your computer after the driver installation has completed
5. Power on, then you can enjoy the SHARK VII
1. Go to Control panel > Sounds and Audio Devices > Audio > Sound Playback >
Select “EXSOUND SHARK VII”.
2. Go to Control panel > Sound and Audio Devices > Audio > Sound Recording >
Select “EXSOUND SHARK VII”.
SHARK VII Connects to PC / Laptop
6
1. With in Left & Right Ear Cups
2. With in Touch Panel In-line Controller:
i. Indicator for Volume: Left means Smaller Sound, Right means Louder Sound
ii. Speaker Mute/Un-Mute: Light Off means Un-Mute, Light On means Mute.
Default is Un-Mute (Light Off).
iii. Channel Volume Adjustment Mode: MAIN, FRONT, CTR, BACK, SUB, SIDE.
iv. Mic Mute/Un-Mute: Light Off means Un-Mute, Light On means Mute.
Default is Un-Mute (Light Off).
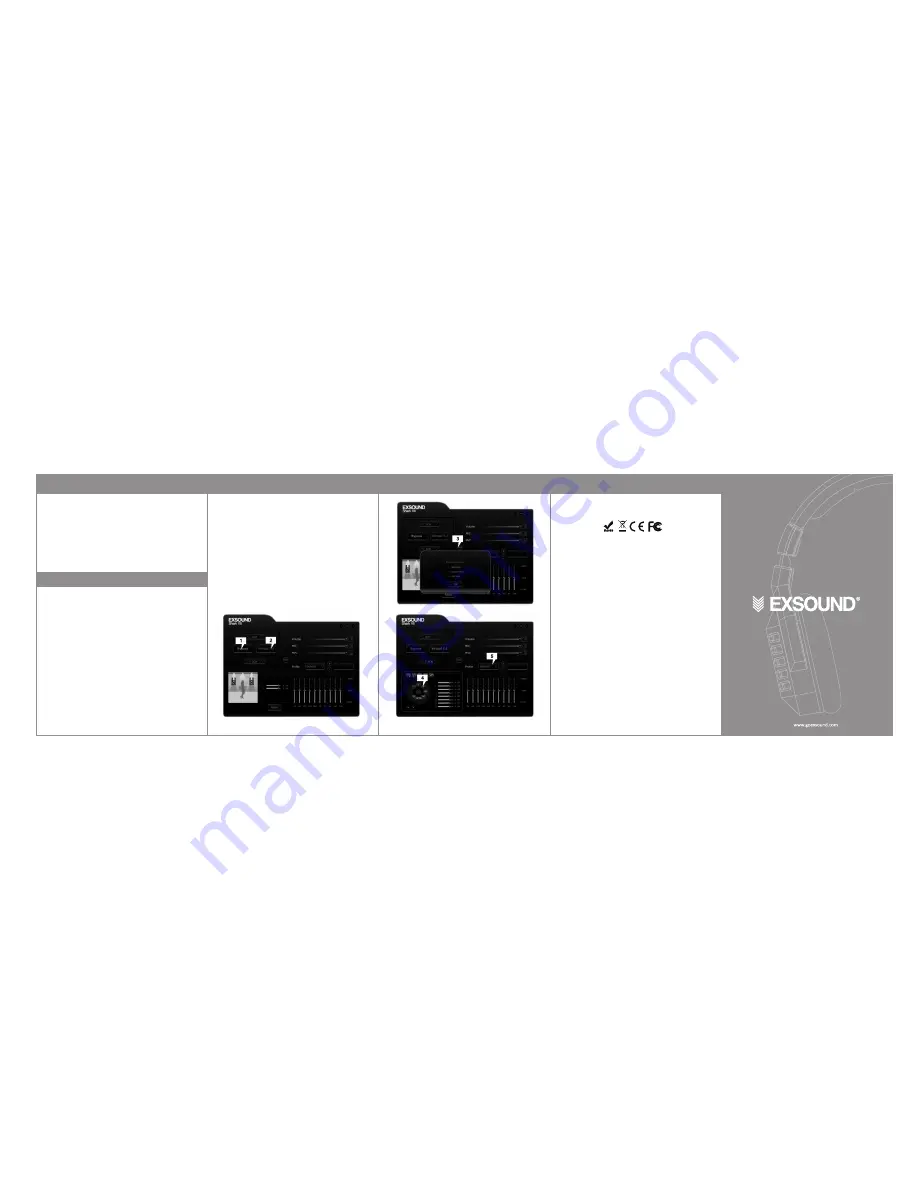
EXSOUND SHARK VII User Interface
7
1. Bypass means original sound, without any processing. Click it to have original
sound play. You can select different inputs and outputs: 2CH, 5.1CH, 7.1CH
2. Virtual 7.1 means the sound will be simulate to 7.1 channel Surround Sound.
Click it to have 7.1 channel Surround Sound effect.
3. Click more to choose bass enhancement selection. There are three selections
to choose.
4. Customize your own Surround Sound by moving each speakers location under
virtual 7.1 mode.
5. EQ: There are many pre-set EQ to choose, such as Rock, Classic, Bass,
Treble, etc. Choose one of your preference, or create your own EQ!
EXSOUND SHARK VII User Interface
8
All other trademarks are property of their respective owners.
Important Information
9


