71
70
EN
EN
d) Pull on the work tool to check that it is
secured in the clamping mechanism. (note: it
is possible to pull the work tool in and out of
the clamping head by approx. 1.5 cm for the
purpose of enabling impact drilling/chipping).
Note:
y
It is natural that the clamped work tool has slight give
in its motion around its own axis.
To clamp in a drill with a smaller drilling diameter, it
is possible to insert a standard chuck head used on
drills equipped with an SDS plus shank or also a bit
carrier (not included) into the SDS clamping head of
the hammer drill, see fig. 5.
•
ATTENTION
y
When using chuck heads with an SDS clamping
shank or a bit carrier for screwing or unscrewing
threaded connections, the impact drilling mode
must not be used since the strong percussion of
the hammer drill would damage it.
•
ATTENTION
y
When performing chipping or drilling work in a raised
vertical position - for example when drilling into
ceilings, it is necessary to ensure that the falling debris
does not enter into the tool clamping system or the
motor vents, e.g. by putting on a cut tennis ball in front
of the clamping head or a protection of a similar type
(fig. 6A or 6B).
ROTATING THE CHISEL TO THE REQUIRED
POSITION - VARIO LOCK FUNCTION
y
Due to the shape of the used chisel tool and the requi-
red shape of the chiselled groove, it may be necessary
to rotate the chisel tool to a certain position, which is
enabled by the Vario-Lock system.
1. Slide the chisel tool into the SDS clamping head
of the hammer drill and secure it in place using
the above described method.
2. Turn the work mode selector dial to the positi
-
on with the „Vario-Lock“ symbol (see table 4).
3. Turn the chisel tool around its axis to the requi
-
red position for the chisel tool.
4. Then use the work mode selector dial to select
the chiselling mode (symbol in table 4) and this
will secure the chisel tool in the set position.
•
ATTENTION
y
The Vario-Lock function is intended only for
changing the orientation of the chisel tool and it
is not a work mode.
REMOVING THE WORK TOOL
FROM THE SDS CLAMPING HEAD
y
Push down the SDS clamping head and take out the inserted
work tool from the head. Then release the clamping head.
SETTING THE ROTATION DIRECTION
AND PROTECTION AGAINST ACCIDENTALLY
STARTING THE POWER TOOL
y
Fully push down the rotation direction toggle switch
(fig. 1, position 5) to set the required rotation direction
of the work tool.
y
For protection against accidentally starting the power tool, set
the rotation direction toggle switch to the middle position, this
will block the trigger switch to protect it against being acci-
dentally pulled. Do this whenever not using the hammer drill.
INSERTING THE BATTERY
y
Slide the battery into the respective location in the
hammer drill (fig. 1, position 7) so that it locks into
position with an audible click.
VI. Starting/speed
control/stopping
•
ATTENTION
y
Prior to starting the hammer drill, always check
that it shows no signs of damage or wear and
tear, and that all the installed components are
properly attached and secured in place.
STARTING
y
Start the power tool by pressing the trigger
switch (fig. 1, position 4).
y
The degree to which the trigger switch is pulled
enables fine, gradual control of the rotation
speed a/or impacts.
STOPPING
y
To stop it, release the trigger switch.
•
WARNING
y
Never change the work mode settings while
the hammer drill is running! This would result
in its damage. The work mode can only be chan
-
ged when the clamping head is not rotating.
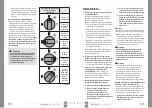
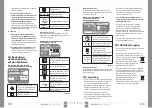
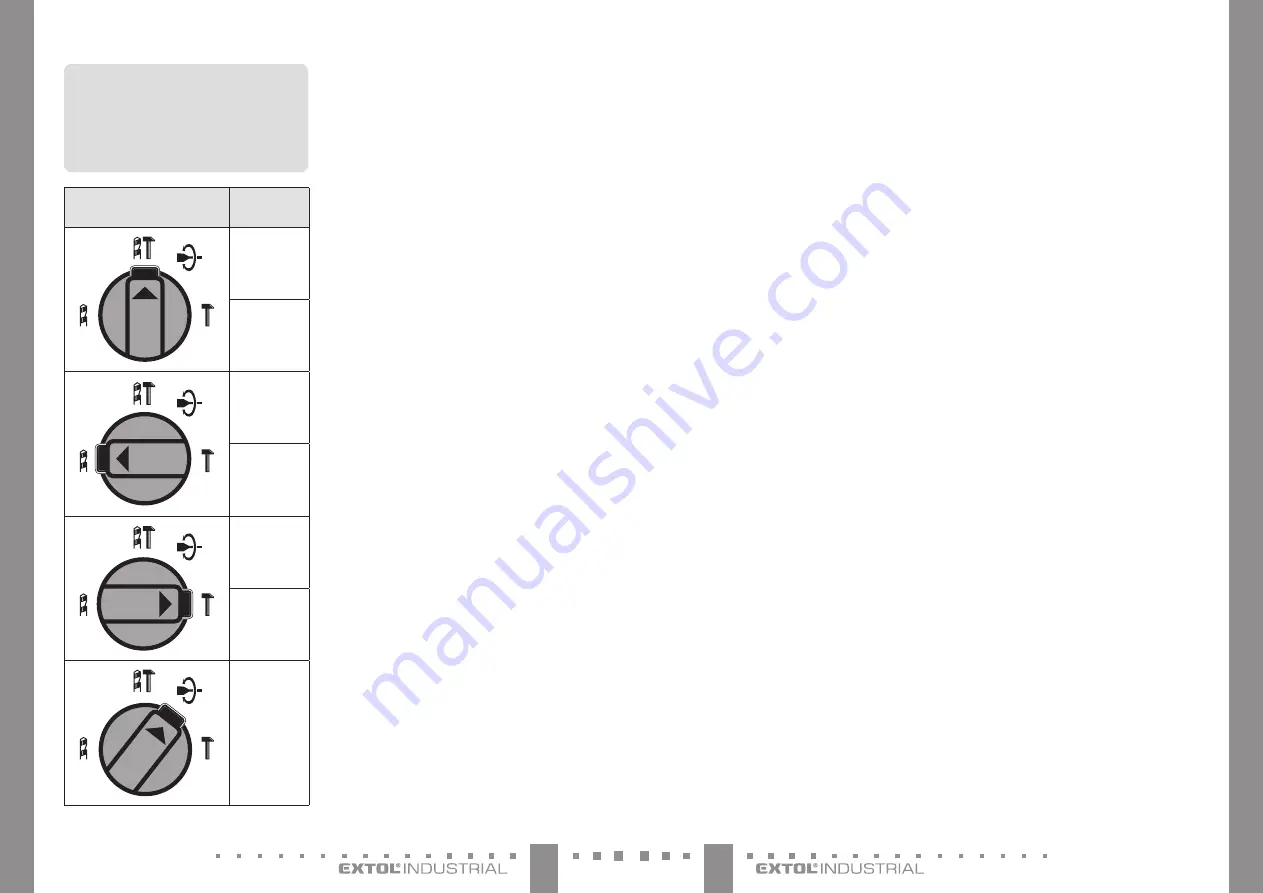
Setting the selector dial
for the respective work mode
Work mode:
Impact
drilling
For material:
Masonry
Concrete
Bricks
Work mode:
Impactless
drilling
For material:
Wood
Metal
Plastic
Work mode:
Chiselling
For material:
Masonry
Concrete
Bricks
Function:
Adjusting the
chisel to
a different
position,
Vario-Lock
function
Table 4
INSERTING/REMOVING THE WORK TOOL.
1. Select the appropriate work tool for the given
work task.
The clamping system of the hammer drill is intended
for the universal SDS plus clamping shank from
various manufacturers on the market.
It is necessary to select the correct work tool for
the given type of performed activity since this
determines the result and effectiveness of work.
y
For example, for chipping away tiles, use the flat chi-
sel, for making holes, for removing grouting mate-
rial, for making grooves, etc. use the pointed chisel,
for making cable troughs use a hollow chisel, etc.
y
For drilling, the appropriate drill bit must be selec-
ted based on the drilled material. For drilling into
metals and hard plastics, use drill bits from high-
-speed steel (HSS).
The SDS plus tool clamping head is universal and it is
possible to mount chisels of other manufacturers into
these hammer drills.
2. Thoroughly clean the SDS shank of the tool, dry
it if necessary and lubricate sufficiently using
Vaseline.
y
A shank with a layer of building dust, stones, etc.
damages the SDS tool mount.
3. Check that the hole is not damaged and the area
of the hole around the tool shank to prevent
the
entry of construction dust and stones during drilling/
chipping into the SDS clamping system of the head,
otherwise the clamping system will be damaged.
4. Insert the work tool into the SDS clamping
head in the following way (fig. 5):
a) Pull down the SDS clamping head.
b) Apply pressure on to the work tool with an
SDS shank to partially push it into the hole
of the clamping head and turn it until the
work tool slides into the grooves of the SDS
clamping head, after which it will not be
possible to turn the work tool.
c) Release the SDS clamping head from the
pulled down position and subsequently
slide the tool down all the way.

