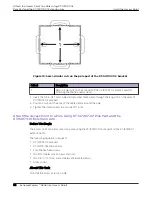
3. Align the large holes on the stiffener plates with the large holes on the access point assembly plate,
and attach the stiffener plates to the access point attach assembly plate.
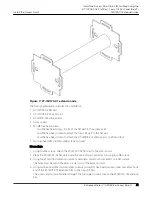
Figure 10: VMM access point attach assembly plate stiffener 1 and stiffener 2
Callout
Description
1
Access point attach assembly plate
2
Stiffener plate 1
3
Stiffener plate 2
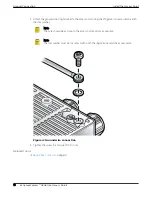
4. Attach four M4 or M6 screws to stiffener plate 2, and align the threaded holes of the access point to
the access point attach assembly plate.
The screw head goes inside the small bracket with the bent sides.
Note
The bracket comes with four M4 screws.
5. Tighten the M4 screws to 10 in-lbs.
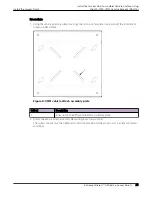
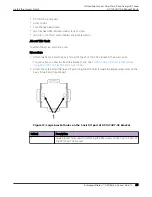
6. Using four thumbscrews, attach the access point attach assembly plate to the vehicle attach
assembly plate.
Note
The access point will not be centered and some of the attachment holes in the access
point attach assembly plate will be visible.
Install the Access Point on a Hard Vehicle Surface Using
the WS-MBV-VMM Vehicle Bracket (#32216)
Install the Access Point
26
ExtremeWireless™ AP460i/e Access Points


