96
EPICenter Software Installation and User Guide
Using the Inventory Manager
You can also use the IP Address with Wildcards field to specify a single IP address.
Examples:
—
As an IP address Range (such as 10.203.10.20 to 10.203.10.45)
NOTE
There are certain IP addresses that are reserved. You should not include these addresses in your
discovery.
• Class A networks: 0 and 127 are reserved.
• Class D networks: 224 - 239 are reserved for multicasting.
• All addresses above 239 are reserved.
• 255 is reserved for broadcast datagrams for either the host or network portion of the IP address.
In addition, certain host addresses may be interpreted as broadcast addresses, depending on the
subnetting of your network.
IP addresses are processed prior to starting the discovery, and IP addresses that contain 255's in
the host portion are eliminated. This is based on the IP address as well as the subnet mask.
4
Specify (or verify) the Subnet Mask size as appropriate. The value in the Subnet Mask field is the
number of bits to be masked, starting from the high-order (left-hand) octet. The default subnet mask
of 24 will mask the three high-order octets.
5
Specify (or verify) the SNMP Read Community string so that EPICenter will be able to retrieve
information from any SNMP version 1 devices it discovers.
6
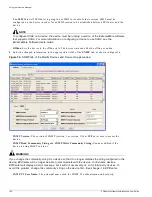
Select Enable SNMP V3 Discovery, if devices on your network use SNMP version 3.
7
Click the New button to add the range into the Device Discovery Criteria list.
8
Repeat steps 3 through 6 to specify any additional device addresses or ranges for the discovery.
9
If necessary, you can remove an address range from the Device Discovery Criteria list at any time
before you initiate the discovery by selecting the range and clicking the Remove button.
You can remove all address ranges using the Reset button at the bottom of the page.
10
Click the Discover button at the bottom of the window to initiate the discovery.
NOTE
If a discovery request is too large, your browser may not have sufficient memory resources available
to handle it. It is recommended that you break a large discovery task into multiple separate tasks.
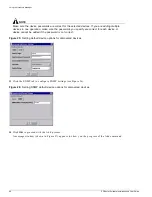
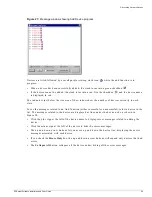
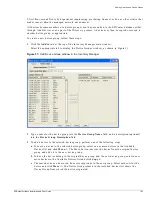
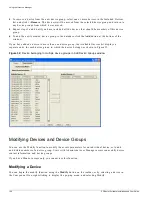
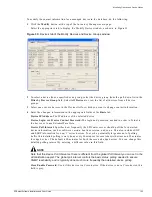
A Discovery Results window is displayed as soon as the discovery process begins, as shown in
Figure 24. The panel at the bottom of the window shows the progress of the discovery and displays
IP Address Specification
Addresses Generated
10.203.0.*
polls 10.203.0.0 through 10.203.0.255
10.203.?.??
polls 10.203.0.0 through 10.203.9.99
10.203.0.1? or 10.203.0.10-19
both specify the same range: 10.203.0.10 through 10.203.0.19
10.203.0-2.10-30
polls
10.203.0.10 through 10.203.0.30
10.203.1.10 through 10.203.1.30
10.203.2.10 through 10.203.2.30
Summary of Contents for EPICenter 4.1
Page 20: ...20 EPICenter Software Installation and User Guide Preface ...
Page 46: ...46 EPICenter Software Installation and User Guide EPICenter and Policy Manager Overview ...
Page 190: ...190 EPICenter Software Installation and User Guide Configuration Manager ...
Page 204: ...204 EPICenter Software Installation and User Guide Using the Interactive Telnet Application ...
Page 242: ...242 EPICenter Software Installation and User Guide Using the IP MAC Address Finder ...
Page 266: ...266 EPICenter Software Installation and User Guide Using ExtremeView ...
Page 284: ...284 EPICenter Software Installation and User Guide Real Time Statistics ...
Page 436: ...436 EPICenter Software Installation and User Guide Using the Policy Manager ...
Page 454: ...454 EPICenter Software Installation and User Guide The ACL Viewer ...
Page 468: ...468 EPICenter Software Installation and User Guide Troubleshooting ...
Page 504: ...504 EPICenter Software Installation and User Guide EPICenter External Access Protocol ...
Page 510: ...510 EPICenter Software Installation and User Guide EPICenter Database Views ...
Page 522: ...522 EPICenter Software Installation and User Guide EPICenter Backup ...
Page 526: ...526 EPICenter Software Installation and User Guide Dynamic Link Context System DLCS ...
Page 546: ......


