16
Effects
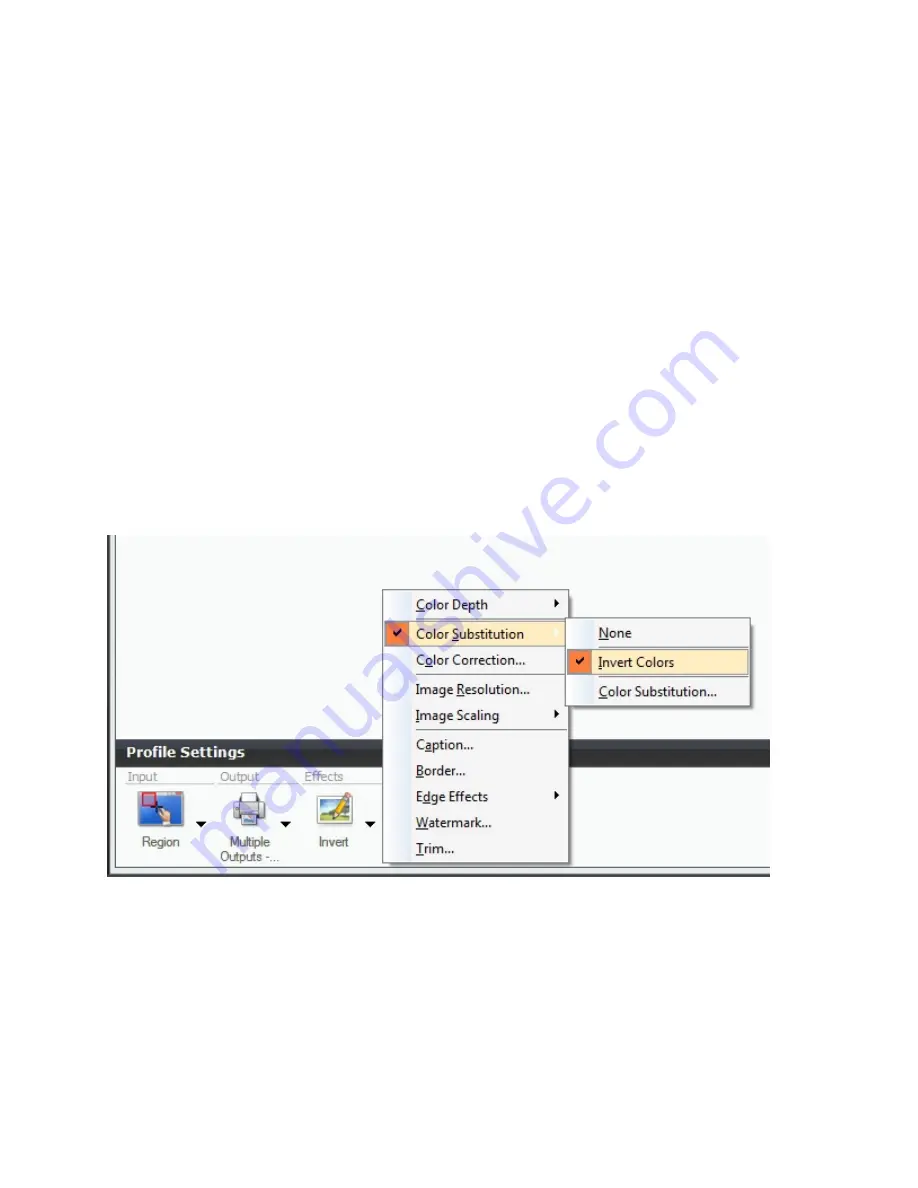
If you are using Negative Microfilm and choose to view the images in the Grey Scale or Black
Line modes, you will need to check the “
Invert Colors
” option under the “Color Substitution”
tab so that when your image prints (or is saved), it will be in the “positive mode” which saves
toner usage and is easier to read.
If you view your Negative Microfilm in the “Color Inverse” mode, your images will be positive
on the PC screen and you will not need to select the invert colors option under color substitution.
If your output print or saved image has a grey background, you can remove that automatically by
selecting the “Color Correction” effect and adjusting the brightness or contrast of the image
output. You will have to experiment with brightness and contrast settings here, capture sample
images and continue to adjust until the output meets your requirements.
Check the “Image Resolution” effect and set it to 600dpi for optimum capture and print quality.
As you can see, there are a lot of effects available including the watermark which is one that
some companies can use to show that the output document or image was created by them.
Save your Profile!
Once you have made your selections and adjustments and are satisfied with the result, please
click on the large
green
+
at the upper right section of the Snagit control panel to save your
settings and create a profile for that saves all the adjustments you have made. You can make as
many profiles as needed and they will always appear on the Snagit control panel for you to select
prior to capturing images displayed from your Micro-Image Capture unit.


