1.
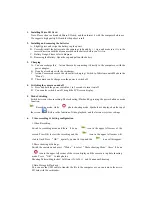
Installing Micro SD Card
Note: Please choose a branded Micro SD card, and then format it with the computer before use.
We suggest a high quality SD card for the perfect result.
2.
Installing and removing the batteries
A.
Slightly press and swipe the battery cap to open it
B.
Correctly install the battery into the camera as indicated by +/- sign and make sure it is in the
correct direction with the arrows marked on the battery before you fit it in.
C.
Battery Gauge: Please refer to diagram
D.
Removing the Battery: Open the cap and pull out the battery
3.
Charging
A.
You can recharge this Action Camera by connecting it directly to the computer or with the
power adapter.
B.
It can be also charge with the car charger
C.
Action Camera can record the video while charging ( Switch to Vehicle-mounted Mode in the
“Menu”)
D.
The camera can be charge even the power is switch off.
4.
Switching the camera on and off
A.
Press and hold the power switch for 3 to 5 seconds to turn it on/off
B.
You can also switch it on/ off trough the LCD screen display
5.
Mode Switching
S
witch between video recording/ Photo shooting/ Playback by pressing the power button as mode
function.
Recording mode, while
photo shooting mode. Symbols are displayed on the top of
the screen.
Refers to the function of video playback, and the last one is system settings.
6.
Video recording & Setting configuration
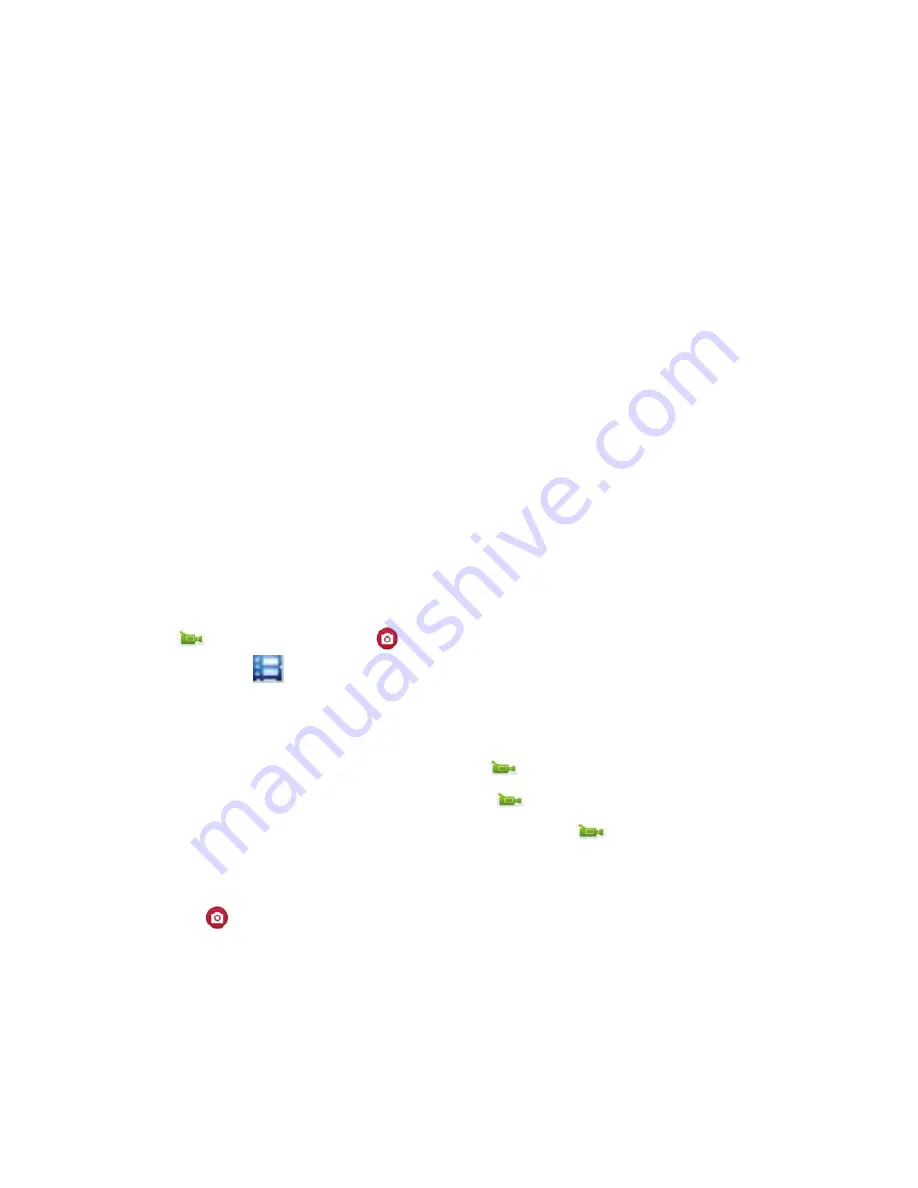
1.Video Recording
Switch to recording mode and there
’
ll be an
icon in the upper left corner of the
screen. Press OK to start the recording and the
icon in the upper left corner will
start to flash. Press
“
OK
”
again if you want to stop and the
icon will disappear.
2.Photo shooting & Settings
Switch the camera on and press
“
Mode
”
to select
“
Photo shooting Mode
”
, there
’
ll be an
icon in the upper left corner of the screen display and the camera is in photo shooting
mode. Press
“
OK
”
to take photos.
Shooting Pattern: Single shot / Self-timer (2s/5s/10s) and Continuous Shooting
3.Data Storage & Playback
You can use the USB cable to transfer the file to the computer or you can remove the micro
SD card with the card reader.
Summary of Contents for SJ9000
Page 2: ......


