Adding Vault to EZVIZ
2
- Start the EZVIZ app and log into your account
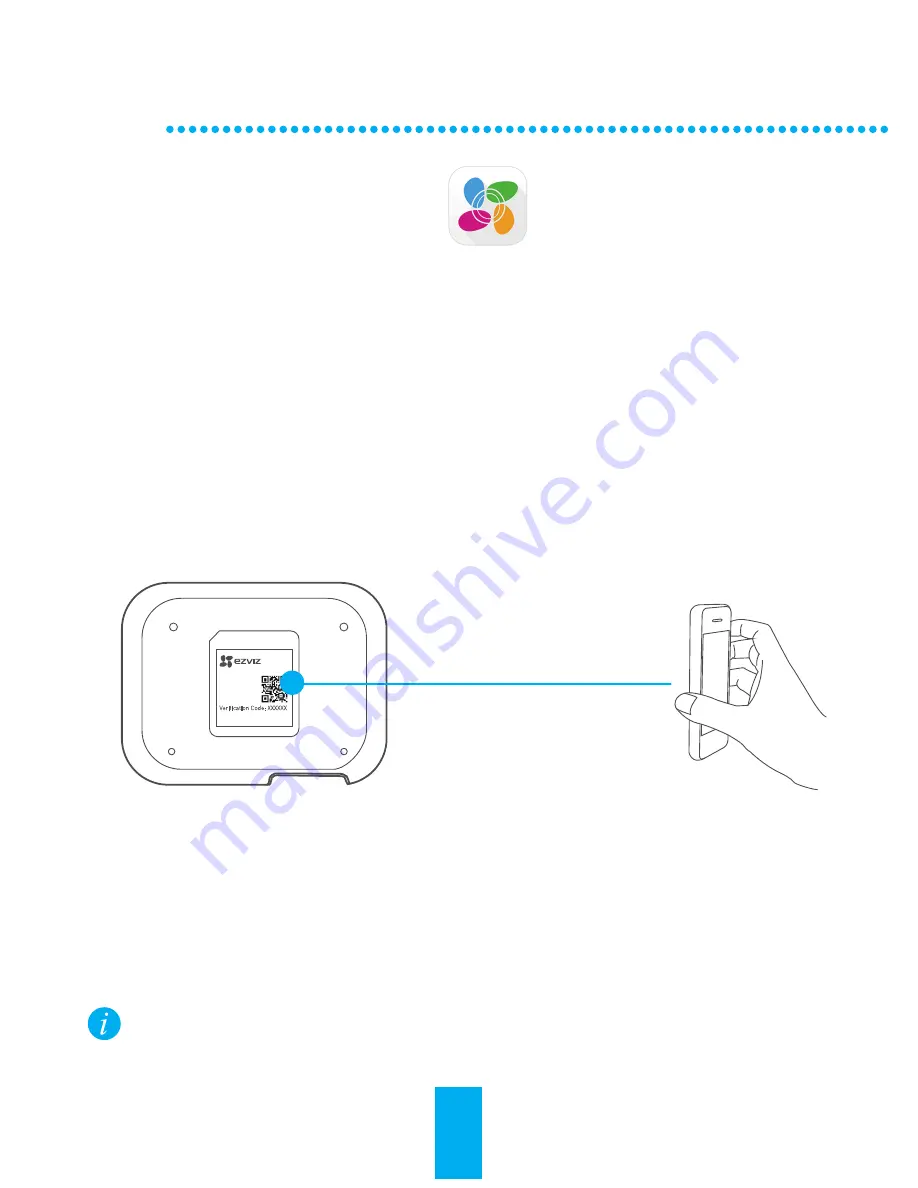
- From the home screen, tap “ + “ to add Vault.
- Scan the QR code located on the bottom of Vault.
- Enter the verification code located on the bottom of Vault.
- Enter the correct time zone and DST information and tap
“Finish”.
1
- From your mobile device, download and install EZVIZ app by
searching for “EZVIZ” from App Store or Google Play
TM
.
- Launch the app and register for an EZVIZ user account.
3
- From the home screen, tap “ + “ to add the cloud camera.
- Scan the QR code located on the bottom of the camera.
- Enter the Settings page of the camera, tap Storage Status and
select Vault in the storage list to start Vault recording of the
camera.
Adding Cloud Camera to EZVIZ
Installing the EZVIZ App
Adding Devices to EZVIZ
Adding by Scanning QR Code
Network Video Recorder
Model: XXXXXX
IP: XXX
SN: XXXXXXX
MM/YYYY
Verification Code: XXXXXX
Step 2
Vault supports up to 8 EZVIZ cloud camera recording and only
connects to cameras that are on the same network.
2
Summary of Contents for VAULT
Page 1: ...Vault ...
Page 4: ...Blue Normal Amber Starting and Error Product View Front Panel LED Indicator 3 ...
Page 9: ...8 Vista del producto Panel delantero Indicador LED Azul Normal Ámbar Inicio y error ...
Page 14: ...13 Description du produit Face avant Voyant DEL Bleu Normal Orange Démarrage et erreur ...
Page 17: ...UD01054B ...


