13
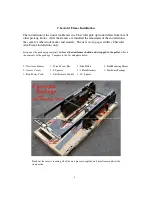
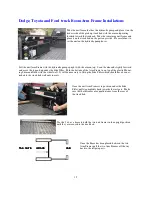
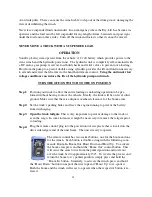
Set the screws in the brackets by having one person in the truck bed with an impact
to drive the 5/16” screws and another person under the truck with an open end
wrench. Use washers on each screw under the truck between the nut and the under-
side of the truck bed.
Do not tighten completely.
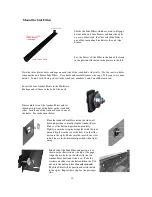
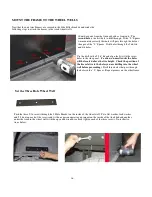
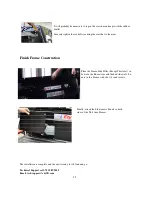
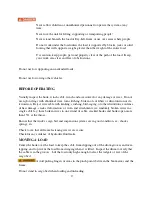
Use the disposable 90° Square and square up the
unit Arm Frame with the bottom of the truck
bed. Once the frame is square with the bed be-
gin to tighten the 1/4” screws that secure the
frame to the Side Filler Brackets. Tighten these
completely the length of the frame.
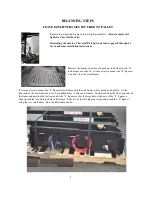
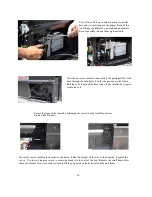
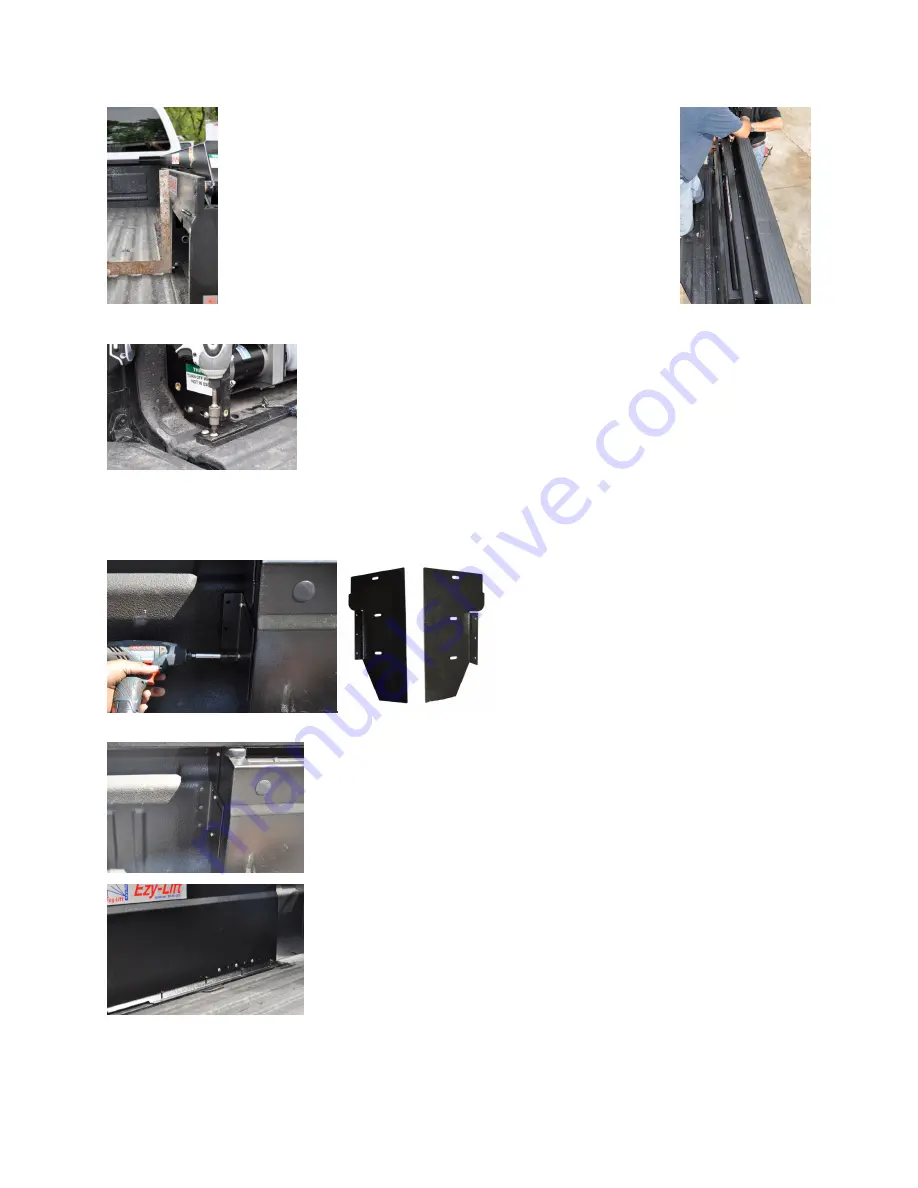
Set the Front Slide Brackets
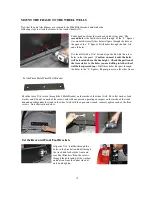
Loosen the two screws holding the Front Slide
Bracket. Tighten the two screws attaching the
Front Slide Bracket to the frame. Use three of the
self-tapping screws to secure the bracket to the bed
wall of the truck. Back out the screw that secures
the small Fill Plate to the frame for shipping. Flip
the Fill Plate so that it is in the opposite position,
as illustrated above, and re-secure to the Arm
Frame.
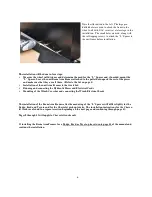
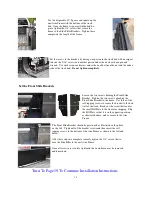
The Front Slide Bracket should be positioned as illustrated in the photo
on the left. Tighten all of the bracket screws and then insert the self
tapping screws in the bottom of the Arm Frame as shown to the left and
below.
After these steps are complete securely tighten the 3/4” screws that se-
cure the Side Filler to the unit Arm Frame.
Once all screws are securely tightened the wood brace may be removed
and discarded.
Turn To Page 19 To Continue Installation Instructions

