User Manual
ECO 200
Initial Start Up
F+D
Feinwerk- und Drucktechnik GmbH
Kirchenstraße 38, D-69239 Neckarsteinach
Tel.: 06229 7000, Fax: 06229 70067
E-Mail: hotline@fuddruck.de, Internet: http://www.fuddruck.de
7
Insertion of Transfer Ribbon
Printers equipped with the option „Transfer Device“, feature a wind off / wind on mechanism positioned
above the printer upper section (see diagram on previous page).
1. Push transfer ribbon reel onto winding device below operator panel.
2. Centre reel to print head.
3. Guide ribbon according to diagram on previous page below the opened printer device upper.
4. Wind transfer ribbon round rewinding device.
5. Insert clamp strap into the groove and hole.
6. Turn the rewinding device one full circle clockwise and thus tension the transfer ribbon.
7. Hinge printer device down and secure again.
Notice
: The shiny side of the ribbon must point towards the thermal print head. The somewhat more dull
side is the colour layer, which must point towards the paper.
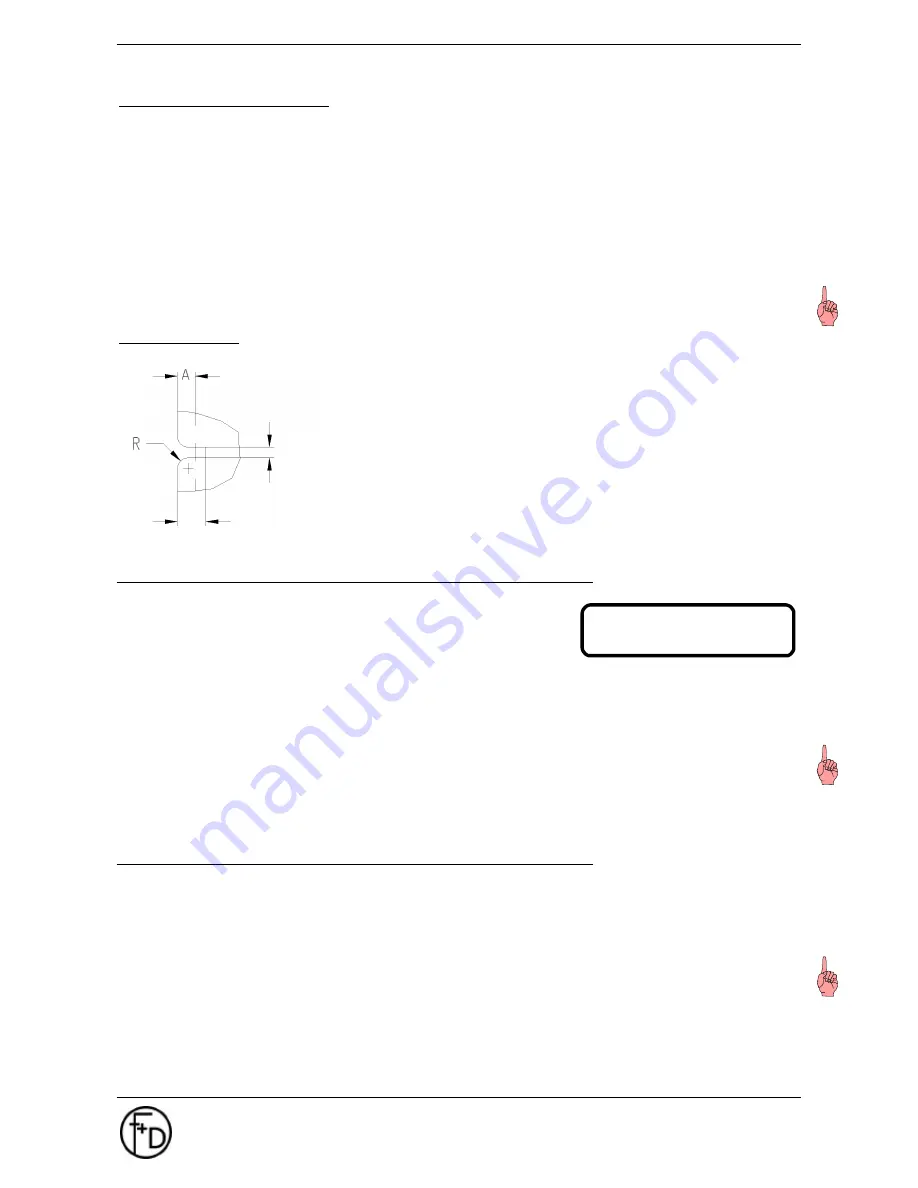
Synchronization
Recognition of label start is effected via scan-through light barrier and
requests synchronization marks between the labels. The synchronous
light barrier has a clearance A = 5 mm from the edge of the paper.
Therefore the depth (D) of the synchronization mark should be at least
6 mm from the left paper edge in order to have an edge radius (R) of
less than 3 mm. The width (W) has to be at least 1.5 mm. Label
distances or printed synchronization marks could also be recognized if
the sensor had been adjusted accordingly.
2.6 Printout of a Test Label
1. Switch printer on.
2. Put paper into the printer.
3. Go to menu Printer Infos / Labels
4. Depress the
l
- button in order to chose the label Firmenadresse.
5. Confirm your choice by depressing the SAVE - key.
The menu will be exited and the label will be printed, at the same time a black shape appears on the
LCD left of the "1" (in accordance to the set macro).
6. Press again PRINT-button and the test label will be printed.
Notice:
Please check in advance
•
Is thermal print head inserted?
•
Is printer device upper closed?
•
Is paper reel (and transfer ribbon) inserted?
2.7 Parallel Interface
In order to connect the parallel cable, align the wider side of the plug to the wider side of the printer
connector. Afterwards fasten the plug with the two existing clamps in order to produce a stable electrical
contact.
Then connect the cable to the computer (corresponding parallel interface).
Notice:
Before connecting the cable, the printer and the PC have to be switched off.
D
ECO 200 ok
->
g
1
#0000


